Hairstyles With Bandanas: 12 Bold Looks That Transform Your Style
You want quick style wins that work on any hair type and any schedule. Tame a bad-hair-day, dress up a casual outfit, or add a fresh twist to an old favorite—bandanas give you fast, wearable looks without a salon trip. You’ll learn simple, reliable ways to tie, tuck, and wrap a bandana so your hair looks polished, protected, and stylish whether you’re aiming for retro, sporty, or modern vibes.
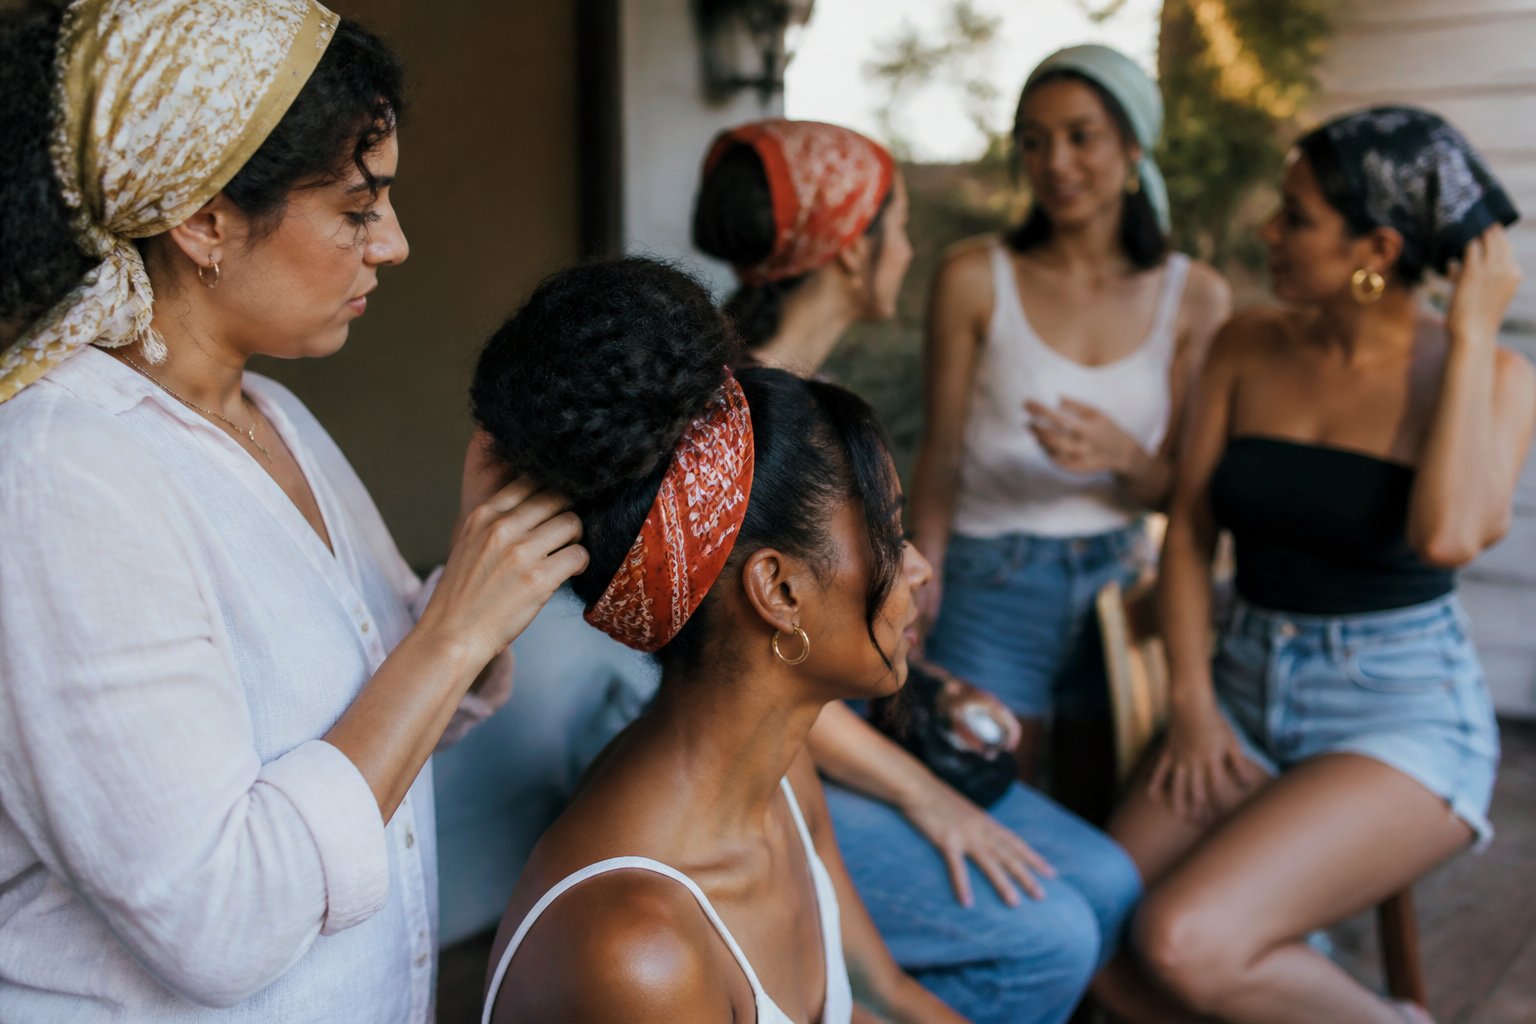
Expect clear how-tos, smart fabric tips, and common mistakes to avoid so you don’t end up with slipping knots or crushed curls. I walk you through easy tutorials and real-life tweaks—like choosing silk to reduce frizz or folding a square for a slimmer headband—so you get consistent results at home. Stay curious and try one look; you’ll find a go-to bandana style faster than you think.
1. Classic tied-at-forehead bandana with loose waves
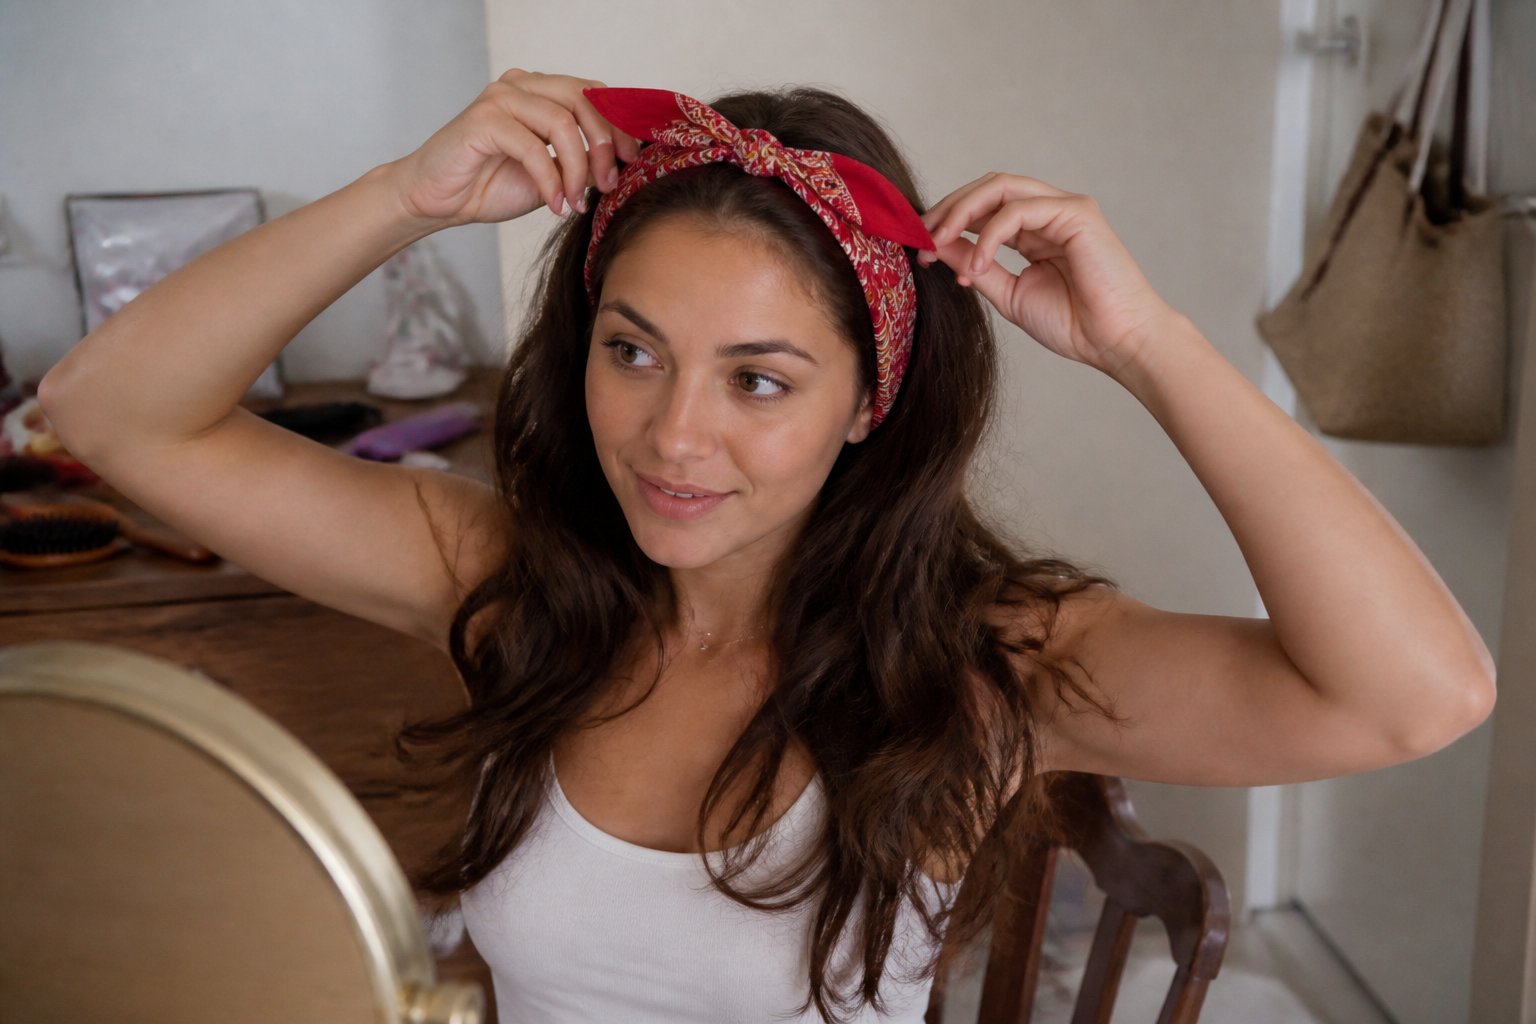
Tutorial: learn a simple, boho look that keeps hair off your face and looks effortless.
Start by folding the bandana into a long strip, then place it across your forehead and tie at the nape. Let loose waves fall around the bandana for a relaxed vibe. If your waves are flat, add sea-salt spray and scrunch for texture.
This style suits most face shapes. Pull a few front strands free to soften the line, or tuck them behind your ears for a cleaner finish. Watch for a bandana tied too tight — it can cause headaches and flatten your waves.
Common mistake: tying the bandana over wet hair makes the fabric slip. Dry hair holds the knot better. Try a lightweight cotton bandana for comfort and breathability.
2. High ponytail wrapped with a paisley bandana
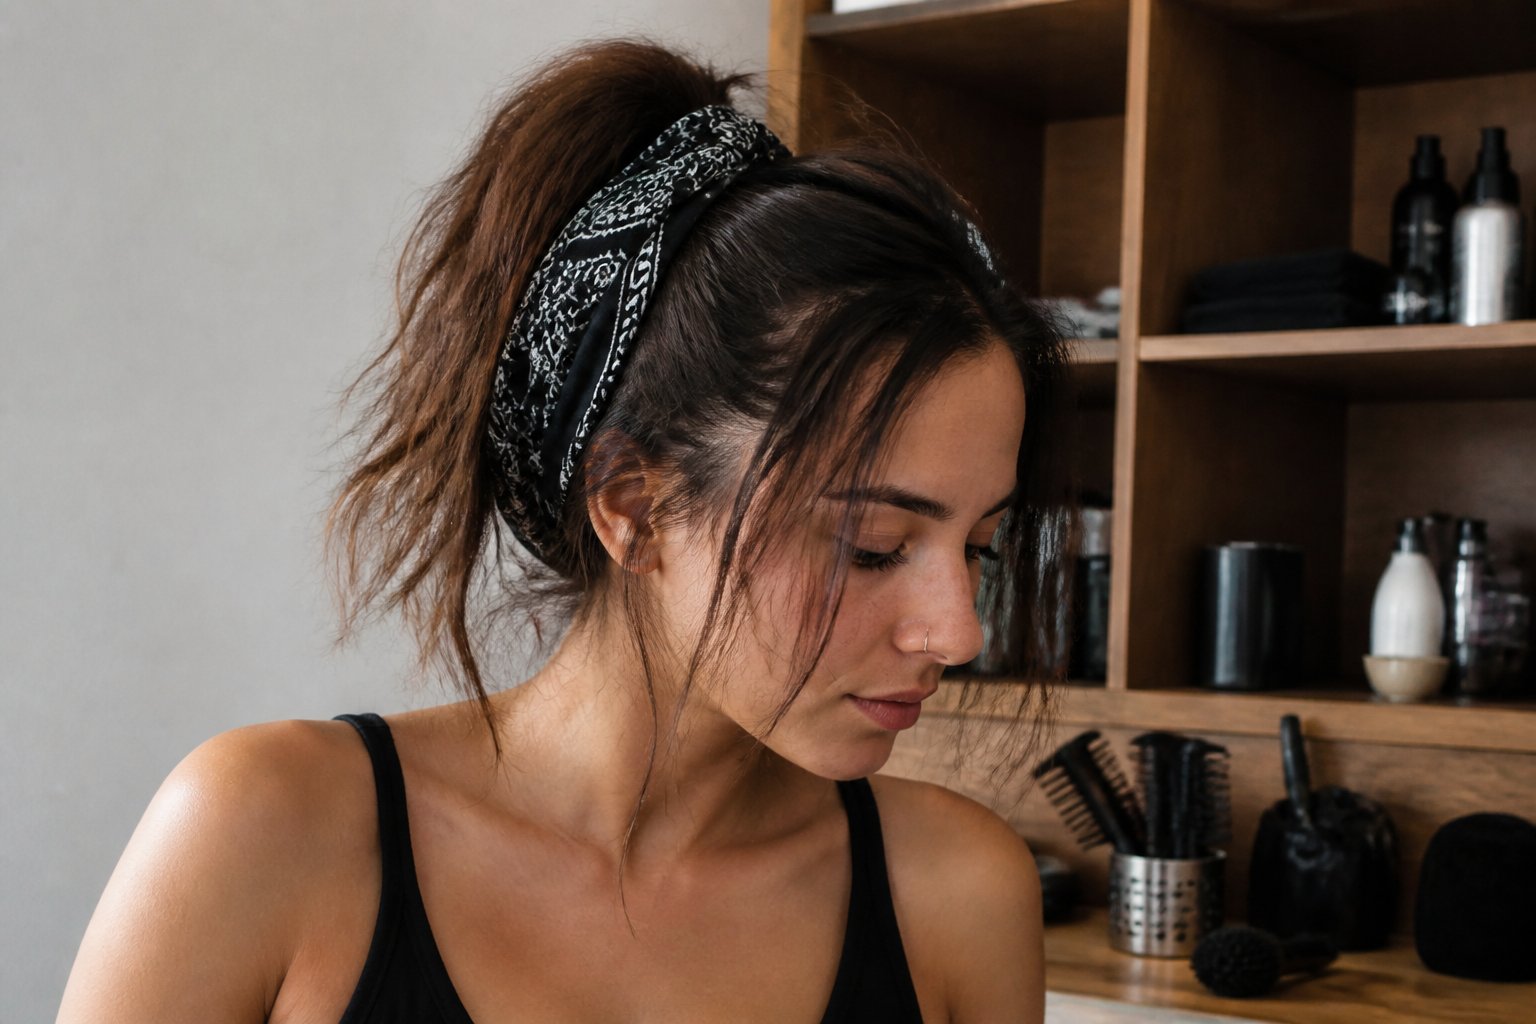
Tutorial intent: learn a quick, polished ponytail with a vintage twist. Start by brushing your hair smooth and gathering it high at the crown. Secure tightly with a hair tie so the ponytail feels snug and doesn’t sag.
Fold a paisley bandana into a long strip and slide it under the ponytail base. Tie a knot or bow where the bandana meets the hair tie; tuck the ends for a cleaner look. If your hair is layered, wrap a small section around the base first to hide the tie.
Common mistakes: tying the bandana too loosely makes the style fall flat, and using a slippery fabric can slip by midday. Try a cotton paisley bandana for grip and pattern that holds its shape. Practice once and you’ll get a neat, retro finish that stays put—try it tomorrow and tweak the placement to match your face shape.
3. Low bun with bandana-wrapped base
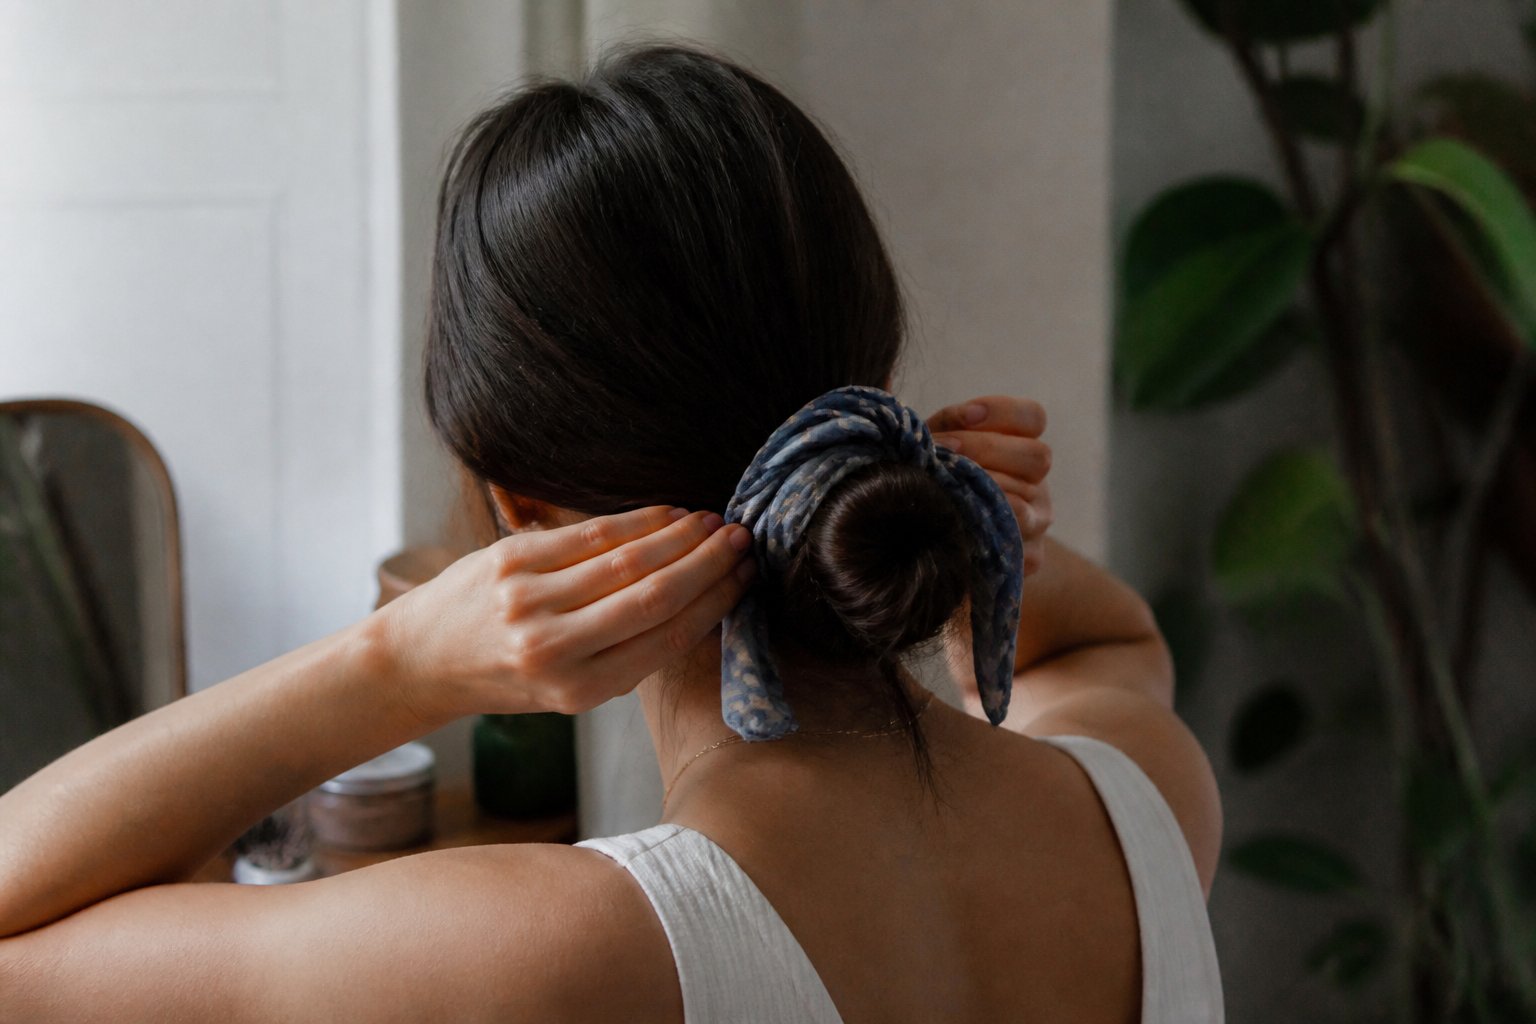
Tutorial: learn a tidy low bun that looks polished and stays put. Gather your hair at the nape, secure a low bun, then wrap a folded bandana around the bun base and tie it tight.
This style works for straight, wavy, or curly hair and suits workdays or casual outings. If your hair is slippery, tease the bun slightly or use pins so the bandana grips better.
Common mistake: tying the bandana too loose makes the bun sag. Another error is hiding too much fabric—leave a small tail or knot showing for balance and style. For a softer look, pull a few face-framing pieces free.
Try a small paisley bandana for a vintage touch or a solid color to match your outfit. Practice once and you’ll get the tension and knot position right; then it becomes a quick, reliable go-to.
4. Top knot with a silk bandana bow
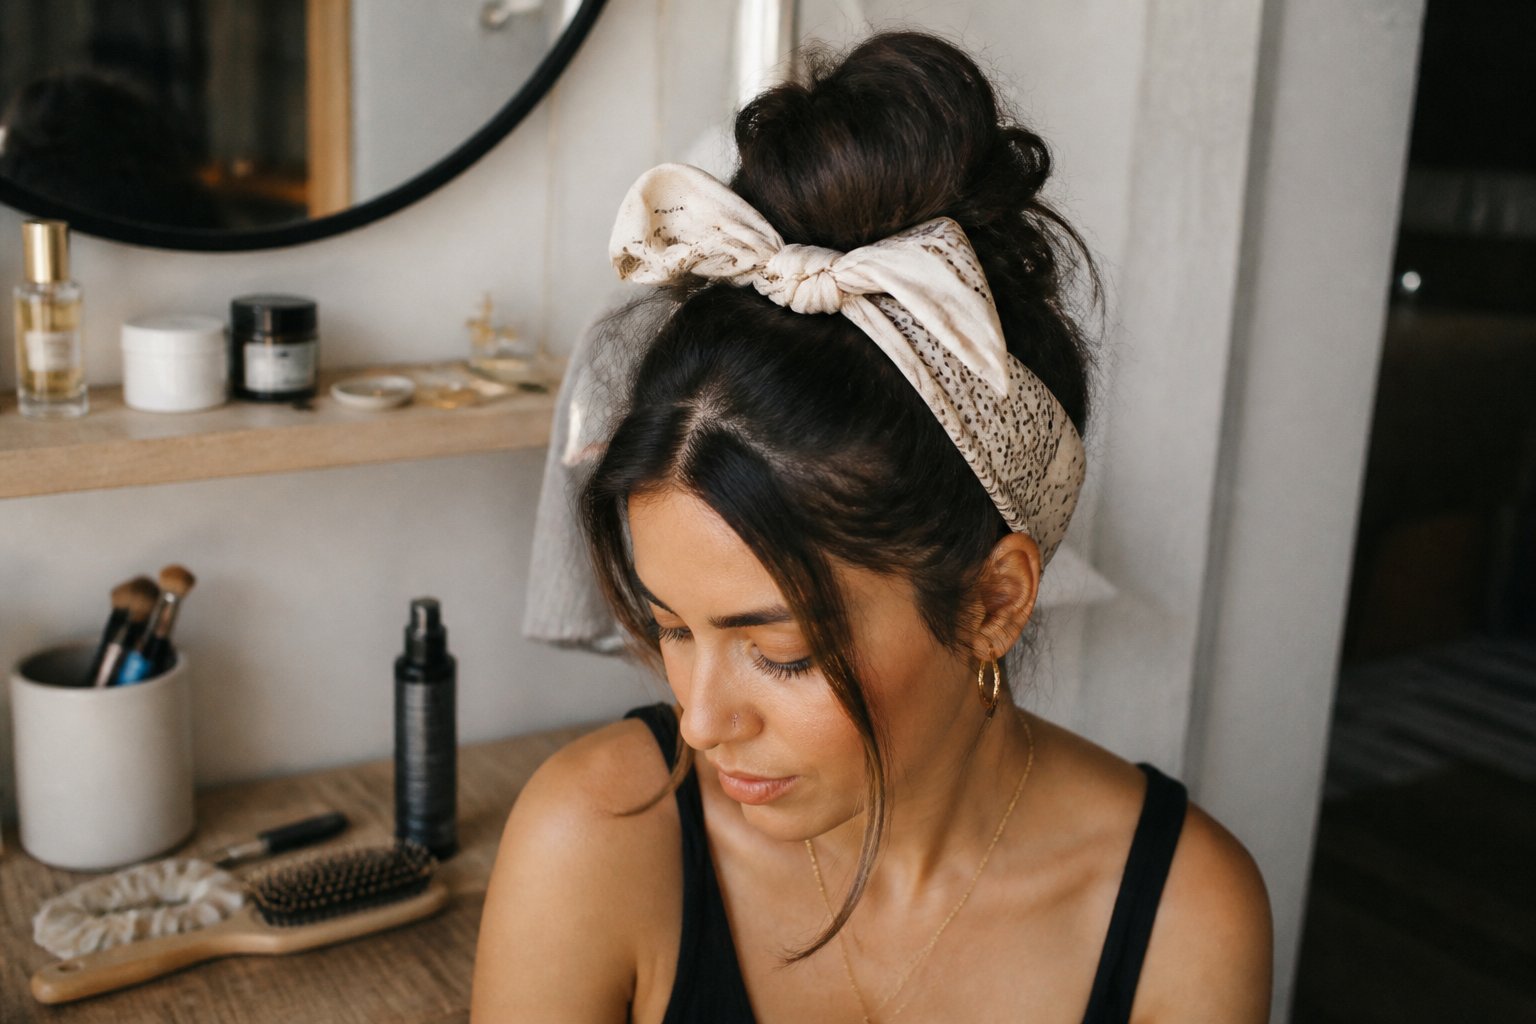
This tutorial shows you how to turn a simple top knot into a polished look using a silk bandana. Start with dry, slightly textured hair so the knot holds; smooth flyaways with a light mist or serum.
Gather your hair into a high pony and twist into a tight knot. Wrap the silk bandana around the base, tie a small bow, and tuck any tails for a neat finish. If your hair is slippery, loop the bandana under the elastic for extra grip.
Common mistakes: tying the bandana too tight can flatten your knot, while a loose bow looks messy. Choose a silk bandana for shine and less friction, and pick a pattern that complements your outfit. Try a solid color for work and a bold print for weekends.
5. Half-up twist secured with a folded bandana
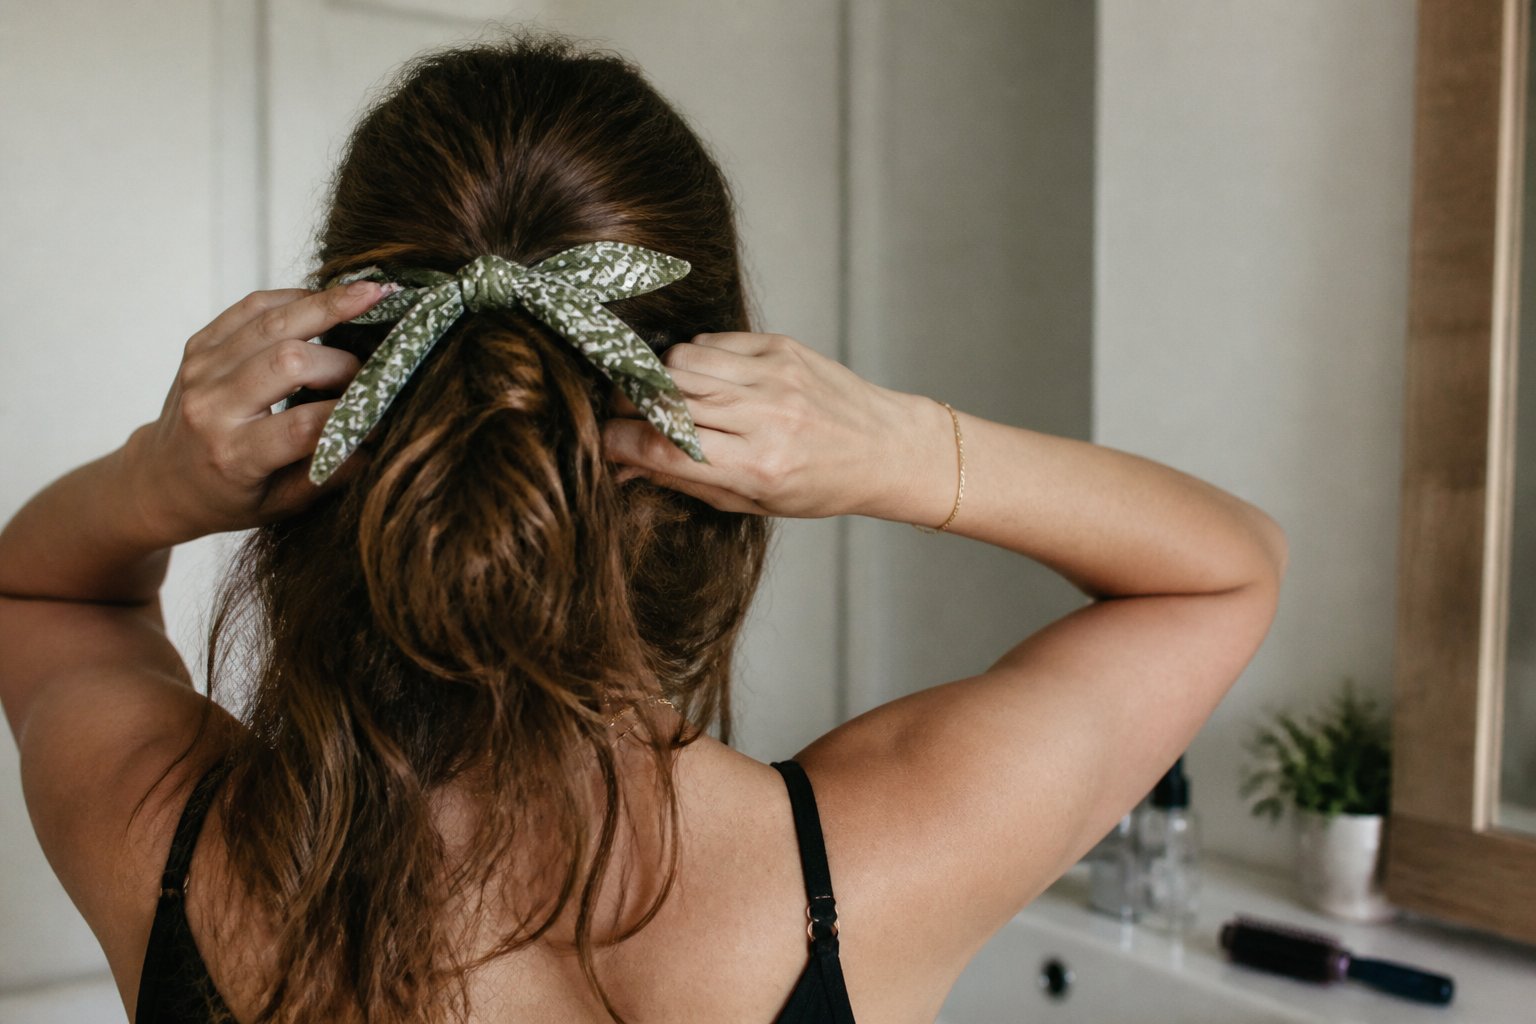
Tutorial: learn a quick half-up twist you can wear any day. Fold a bandana into a long strip, gather the top half of your hair, and twist two sections toward the back. Secure the twist with an elastic, then wrap the bandana around the base and tie a knot or bow.
This look works on straight, wavy, or textured hair. For thin hair, tease the crown slightly before twisting to add lift. If your hair is thick, make tighter twists so the bandana stays put.
Common mistakes: tying the bandana too loose makes it slip; folding it too wide hides the twist. Try a bright or patterned bandana for contrast, or a neutral one to keep it simple. Practice once and you’ll finish this style in under five minutes.
6. Braided crown threaded with a thin bandana
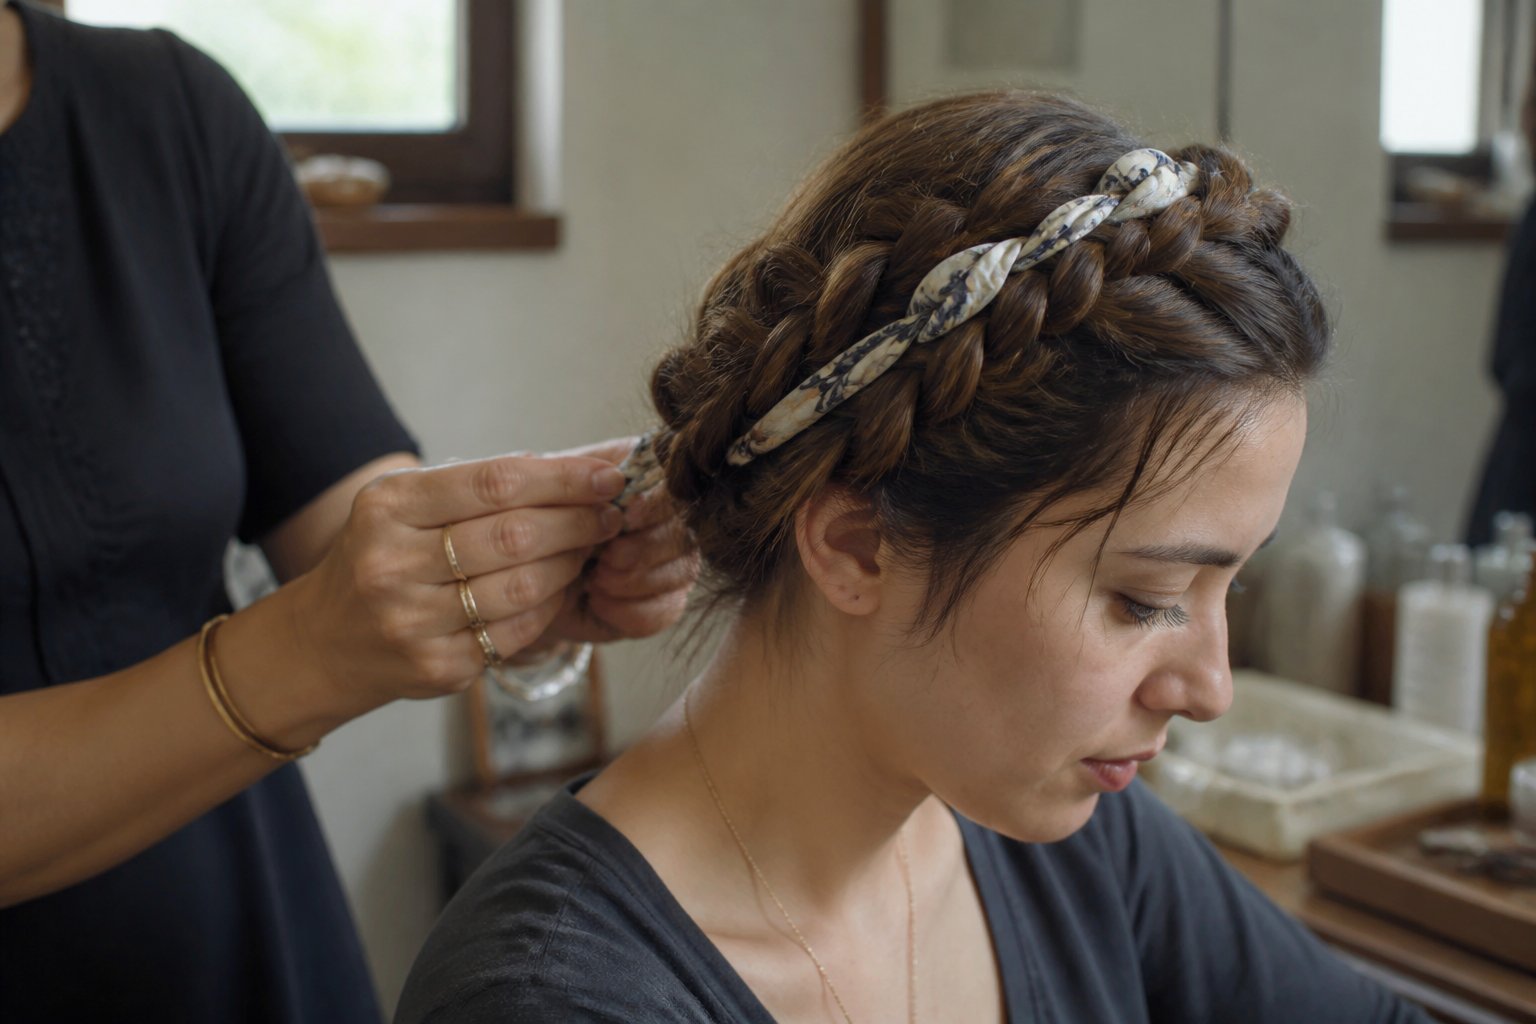
This is a tutorial to make a polished braided crown with a thin bandana woven in. Start with clean, detangled hair and a thin cotton or silk bandana folded into a narrow strip about 1/2 inch wide.
Part your hair down the middle and begin a Dutch or French braid at one temple. Braid along the hairline toward the opposite ear, adding hair as you go, and hold the bandana as a third strand so it threads through the braid. If the bandana slips, secure it with a small clear elastic before continuing.
When you reach the other side, pin the braid under the opposite section to form the crown. Tuck the bandana ends under the pins for a neat finish. Common mistakes: using a bandana that’s too wide or braiding too loosely — both make the crown look bulky. Try a contrasting color for a delicate pop; adjust tightness for comfort and longevity.
7. Side-swept pixie with a slim bandana headband
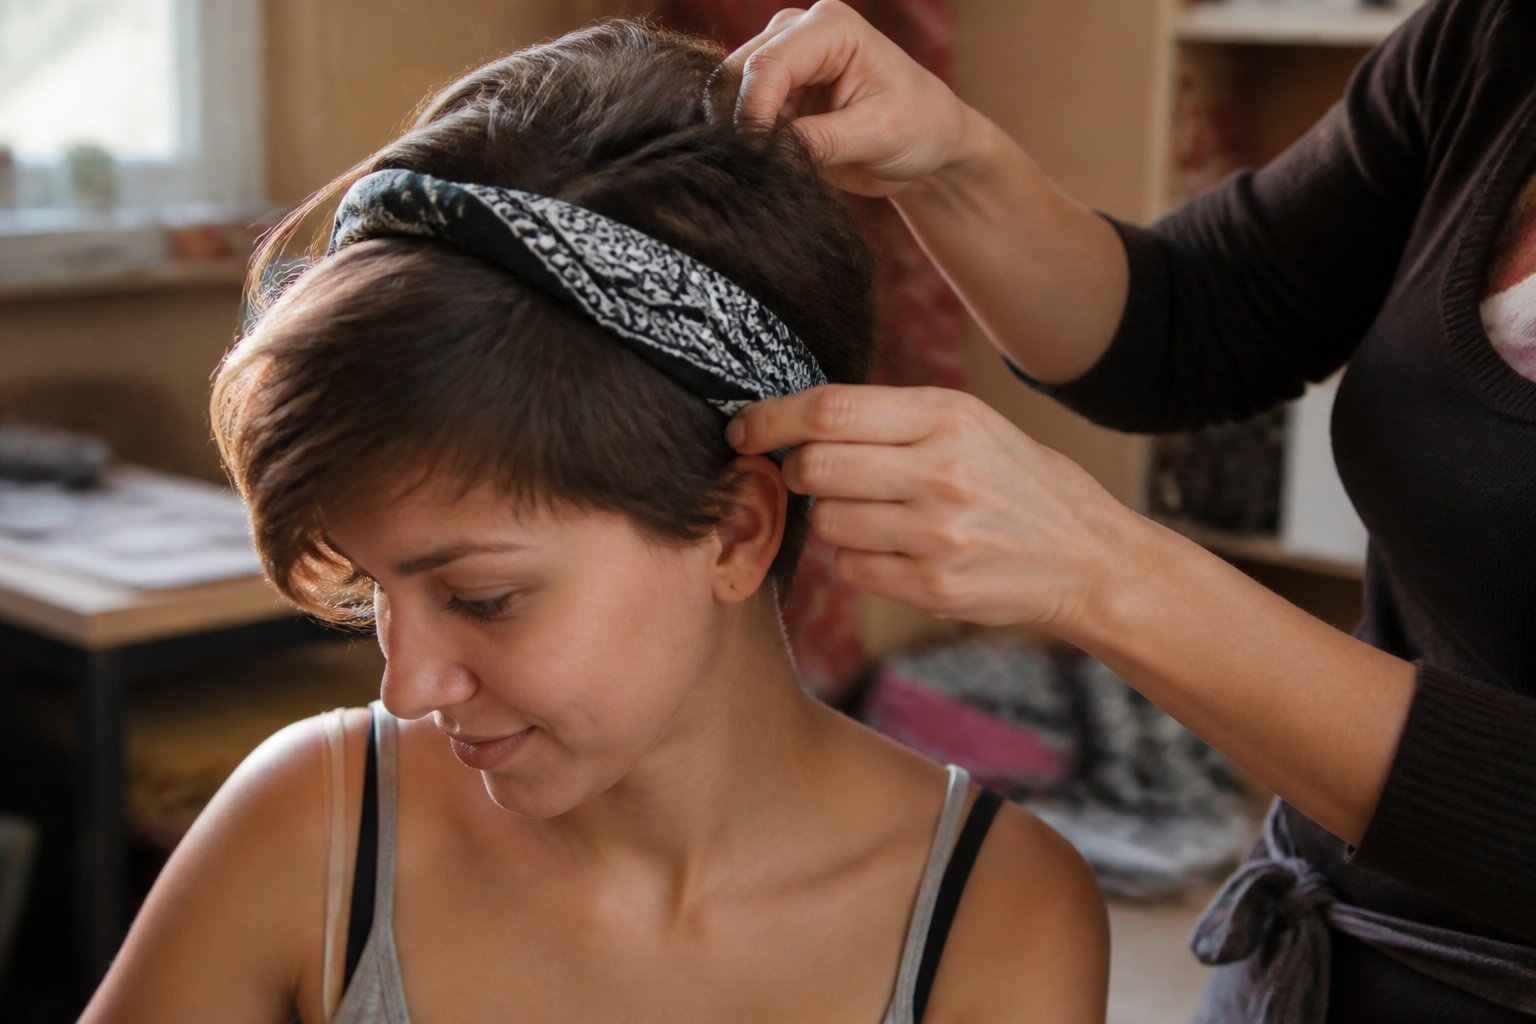
Intent: tutorial. This look lifts a side-swept pixie while keeping it sleek and modern. You learn how to place a slim bandana so hair stays soft around your face and looks polished.
Start with slightly textured hair. Use a light wax or cream to sweep hair to one side, creating a clean, controlled wave. Place a narrow bandana folded into a thin strip about an inch wide and tie it low at the nape or just behind the ear for a subtle, chic finish.
Watch for common mistakes: don’t fold the bandana too wide or it will hide your cut’s shape, and avoid tying it too tight or you’ll flatten the sweep. If you have cowlicks, secure the bandana then use a dab of styling paste at the roots to keep them down.
Try silk or soft cotton for comfort and to reduce frizz. Swap patterns: a tiny floral or solid neutral makes the style wearable for work or weekend. Give this a quick test before heading out so you know the knot sits where you want it.
8. Messy bob with knot-tied bandana at the nape
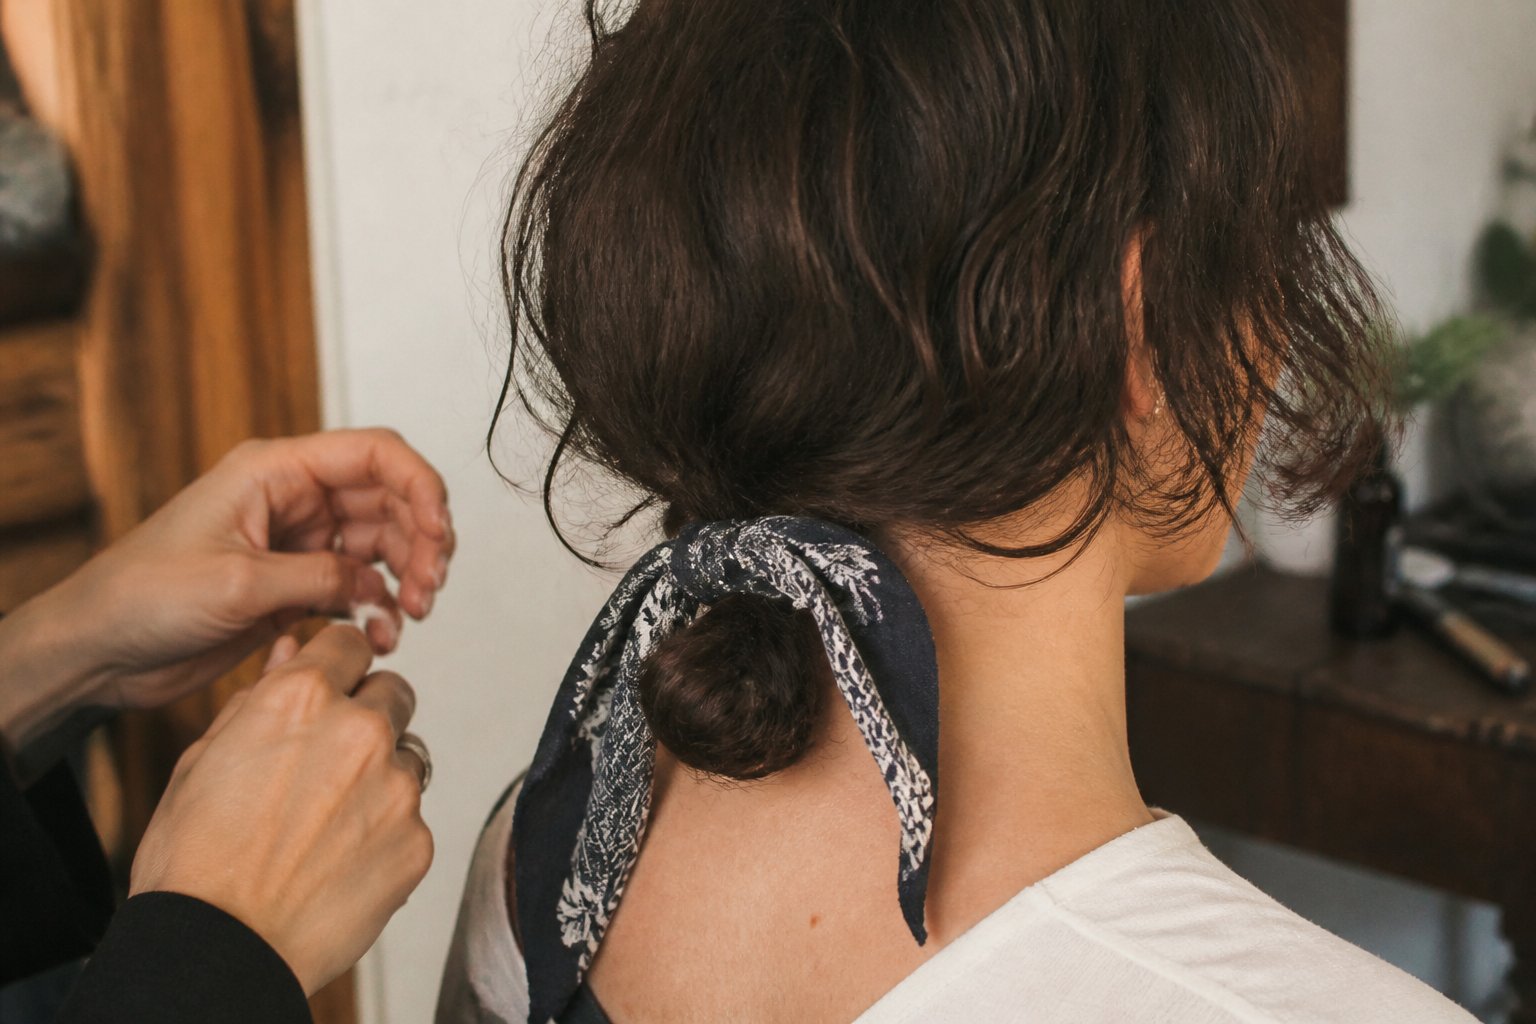
Guide: a quick tutorial to add polish to a casual bob. Start with dry hair and rough texture—use salt spray or light mousse for grip.
Fold a square bandana into a narrow strip and place it at the nape. Tie a small knot low so the tails sit against your neck and the fabric blends with the ends of your bob.
Pull out a few face-framing pieces and loosen the top with fingers for a lived-in look. Avoid tying the bandana too tight; it can flatten your volume and cause creases.
Common mistake: matching the bandana exactly to your outfit can look staged. Choose a contrasting print or color to make your hair shape pop. Try this on second-day hair for the best hold and minimal styling time.
9. Faux hawk with bandana-wrapped sides
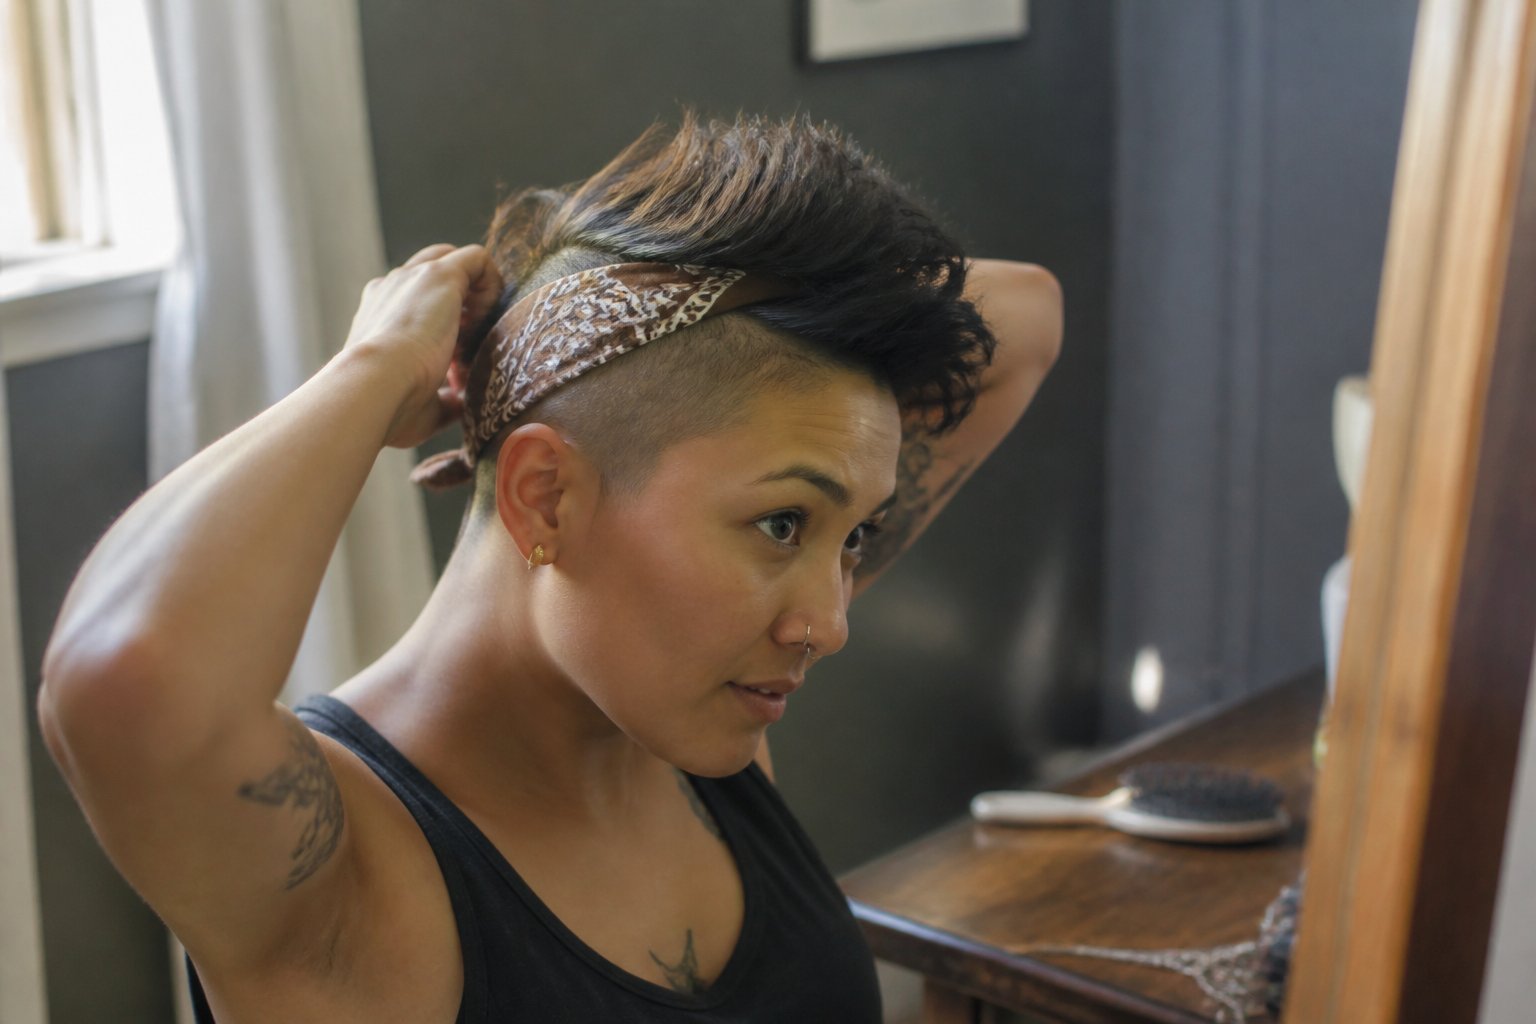
Intent: tutorial and style idea.
Create a bold look by styling a faux hawk and wrapping each side with a snug bandana. Start by teasing the center for lift, then smooth the top with a matte paste to hold shape. Fold a bandana into a thin strip and wrap it around the temple area on each side, tying low or tucking ends for a neater finish.
This works on short to medium hair and adds instant edge without shaving. Try a dark paisley for rock vibes or a bright print to soften the look. Common mistakes: over-tightening the bandana (it can flatten your lift) and using too much product (your hawk loses texture).
If you want variation, braid the sides before wrapping or leave small face-framing strands loose. Test the bandana placement in natural light and adjust until the balance feels right.
10. Double Dutch braids finished with bandana ties
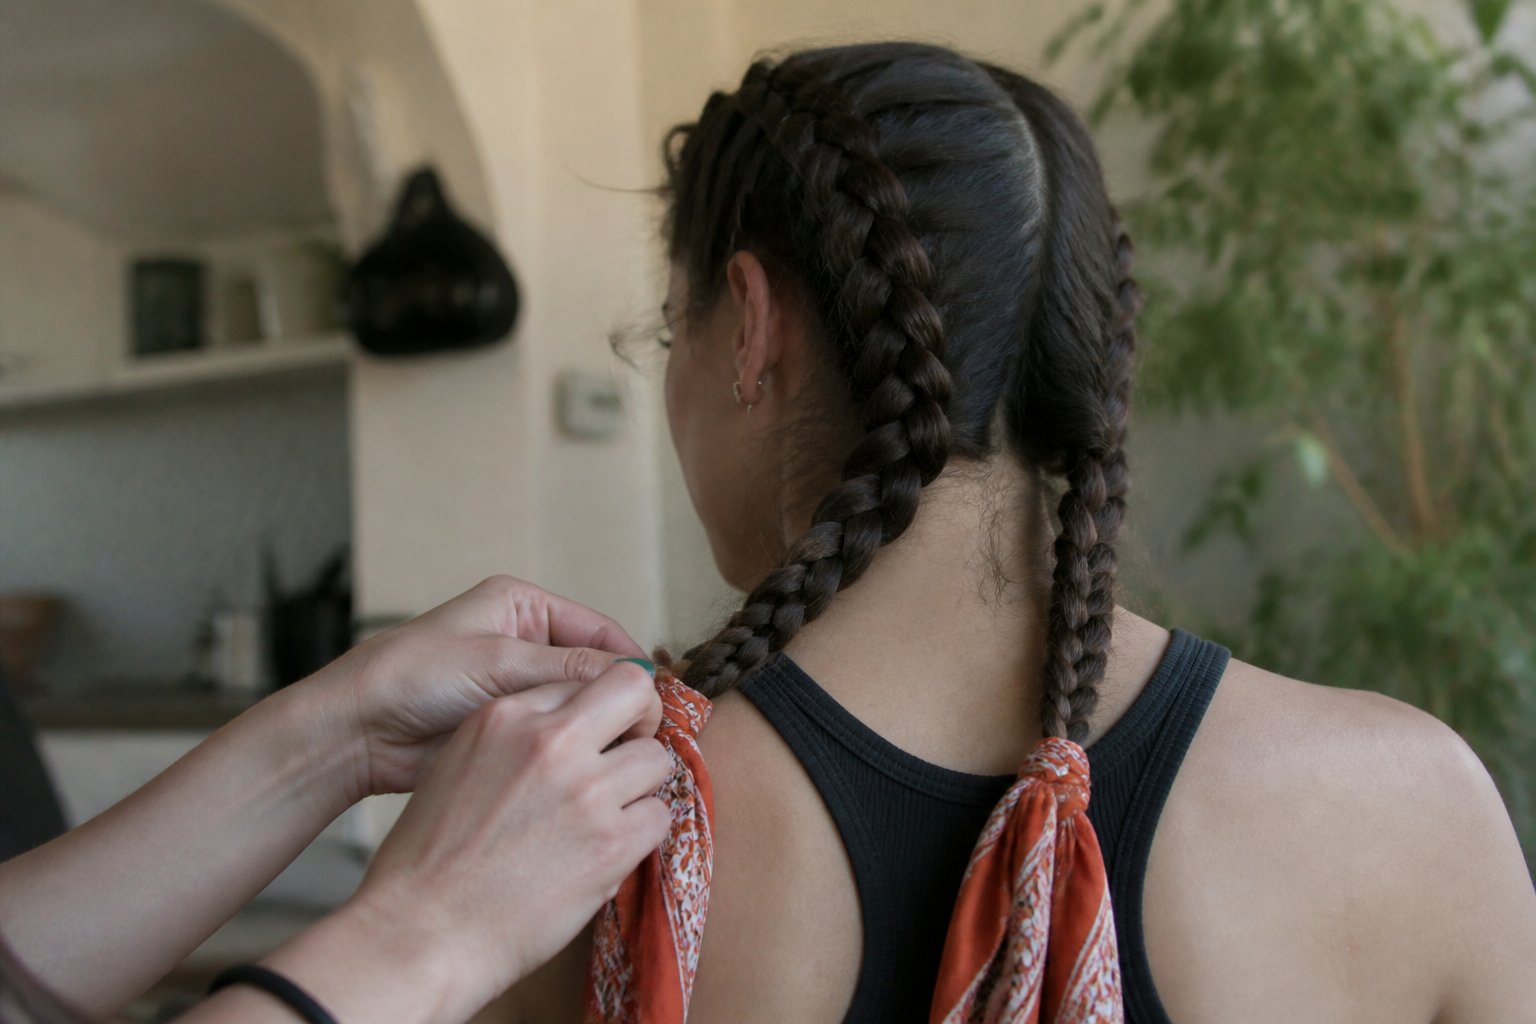
Tutorial: You’ll create two tight Dutch braids and secure them with bandana knots for a sporty, polished look.
Start with damp or detangled hair to keep braids neat. Braid each side as a Dutch braid, pulling sections under to add lift and texture. Keep tension even; too tight can hurt, too loose will frizz.
When you reach the ends, tie each braid with a small bandana folded into a strip. Match bandana colors to your outfit or use contrasting shades for pop. A common mistake is using a thick bandana that overwhelms thin braids—choose slimmer strips for balance.
For extra hold, use clear elastics under the bandana and tug braid loops gently to widen them. Try this for long days out or workouts. Give it a go and tweak the bandana size until it feels right.
11. Sleek middle part with bandana as forehead band
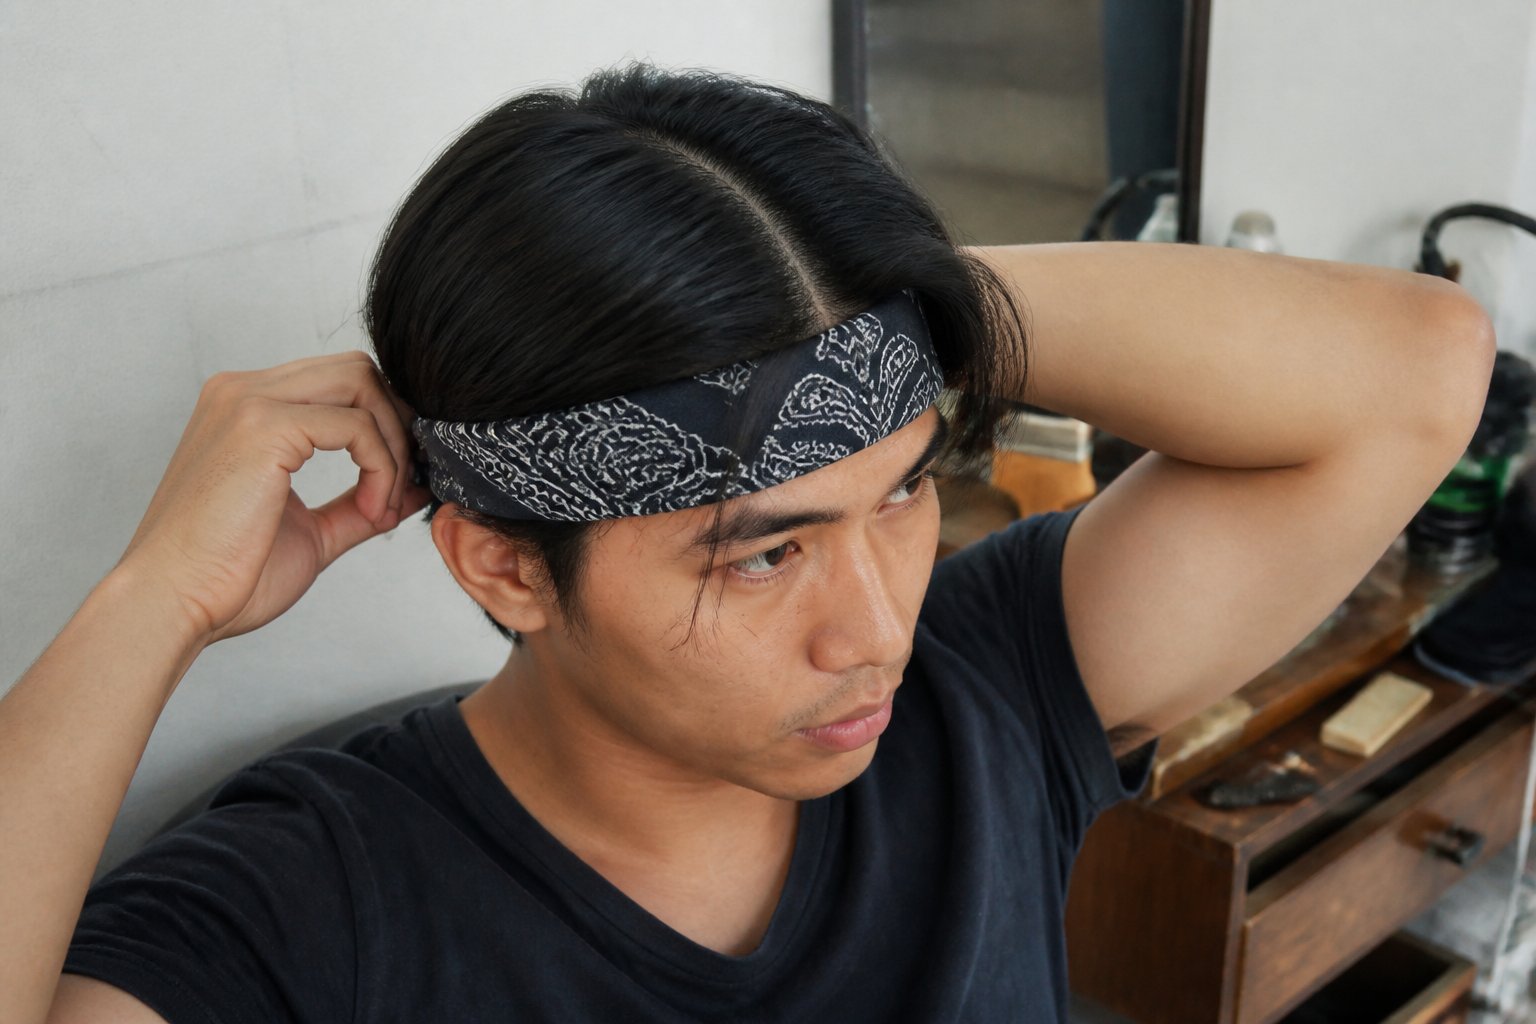
Guide: a polished, low-effort look that keeps hair tidy and frames your face.
Part your hair down the middle and smooth it with a light serum or cream. Pull hair behind your ears so the front stays flat and clean; this makes the bandana stand out. Fold a bandana into a slim strip and place it across your forehead, tying it at the nape or under your hair for a seamless finish.
This works on straight and relaxed waves. For finer hair, tease the crown slightly to avoid slippage. If your hair is thick, use a stronger knot and bobby pins near the tie to secure it.
Common mistake: placing the bandana too high, which hides your hairline. Aim for just above the brow for balance. Try a neutral color with a patterned edge to keep the look modern and wearable. Experiment and adjust until the bandana feels secure and comfortable.
12. Retro victory rolls accented by a rolled bandana
Tutorial: you’ll learn a classic pin-up look with a modern twist.
Start by sectioning your hair for two smooth victory rolls. Roll each section away from your face and secure with pins; tuck loose ends so the rolls look neat. A common mistake is rolling too loosely—your rolls should feel firm but not tight.
Roll a bandana into a 1–2 inch strip and place it at your hairline like a headband. Tie it at the nape or top, then hide the knot under a roll for a seamless finish. If your bangs are short, leave small face-framing curls to soften the look.
This style works on medium to long hair and suits casual or dressed-up outfits. Try a bright bandana for contrast or a neutral one for a vintage vibe. Practice once or twice; the first attempt often needs small pin or tension tweaks.
Bandana Fabric Choices
Pick fabrics that match how you wear a bandana: choose for comfort, hold, and the look you want. The right fabric affects grip, shine, and how long a knot stays tied.
Cotton vs. Silk Bandanas
Choose cotton if you want grip and easy styling. Cotton holds knots well, so your wrap, topknot, or ponytail stay put through workouts or wind. It breathes, so it won’t make your scalp sweat on hot days. A common mistake is tying cotton too tight; that can crease hair or give headaches. For a softer hold, fold cotton into narrower strips before tying.
Pick silk when you want smoothness and less friction. Silk slides less on hair, so it reduces breakage and frizz — ideal for sleek looks, low buns, and protecting curls overnight. Silk shows color richer and looks dressier with glassy shine. Silk can slip, so try a half-knot or tuck the ends under a bun to secure it without tightening.
Choosing Colors and Prints
Match color to your outfit and hair tone to keep the bandana from overpowering your look. Solid neutrals (black, white, tan) work with most styles and everyday wear. Bold colors like red or teal make a deliberate statement; use them with simple hairstyles so the bandana stays the focal point.
Pick prints to add personality: classic paisley reads vintage or pin-up, while geometric or floral prints read modern or boho. For dark hair, bright or light prints create contrast. For fine or light hair, choose smaller prints so the pattern doesn’t drown your style. Test a bandana before a full day out to check fading and dye transfer against light fabrics. For more ideas on styles and prints, see practical examples at this roundup of bandana hairstyles and ideas.
Caring for Your Hair and Bandana
Keep your hair healthy while using bandanas and make the fabric last longer. Focus on gentle placement, fabric choice, and regular cleaning to prevent creases, oil buildup, or color transfer.
Preventing Hair Crease and Damage
Guide: practical steps to avoid dents and breakage when you tie a bandana.
Choose a soft, smooth fabric like silk or satin blends to reduce friction. These materials slide over the hair and cut down on creases. If you use cotton, fold it into a wide band to spread pressure.
Use loose knots or a slip knot instead of tight double knots. Tight knots concentrate pressure at one point and can cause breakage, especially along the hairline. If you plan to wear a bandana all day, loosen it after a few hours to let your scalp breathe.
Place the bandana on slightly damp hair for smoother results and fewer creases. For a quick fix, run a little leave-in conditioner through creased areas and massage with your fingers. Sleep on a silk pillowcase or wrap hair in a silk scarf to protect styles overnight.
Watch common mistakes: tying directly on fragile edges, using metal clips under the bandana, or leaving synthetic-dyed bandanas on light or porous hair for long periods.
Washing and Maintaining Bandanas
Guide: how to clean, store, and care for bandanas so they stay bright and soft.
Hand wash bandanas in cold water with a mild detergent to protect fibers and prints. Gently swirl for a few minutes, rinse until clear, and press excess water between towels—don’t wring. For machine washing, use a laundry bag on a delicate cycle.
Avoid bleach and hot water to stop color fading and shrinkage. If a bandana has strong dye, test colorfastness by wetting a corner and blotting with a white cloth. If color transfers, wash it separately for the first few cycles.
Air dry flat or hang by a corner to keep shape. Iron on a low setting if needed; use a cloth between the iron and the bandana for delicate fabrics. Store folded in a drawer or flat box to prevent creases and sun fading.
For quick refreshes, spritz with a 1:3 mix of water and fabric freshener, then smooth with your hands before tying.
About the Author — Lena Harper
Lena Harper is a fashion writer and content strategist at Fashion Pops, known for creating thoughtful, trend-aware articles that feel both stylish and relatable. With a strong background in fashion journalism, she specializes in turning seasonal trends, outfit ideas, and styling concepts into easy-to-follow inspiration for modern women.
Her writing focuses on practicality without losing creativity — helping readers build outfits that feel current, wearable, and confident. When she’s not working on new articles, Lena enjoys exploring street style trends, discovering unique fashion finds, and curating inspiration boards that shape upcoming content at Fashion Pops.