Back to School Nails: 12 Bold, Trendy Looks to Elevate Your First Day
You want nails that feel fresh, calm, and ready for the school day without stealing your focus.
This guide reveals simple, stylish back-to-school nails and manicures that match uniforms, backpacks, and busy schedules, so you can look put-together fast.
Get easy ideas, smart prep tips, and quick fixes to help your nails last through classes, sports, and after-school plans.
Think classic looks, tiny school-themed accents, and low-maintenance options that still stand out—plus common mistakes to avoid when you do your own mani.
1. Classic French with Pastel Tips: Step-by-Step Tutorial for a Fresh School Look
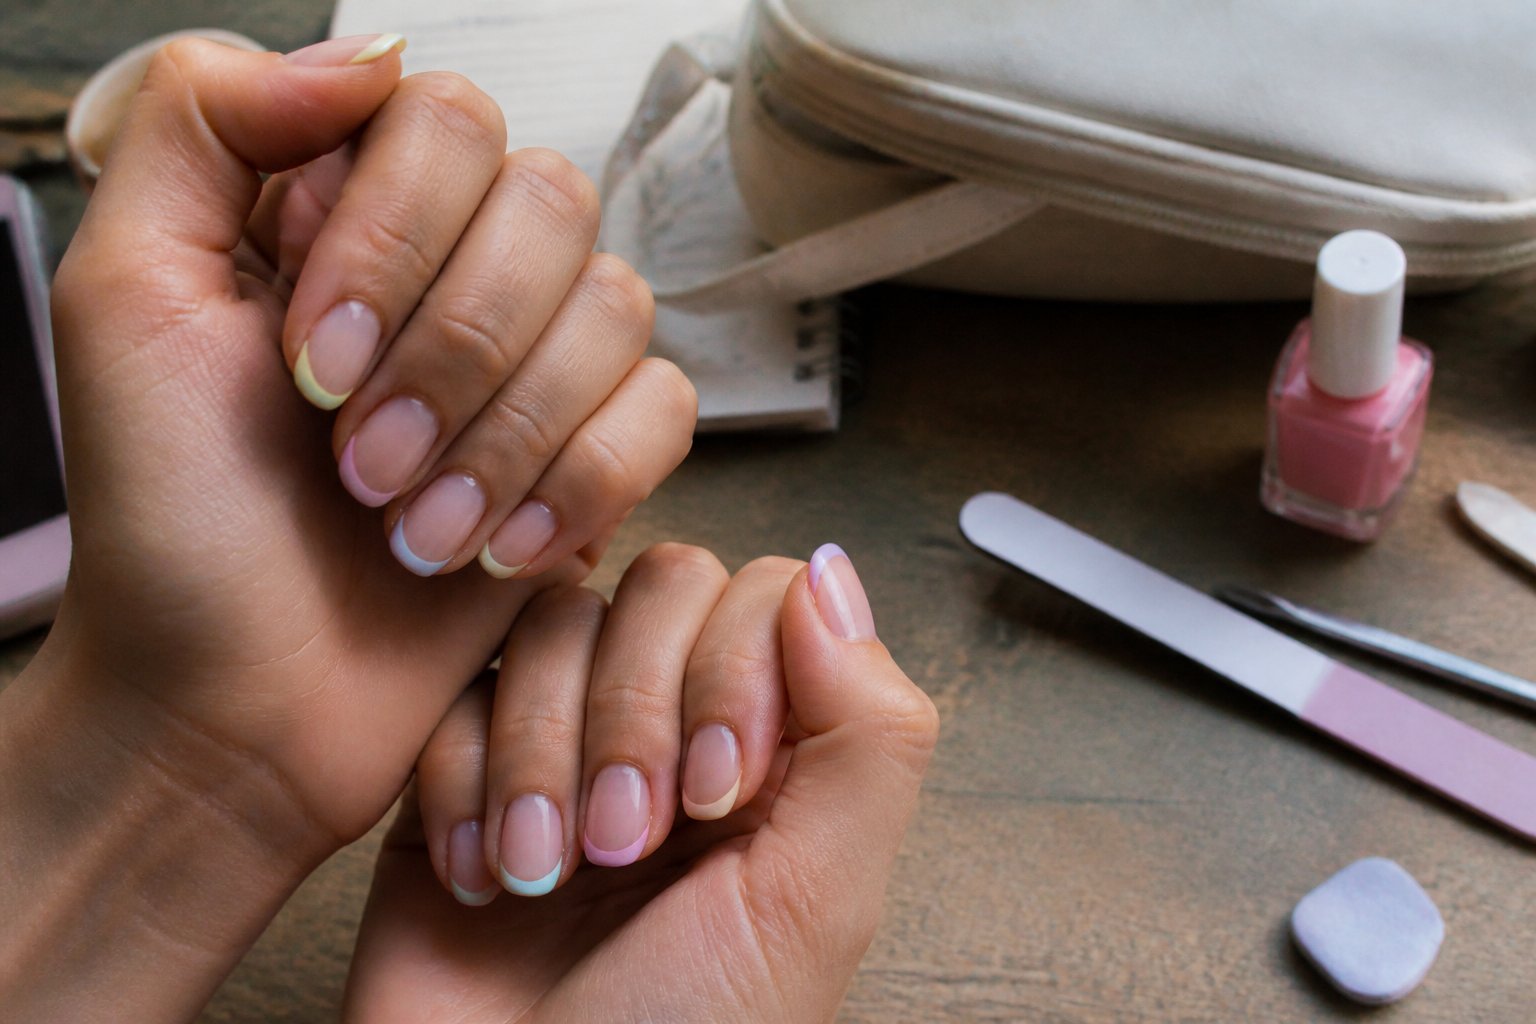
Intent: tutorial. This look gives you a wearable, school-friendly French that always feels current.
Begin by shaping your nails and applying a thin white base for a clean foundation.
Paint pastel tips—think baby pink, mint, or lavender—for a gentle pop that stays subtle during class.
Use a thin brush or nail tape for crisp tip lines. If your tips wobble, steady your hand on a table and wipe the brush clean—shaky lines are a frequent pitfall.
Top with a glossy coat to seal and extend wear. If you chip a tip, buff lightly and touch up with matching pastel—no need to redo the whole nail.
Try alternating pastel colors for a playful finish. Ready to experiment or ask your nail tech for a tiny dot or star accent?
2. Neutral Nude Coffin Nails with White School Doodles: DIY Guide for Subtle Personality
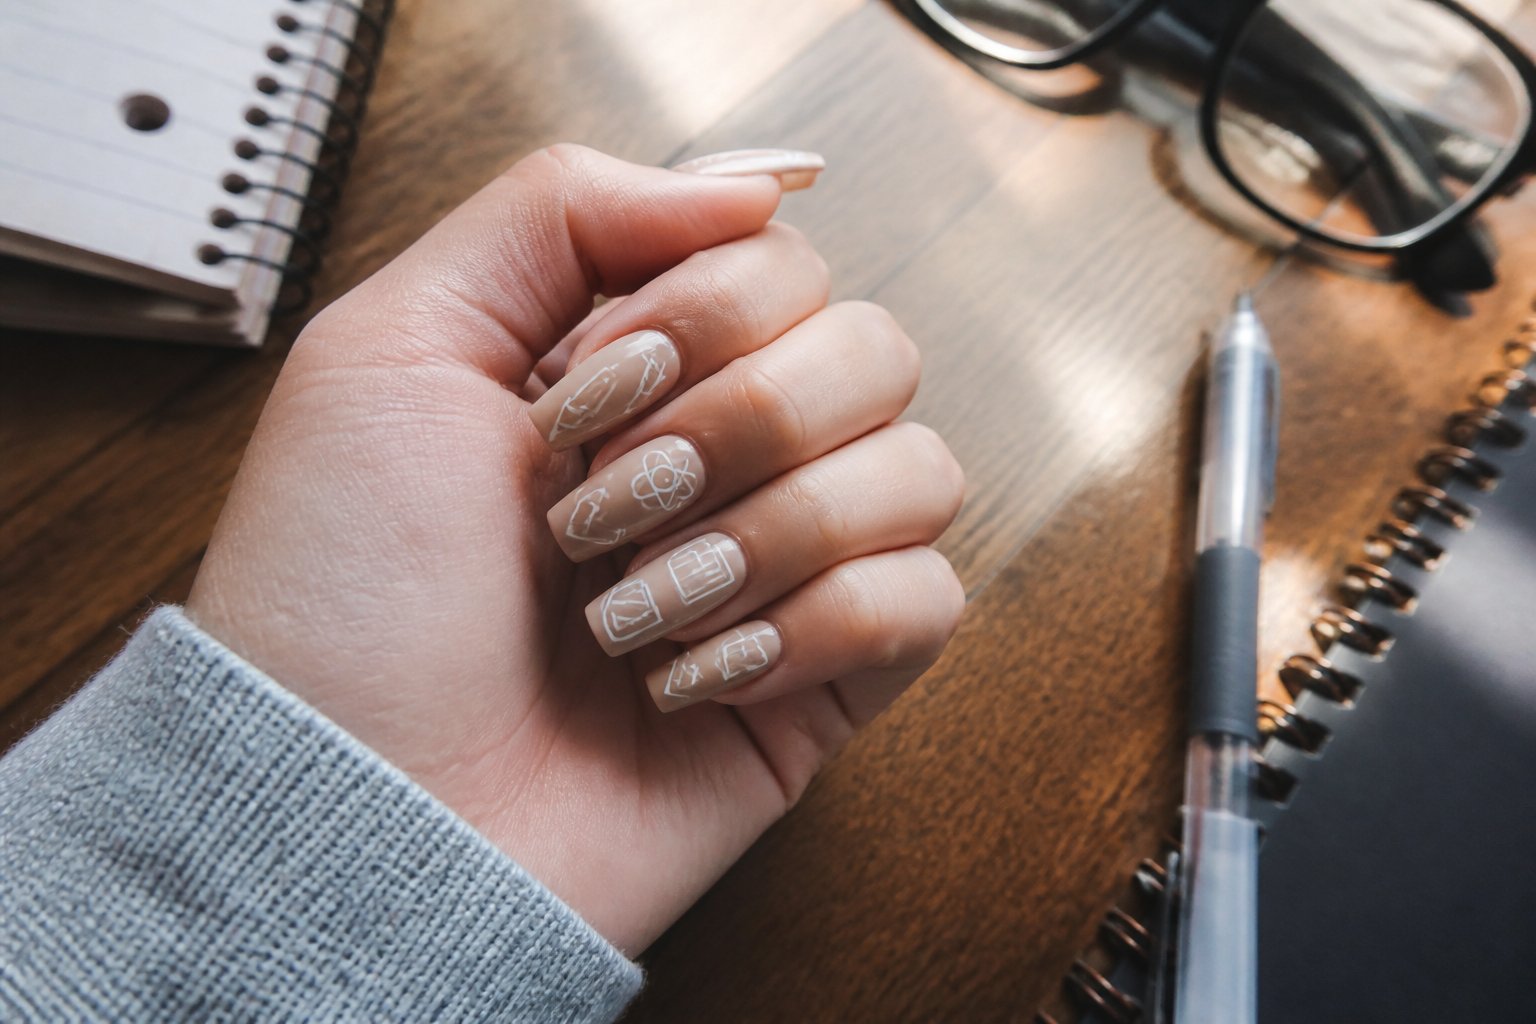
This tutorial helps you achieve a clean, school-ready look that still shows your style.
Start with a neutral nude coffin base for a polished, teacher-approved vibe.
Draw tiny pencils, apples, or math doodles on one or two accent nails using a fine white brush or nail pen.
Keep most nails plain—overloading every nail is a common mistake that can look messy.
Practice doodles on paper first. Seal with a glossy topcoat and cap the free edge for longer wear.
Swap an accent nail for subtle glitter or a matte finish to add depth without losing the neutral tone.
3. Matte Pastel Checkerboard: Step-by-Step Guide to a Soft, Modern Pattern

Guide: simple tutorial for a school-ready checkerboard with a matte twist.
Use two pastel shades—try mint and lavender or blush and baby blue—as your base colors.
Paint thin squares with a striping brush or nail tape, working one square at a time for crisp lines.
Allow polish to dry, then finish with a matte topcoat for a velvety effect.
Sharpen any blurred lines with a small clean-up brush dipped in acetone.
Don’t rush—rushed grids and thick polish can smudge the pattern. Wear gloves after to protect the fresh look.
Try a glossy accent nail to make the matte checkerboard pop even more.
4. Glossy Red Nails with Tiny Apple Accent: Tutorial for a Classic School Motif
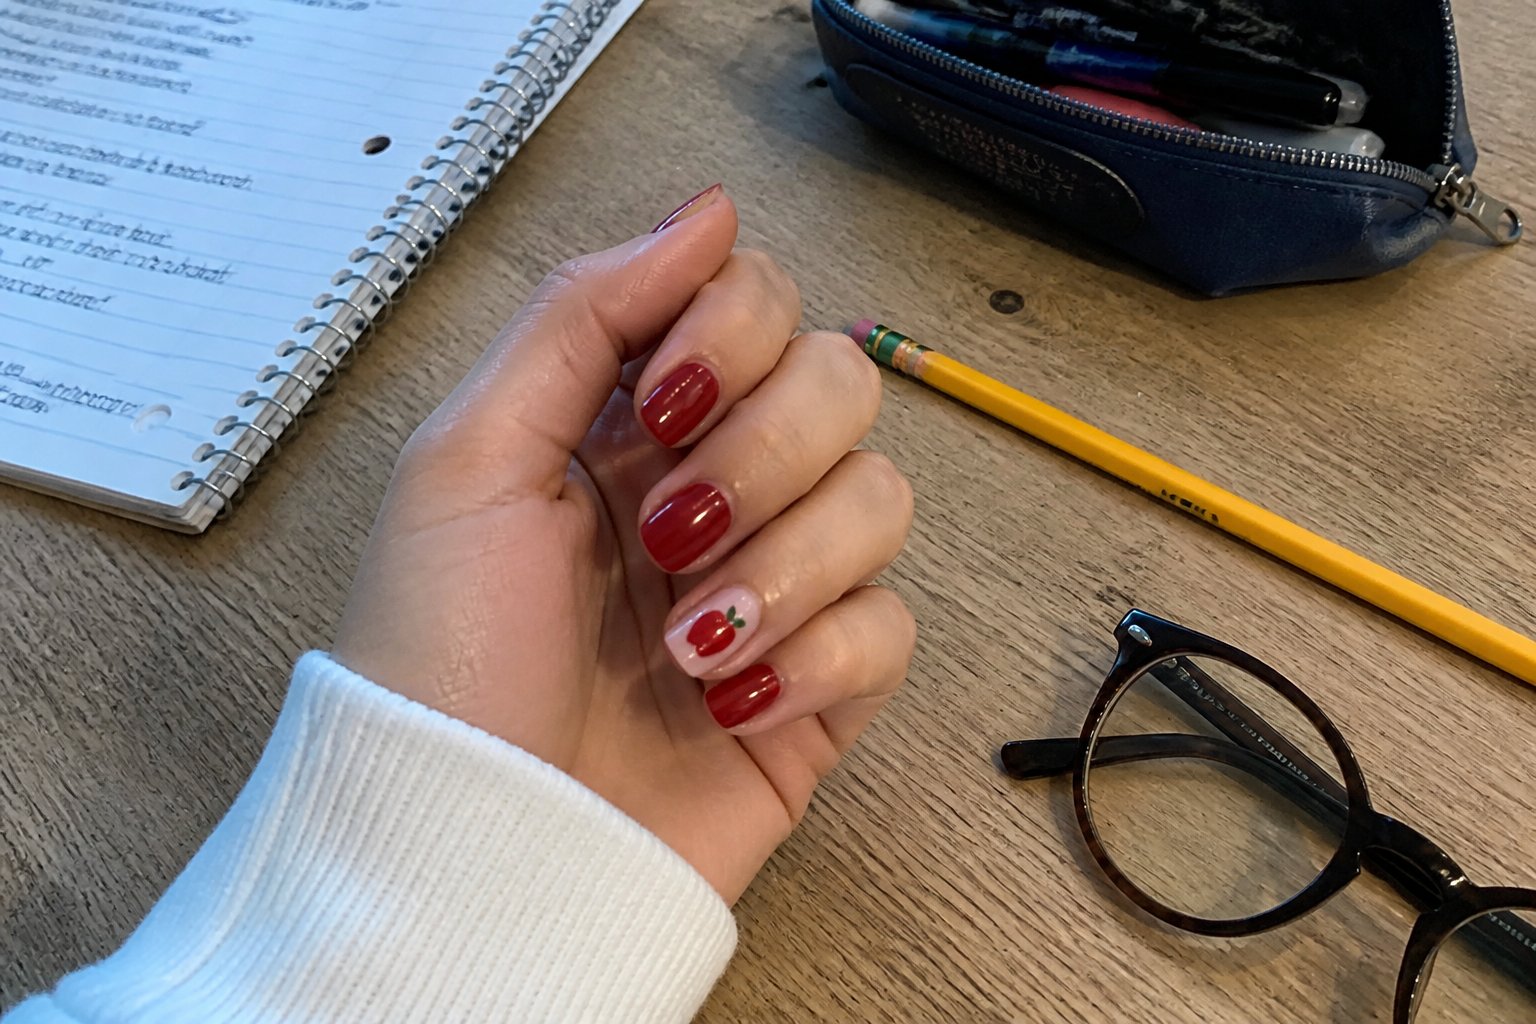
Intent: tutorial and idea. Start with a glossy red base for a bold, polished look that stands out.
Use a dotting tool to place one tiny apple near the cuticle or on an accent tip.
Paint a small circular shape in lighter red or white, then fill with glossy red for a vivid apple.
Add a tiny brown stem and green leaf with quick, confident strokes.
Keep the apple small—oversized designs chip faster and lose their charm.
Try this on one or two nails for a neat, wearable effect. Browse real-life apple accent examples for inspiration before you start.
5. Chalkboard Black Nails with Mini White Equations: Guide for Math-Inspired Nail Art
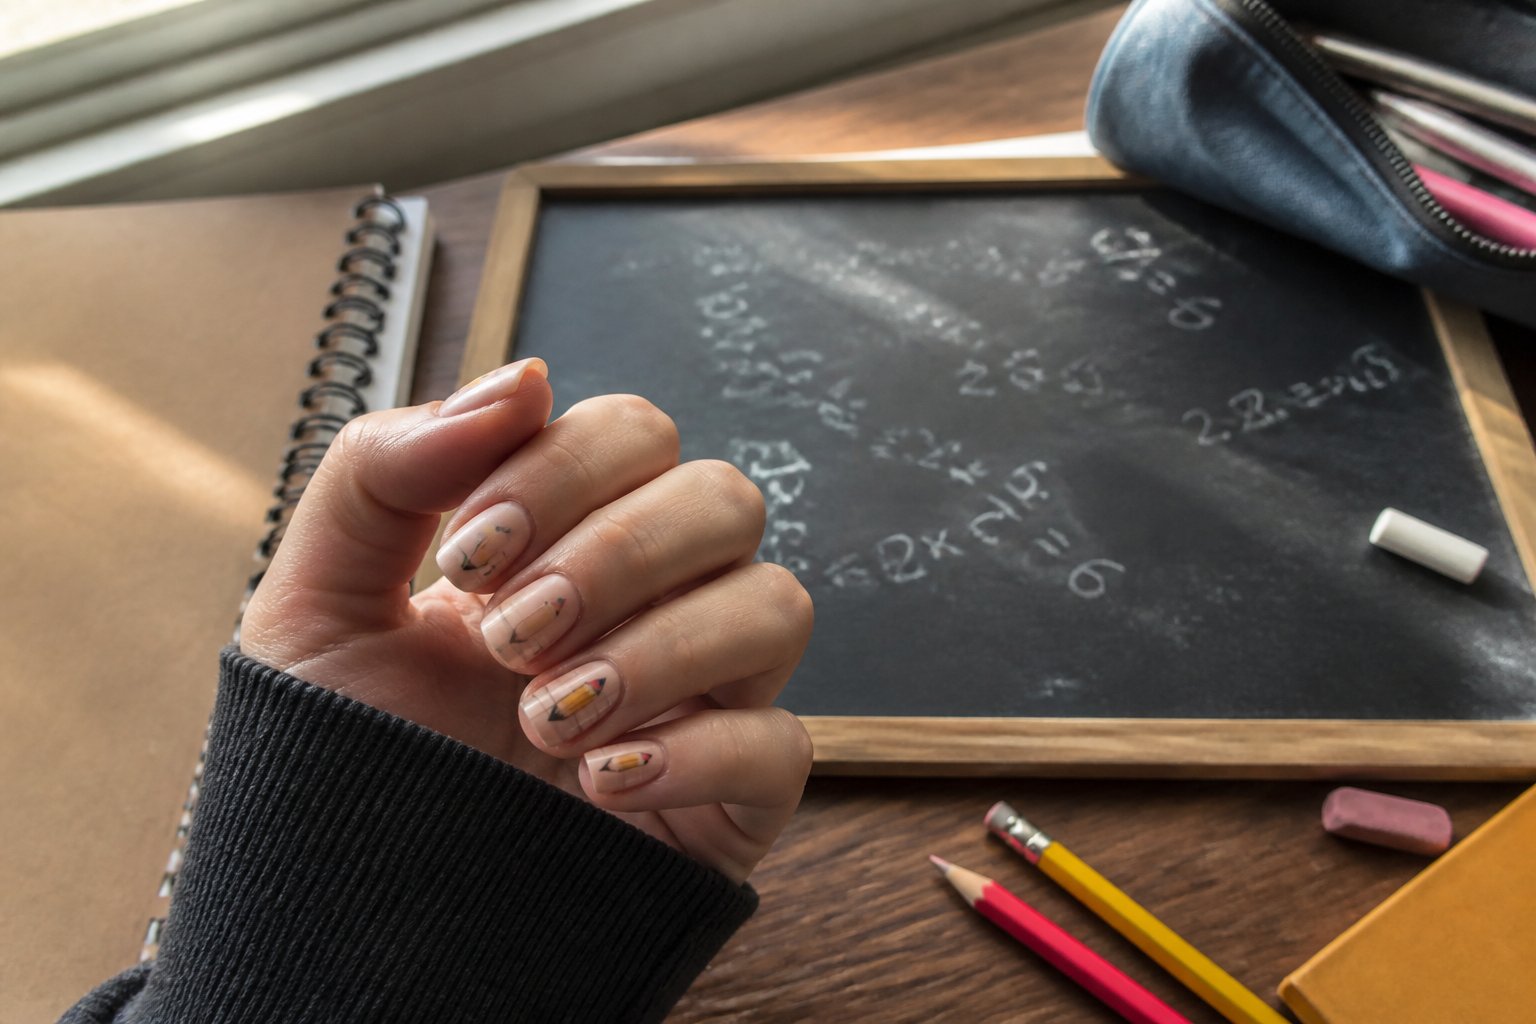
Tutorial: paint a matte black base to mimic a classroom chalkboard.
Draw tiny equations—like 2+2=4 or x+y—using a fine white brush or nail pen.
Practice on paper first for steady lines. Light, controlled strokes create a true chalk look—heavy hands create blobs.
Seal with a matte top coat to lock in the effect.
Add variety with tiny doodles—apples, hearts, or grid lines—on other nails.
Wipe mistakes with acetone and redo as needed. Want advice on tools or a custom routine for your skill level? Reach out for tips.
6. Ombre School-Spirit Colors (Two-Tone): Tutorial for Showing Team Pride Subtly
Intent: tutorial and idea. Try two-tone ombré in your school colors for subtle spirit that looks polished.
Start with the darker shade at the base and fade to a lighter tip—navy to sky blue or burgundy to blush are favorites.
Buff and use a base coat for smooth blending. Dab with a sponge for a seamless gradient, and quickly clean excess from skin.
Let each thin layer dry before adding the next—thick coats smudge the gradient.
Seal with a glossy topcoat for durability. Add a touch of glitter near the cuticle for extra flair.
Test one hand in solid color and the other in ombré to see what you love most. Wear it through your first week and see how it holds up under daily hustle.
7. Minimalist White Nails with Gold Paperclip Decal: Guide for a Chic, Understated Statement
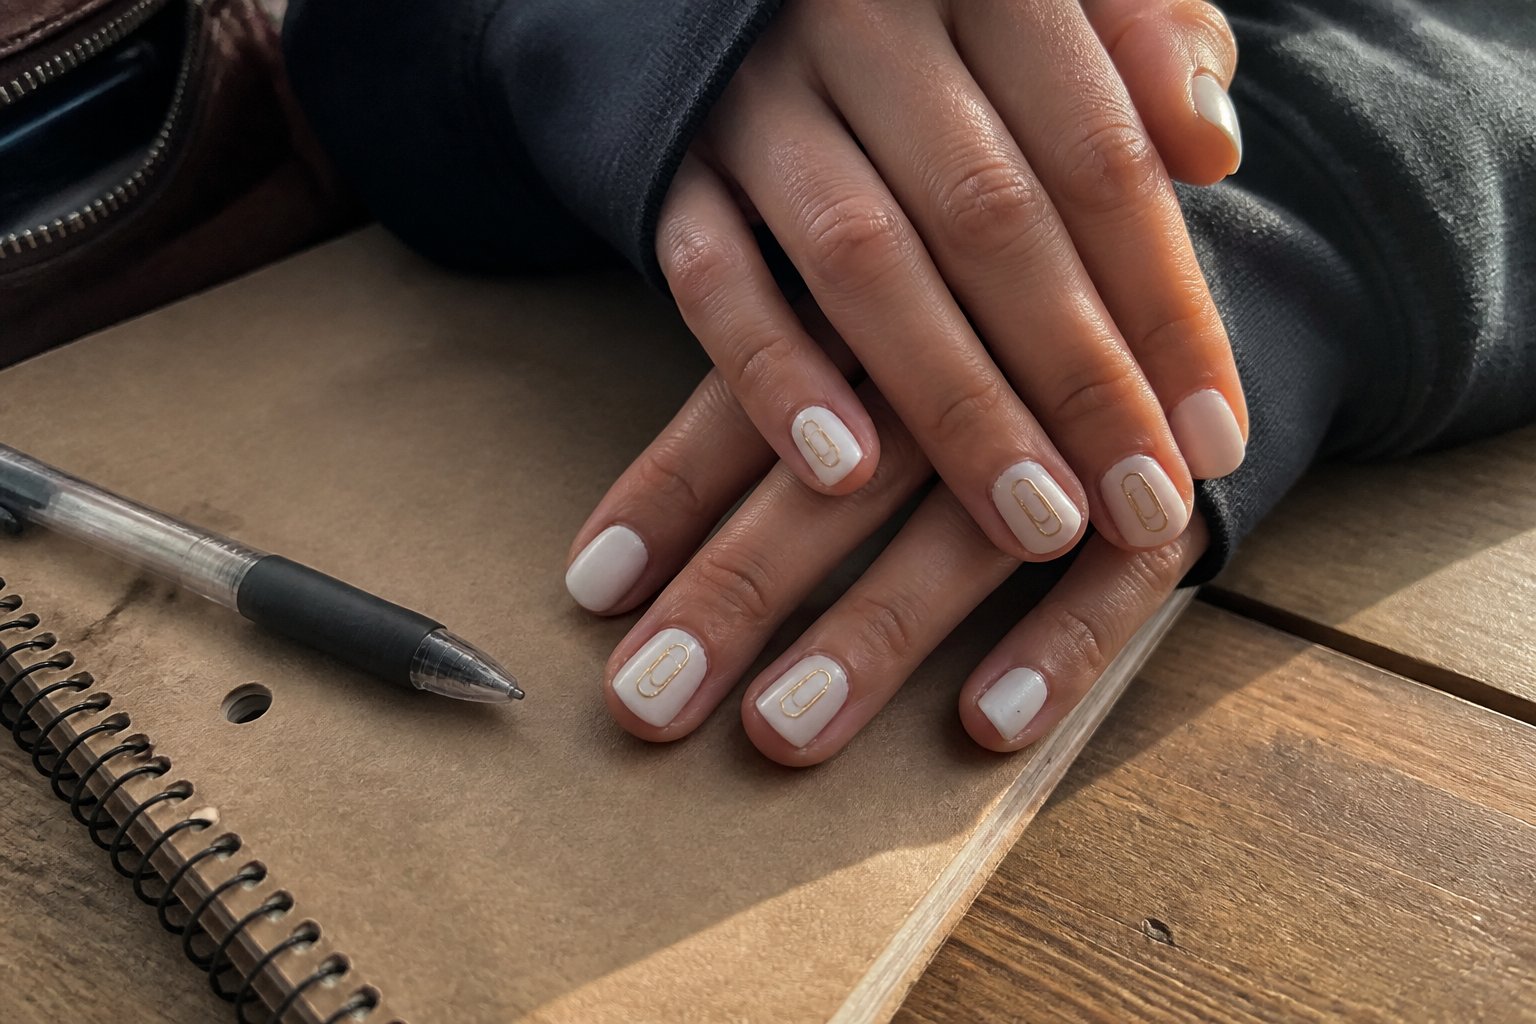
Tutorial: achieve a crisp, clean look that still feels special for the first day.
Apply two thin coats of white polish, letting each dry fully for a smooth base.
Place a tiny gold paperclip decal near the cuticle or along the nail’s side using tweezers for precision.
Seal with a glossy topcoat, wrapping the tip for longevity.
Don’t add decals to tacky polish—a common mistake that causes lifting.
Try one decal per hand for subtlety, or alternate with a neutral beige for variety. For more inspiration, check this collection of minimalist designs and make it your own.
8. Pale Blue Textbook Spine Stripe Nails: Tutorial for Book-Lover’s Minimalist Design
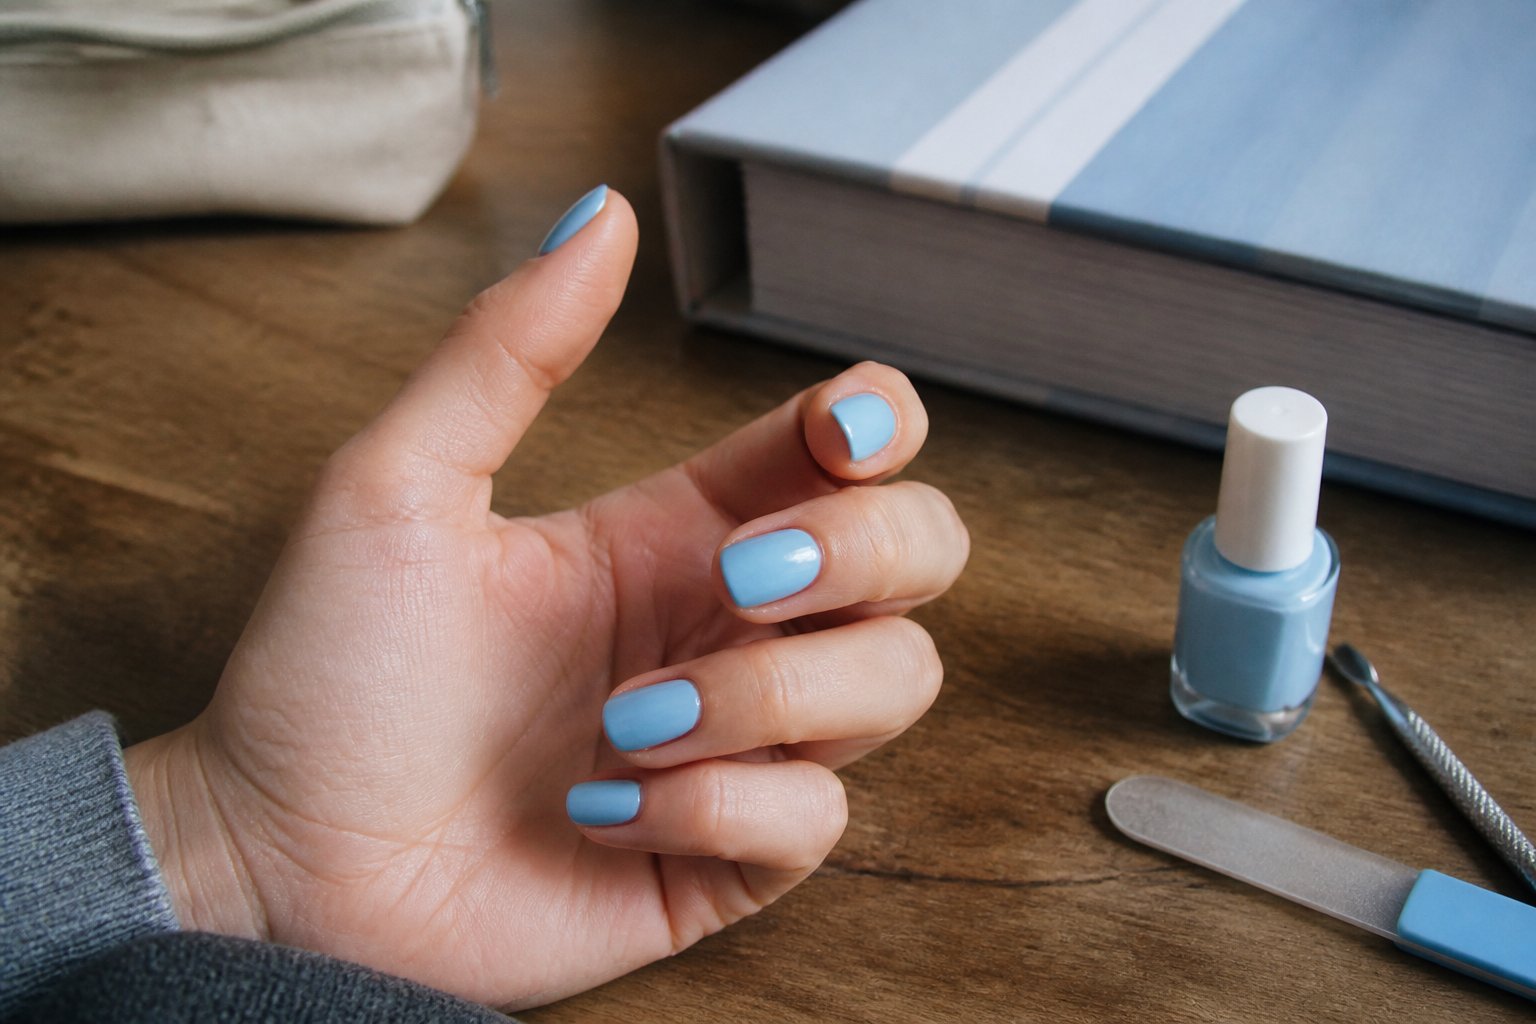
Intent: tutorial and idea. Use pale blue as your base and paint a thin vertical stripe down one or two nails to echo a textbook spine.
Offset the stripe for a modern, intentional effect—it’s a subtle nod that always gets noticed.
Add a tiny white number or letter for a chapter-mark detail, using a fine brush or striping tape for precision.
Keep lines thin; thick stripes can feel clumsy and overwhelm the design.
For at-home ease, let your pale blue base dry, then use striping tape to guide a darker blue line.
Request a gel topcoat at the salon for extra crispness. Show off your book-inspired nails and spark conversation in your first week.
9. Glittery Ruler-Edge Accent Nail Tutorial for School
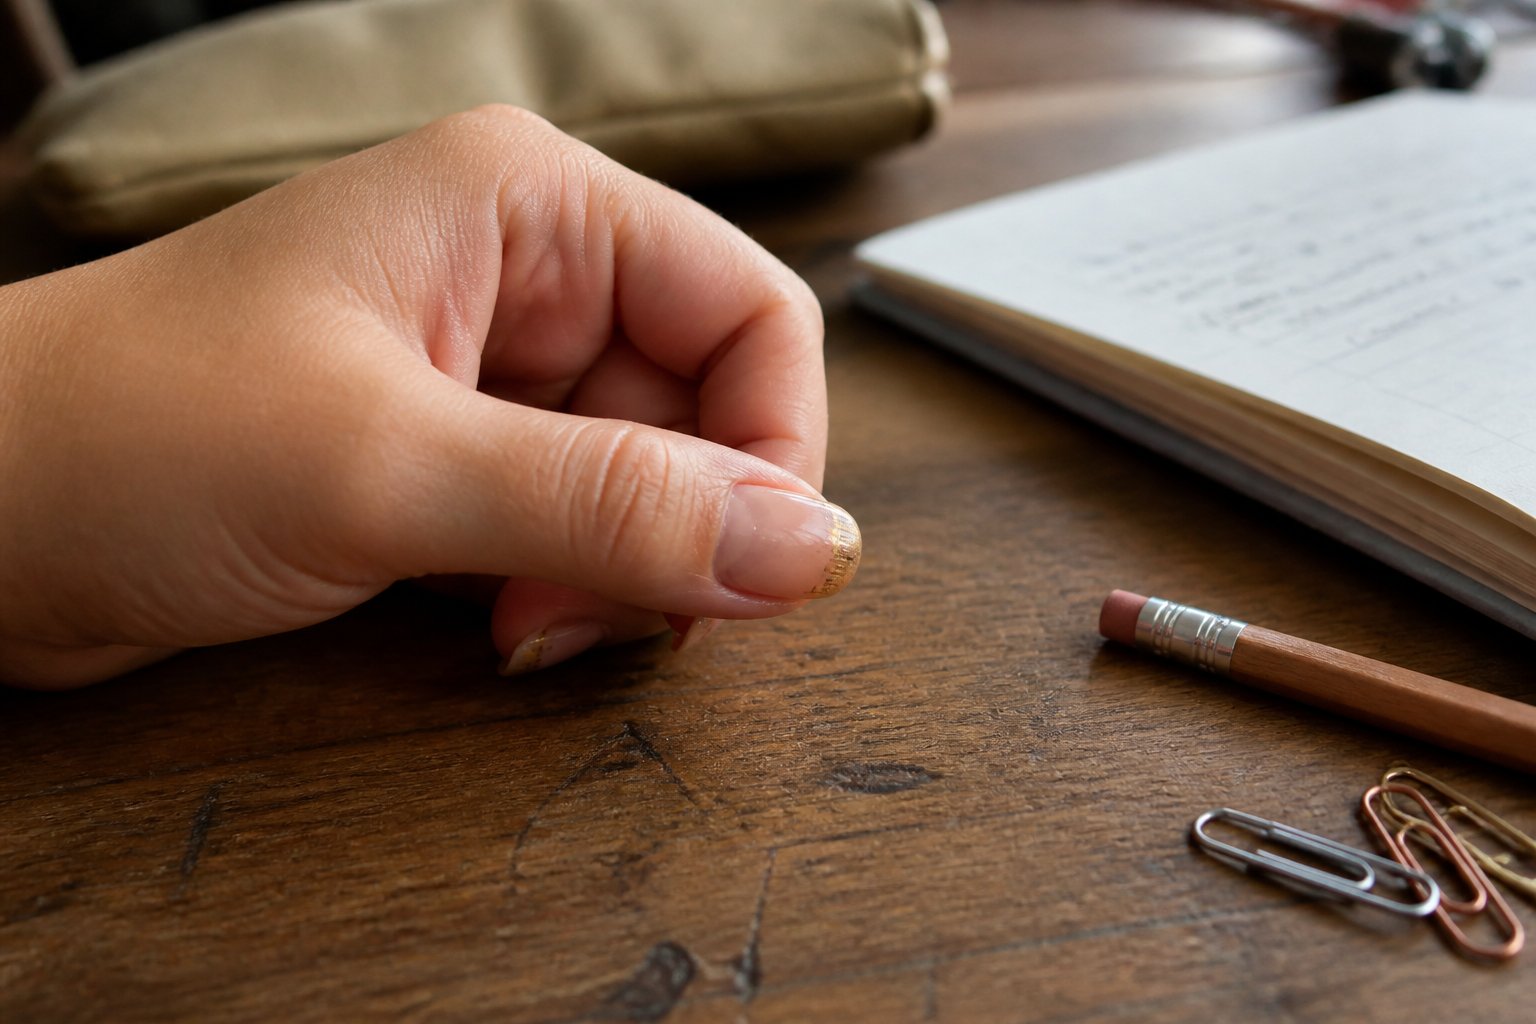
Want a nail look that’s both subtle and fun for school? Try a glittery ruler-edge accent nail—perfect for adding a hint of sparkle without breaking dress codes.
Start with a neutral base on all nails, then pick one nail to paint in a slightly bolder shade for contrast. Use thin striping tape to create a straight line 1–2 mm from the tip, mimicking the edge of a classic ruler.
Carefully apply a fine chrome or holographic glitter polish along the taped edge. Press glitter flakes down with a makeup sponge for even, dense coverage.
Remove the tape while the polish is still tacky to keep the line crisp. Finish with two layers of fast-dry topcoat to smooth the glitter and prevent snagging on papers or backpacks.
Pro tip: avoid chunky glitter, which can catch on things if not sealed well. Try a subtle silver or your school’s color for a polished, student-friendly twist.
Give this a go before your first day back—your nails will be the talk of homeroom for all the right reasons.
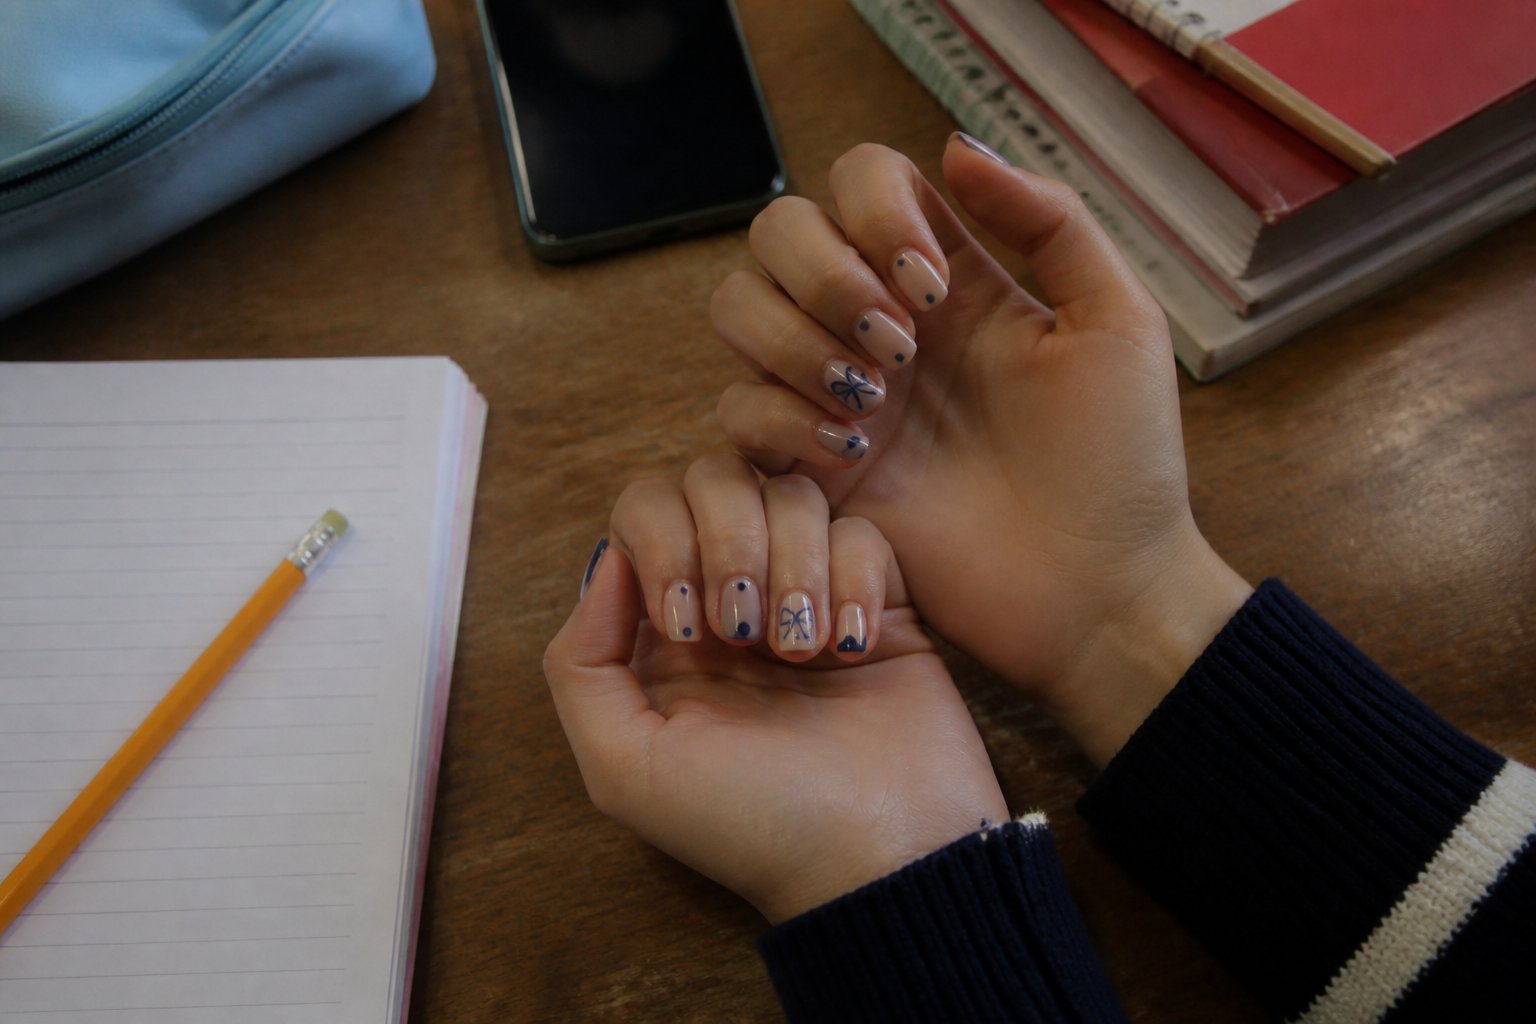
10. Navy and Cream Polka-Dot Nails Inspired by School Uniforms: Step-by-Step Idea
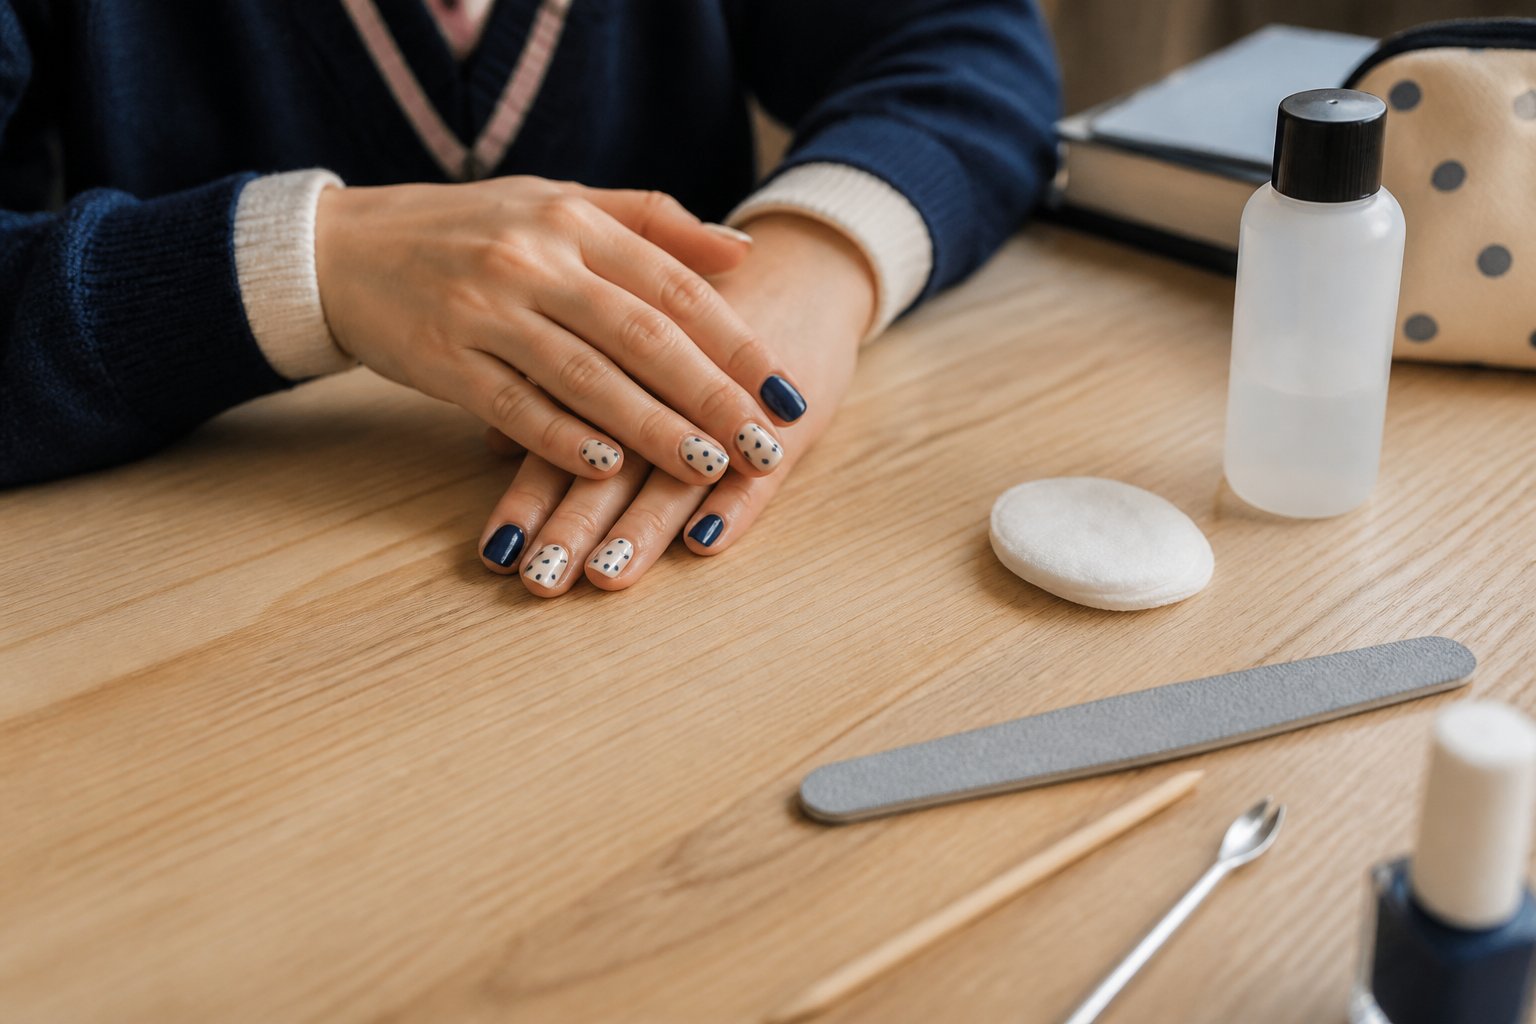
If you love classic school uniform vibes, try this navy and cream polka-dot manicure. Paint two nails solid navy, two cream, then use a fine dotting tool to add perfectly spaced cream dots on the navy fingers.
Uniformity is key—practice your dotting technique on a spare tip or paper before starting. Wipe your tool between each nail to keep dots consistent in size and shape.
Add a thin cream French tip to one navy nail for a chic twist. Seal everything with a glossy topcoat and make sure to cure fully if using gel.
For a unique finish, try matte on cream nails and glossy on navy—this contrast makes the dots pop. Handmade press-ons are available if you want a ready-made option, like this navy polka dot set (https://www.etsy.com/market/navy_polka_dots).
This design is a favorite for spirit week and pairs perfectly with any uniform. Don’t be afraid to experiment—your nails should be as fun as your school year.
11. Micro-Lettering Initials on Sheer Pink: Personalization Tutorial
Personalize your manicure with micro-lettering initials over a sheer pink base. This look is subtle, elegant, and perfect for showcasing your style without drawing too much attention in class.
Apply a thin coat of sheer pink polish for a fresh, clean foundation. With a fine liner brush or micro dotting tool, carefully paint one or two tiny initials on your chosen nail.
Practice the lettering on a nail wheel first—shaky lines and oversized letters are common mistakes, especially on shorter nails. Stick to simple fonts in white, dark brown, or even metallic for a hint of shine.
Once dry, seal with a quick-dry top coat to protect your delicate artwork. If you’re unsure about font or placement, bring a reference photo to your nail tech and ask for a test letter first.
This micro-detailing is perfect for spirit days or gifting a friend with their initials. Tiny touches make your nails uniquely yours—give it a try and see how much you love the result.
Pearl-Embellished Short Square Nails: Quick Guide for Elegant School Style
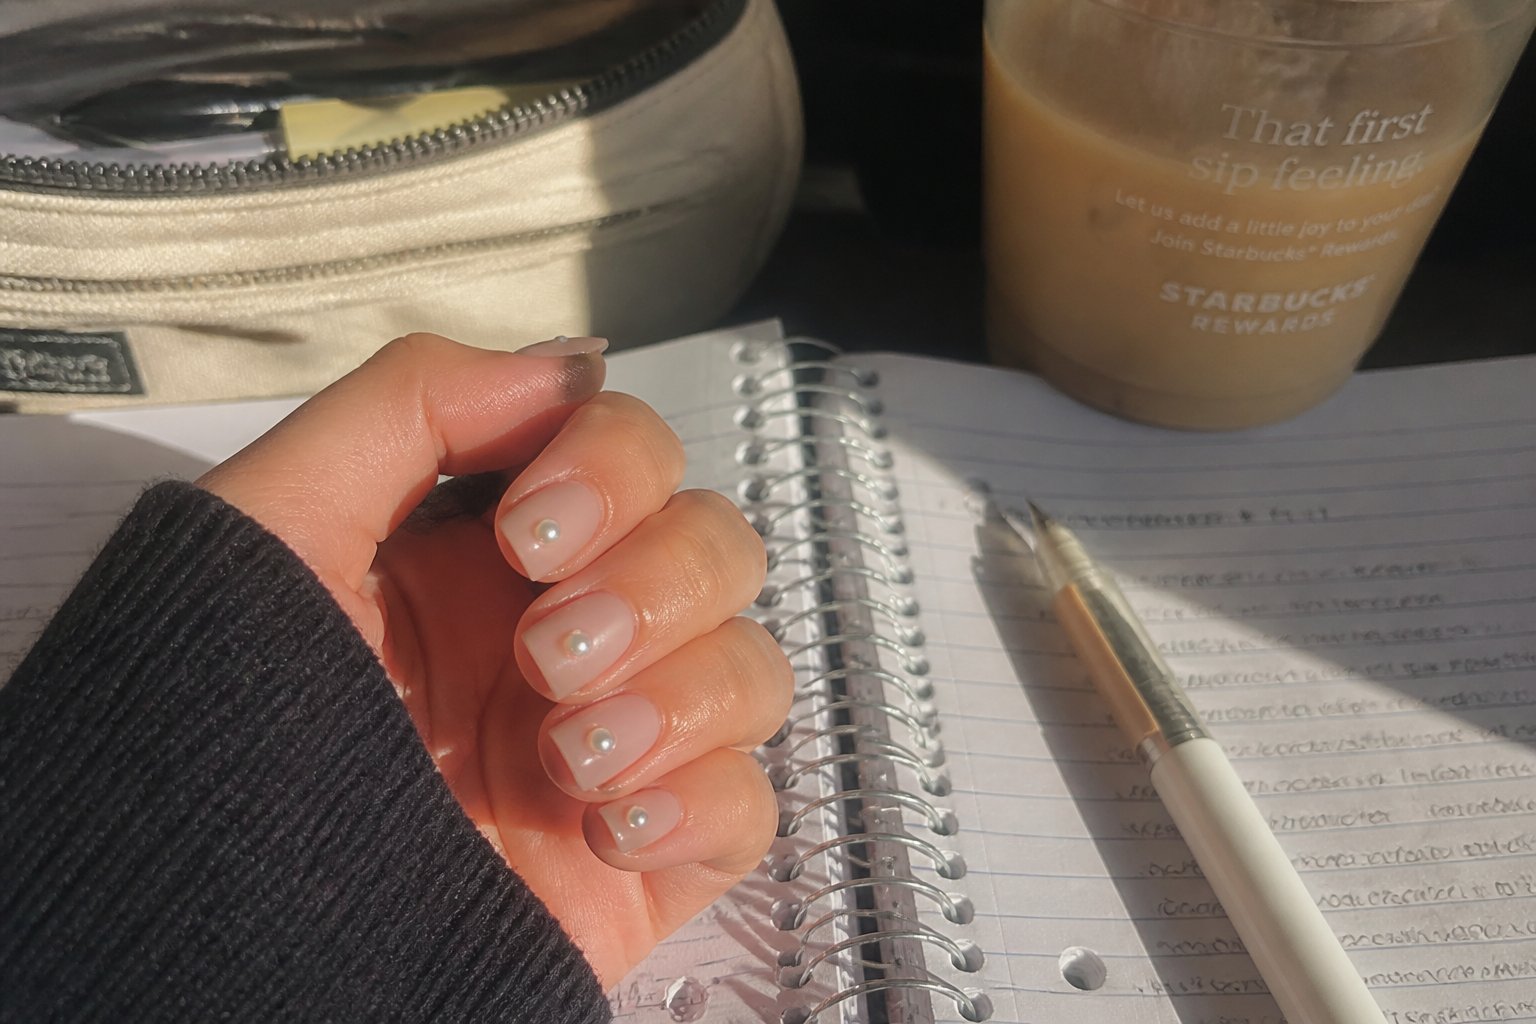
Elevate your everyday look with pearl-embellished short square nails—perfect for students who want a hint of luxury without going overboard. Choose small flatback pearls and a neutral base like creamy beige or soft pink for a polished finish.
Apply the pearls while your topcoat is still tacky, or use a dab of nail glue for extra hold. Gently press each pearl in place, then seal with two thin layers of topcoat around the pearls to keep everything secure.
Avoid using too much glue, which can make pearls pop off or look messy. For a subtle effect, place one pearl near the cuticle of each hand; for more flair, cluster three pearls on an accent nail.
If you play sports or wear gloves, position pearls lower on the nail to avoid catching. This look is ideal for special events like picture day or presentations—small details can boost your confidence in big ways.
Try pearl accents and see how a simple mani can make you feel ready to shine, no matter what’s on your schedule.
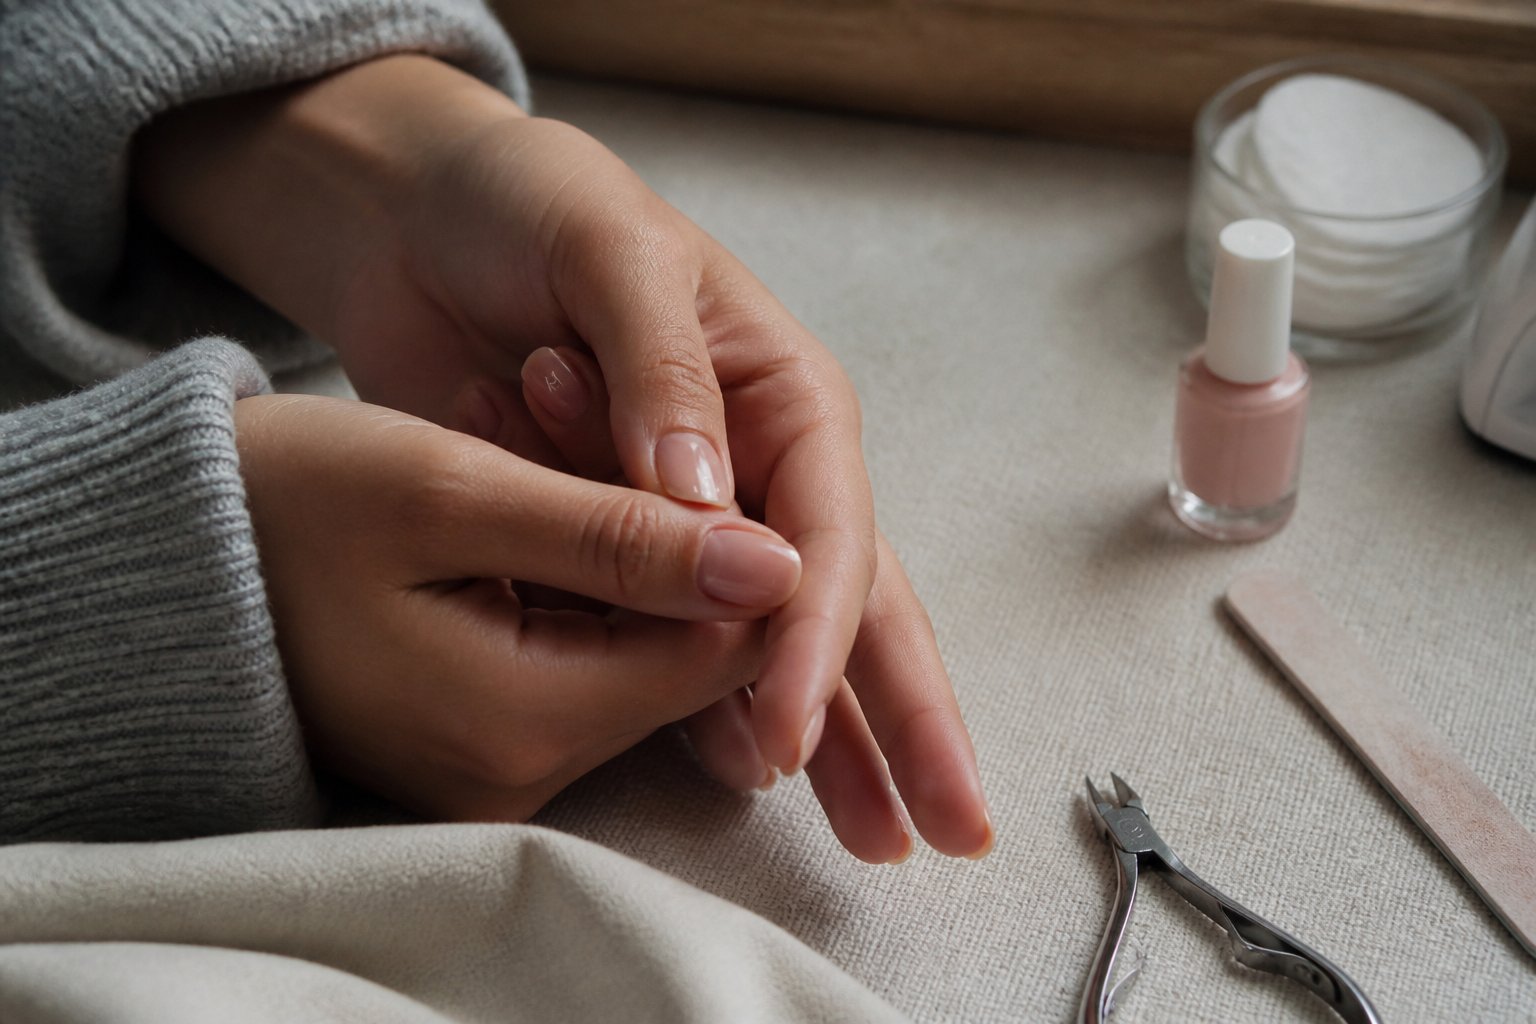
Essential Nail Health and Prep: Pro Tutorial for Lasting School Manicures
Healthy nails are the foundation of any great manicure. Start with clean, hydrated nails and a smooth surface to help your polish last and your designs look flawless.
Expert Steps to Prep Nails for Long-Lasting Color
Trim nails to a consistent length, then file in one direction to prevent splits. After a warm soak, gently push back cuticles—never cut live skin, as this can cause infection.
Use a stiff brush with dish soap to clean under your nails. If you have ridges, buff lightly with a fine buffer, but don’t overdo it—thin nails break more easily.
Apply nail oil (jojoba or vitamin E) daily for a week before your manicure to boost flexibility. Always wipe each nail with 70% isopropyl alcohol just before applying base coat to remove oils and prevent chipping.
Watch for white spots or extreme thinning—these are signs of overuse of gels or biting. A common mistake is skipping the alcohol wipe, which can lead to early polish failure.
Proper prep is the secret weapon of every pro manicurist. Take five extra minutes and your designs will thank you all semester.
Choosing the Right Base Coat: Guide for Strong, Stain-Free Nails
The right base coat can make or break your school manicure. If you have weak nails, look for strengthening formulas with hydrolyzed keratin; for uneven surfaces, try a ridge-filling base.
Planning to wear bright or dark colors? Use a stain-blocking base to prevent yellowing. Apply a thin, even layer and cap the free edge—this locks in the polish and helps prevent chips.
Let the base dry fully before moving on to color. If you wear polish often, alternate your regular base with a protein-rich treatment every few weeks to restore nail health.
Avoid applying thick base layers—these peel quickly and trap solvent. For school-friendly nail art, check out practical trends like minimal shapes and neutral tones in this back-to-school nail roundup (https://thepinkissue.com/back-to-school-nail-designs/).
Invest in a good base coat and your nails will stay strong and beautiful, no matter how busy your school year gets.
Longevity and Maintenance: Pro Tips to Keep School Nails Chip-Free
Want your manicure to survive the school week? A few smart habits and the right products can help you avoid chips, lifting, and worn edges.
How to Make Your Manicure Last Through Classes and Activities
Always start with clean, dry nails—a quick buff removes oils and helps polish adhere. Apply a thin base coat, two thin color coats, and a top coat, letting each layer dry before the next.
Seal the free edge by brushing top coat along the tip of each nail. Reapply a quick-dry top coat every 3–4 days to restore shine and reinforce the finish.
Carry a mini nail file and top coat in your bag for quick fixes after gym or typing marathons. Protect your hands with gloves during chores and avoid using your nails as tools—nothing chips polish faster than prying open a can.
The most common mistake? Skipping base coat or piling on thick coats. Keep layers thin and your polish will last longer than your latest study session.
Take care of your nails and they’ll stay flawless through every quiz, club meeting, and after-school hangout. Try these tips and see the difference for yourself!
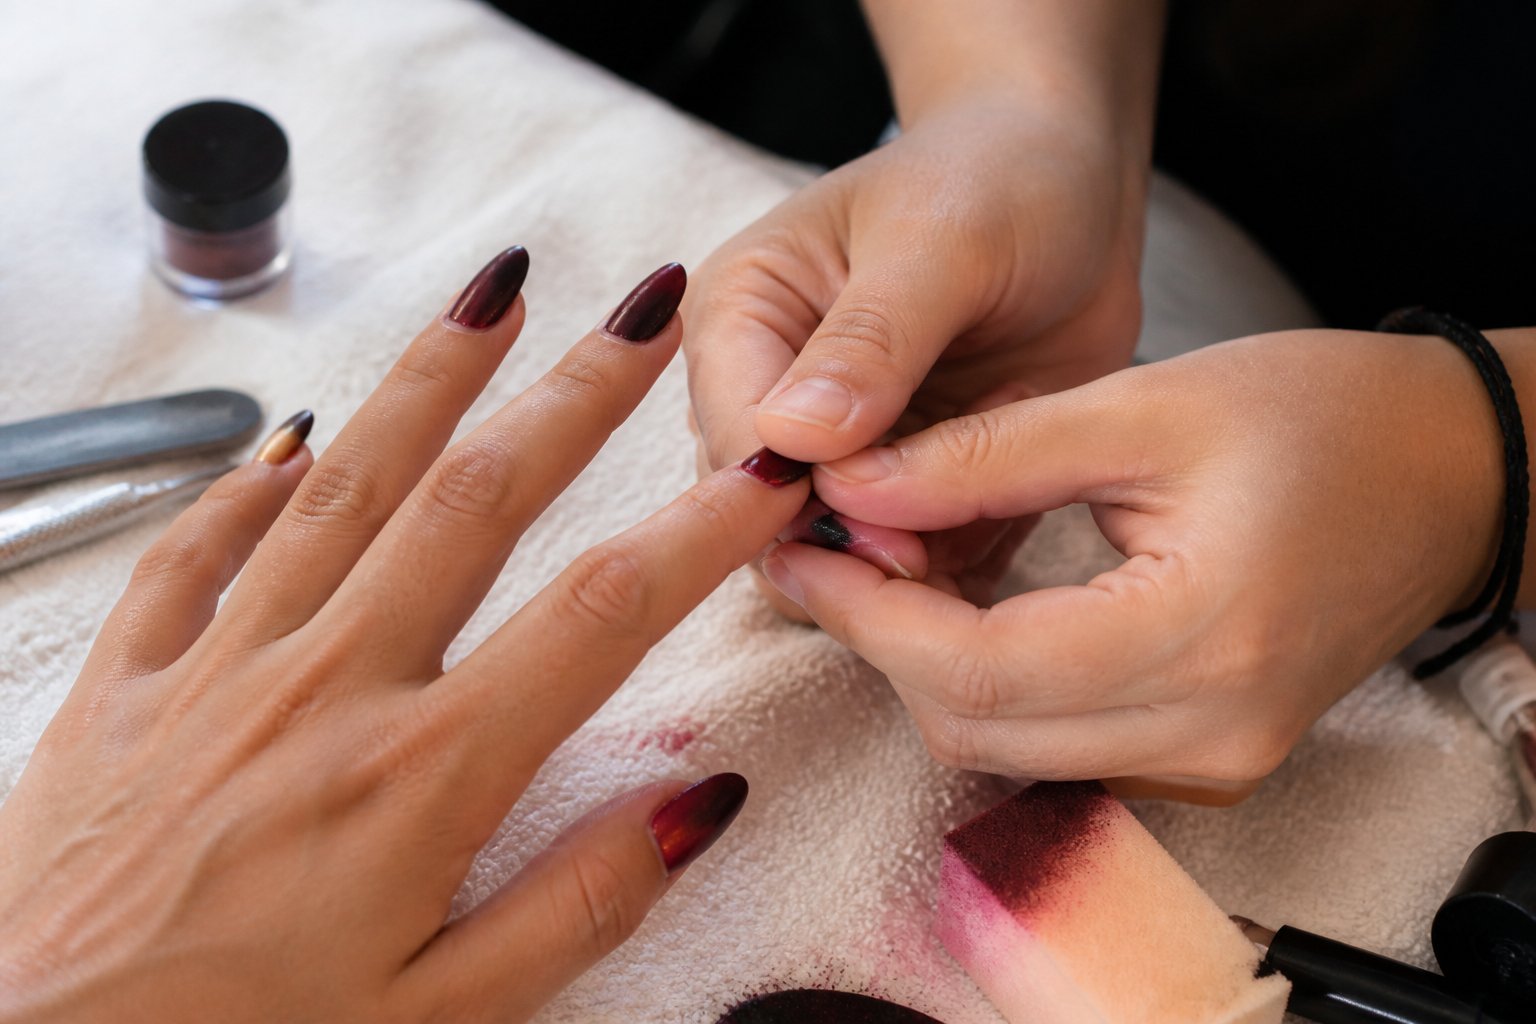
Safe, Salon-Quality Nail Polish Removal: Step-by-Step Guide
Tutorial: Learn how to remove gel and regular polish at home without damaging your natural nails.
If you’re removing gel, consider a professional soak-off for best results. At home, start by gently filing the shiny top layer—just enough to break the seal, not to thin your nail.
Saturate a cotton ball with 100% acetone, place it on your nail, and wrap each finger in foil. Wait 10–15 minutes, then gently nudge off the softened gel with a wooden stick—never scrape or pry, as this can cause painful damage.
For regular polish, reach for a non-acetone remover to minimize dryness. Hold a saturated cotton pad on the nail for a few seconds before wiping clean; stubborn glitter polish may need the foil wrap trick too.
Immediately after removal, nourish your nails. Massage cuticle oil into each nail and follow with a rich hand cream—this step is your secret weapon against post-removal dryness.
If your nails feel weak or start to peel, skip polish for a week or two and use a strengthening treatment. Remember, peeling or scraping polish off is a shortcut to brittle, uneven nails—a mistake even seasoned pros regret.
Protect your nail health and enjoy beautiful, resilient nails by making removal part of your self-care ritual. Ready for your next flawless manicure? Treat your hands with the respect they deserve.
About the Author — Lena Harper
Lena Harper is a fashion writer and content strategist at Fashion Pops, known for creating thoughtful, trend-aware articles that feel both stylish and relatable. With a strong background in fashion journalism, she specializes in turning seasonal trends, outfit ideas, and styling concepts into easy-to-follow inspiration for modern women.
Her writing focuses on practicality without losing creativity — helping readers build outfits that feel current, wearable, and confident. When she’s not working on new articles, Lena enjoys exploring street style trends, discovering unique fashion finds, and curating inspiration boards that shape upcoming content at Fashion Pops.