July Nails Ideas That Wow: 10 Bold, Trendy Looks to Try Now
You want nails that capture summer’s energy, without wasting time on fleeting trends. This guide reveals July nails ideas you’ll actually wear: bright neons, soft pastels, playful fruit art, and low-maintenance accents that last.
Get practical tips, color combos, and prep advice so you leave the salon confident or recreate the look at home. Each idea is designed for real life—easy to book, quick to DIY, and tailored to keep your nails healthy while showing off bold finishes.
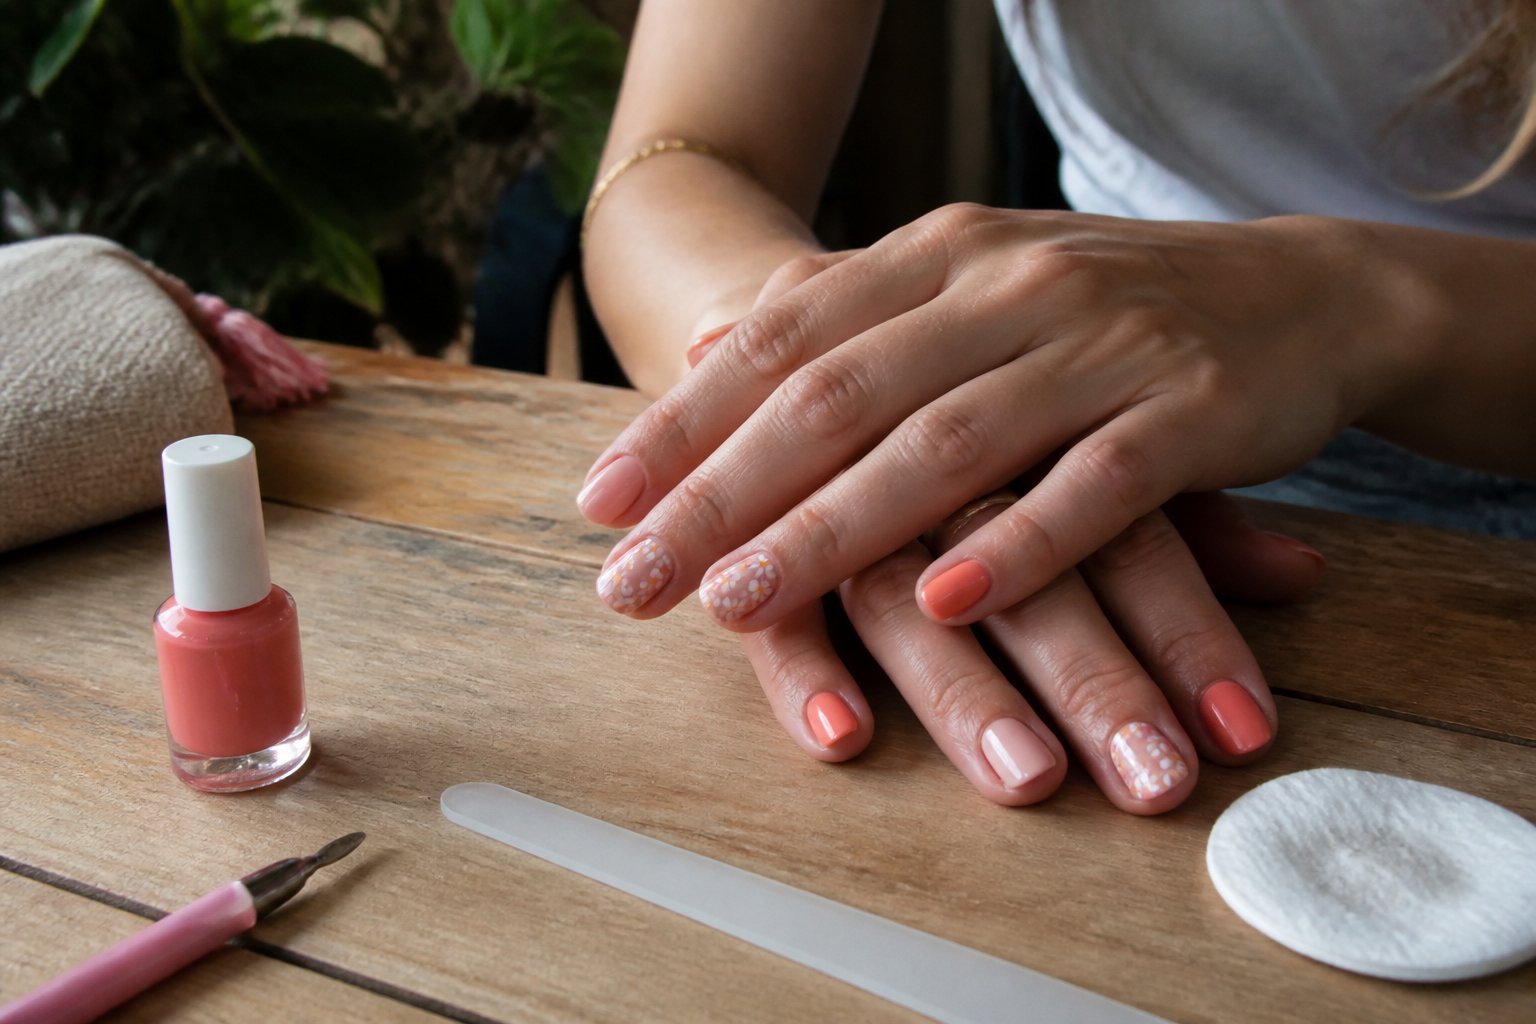
1. Neon French Tips with Coral Base: Step-by-Step Tutorial
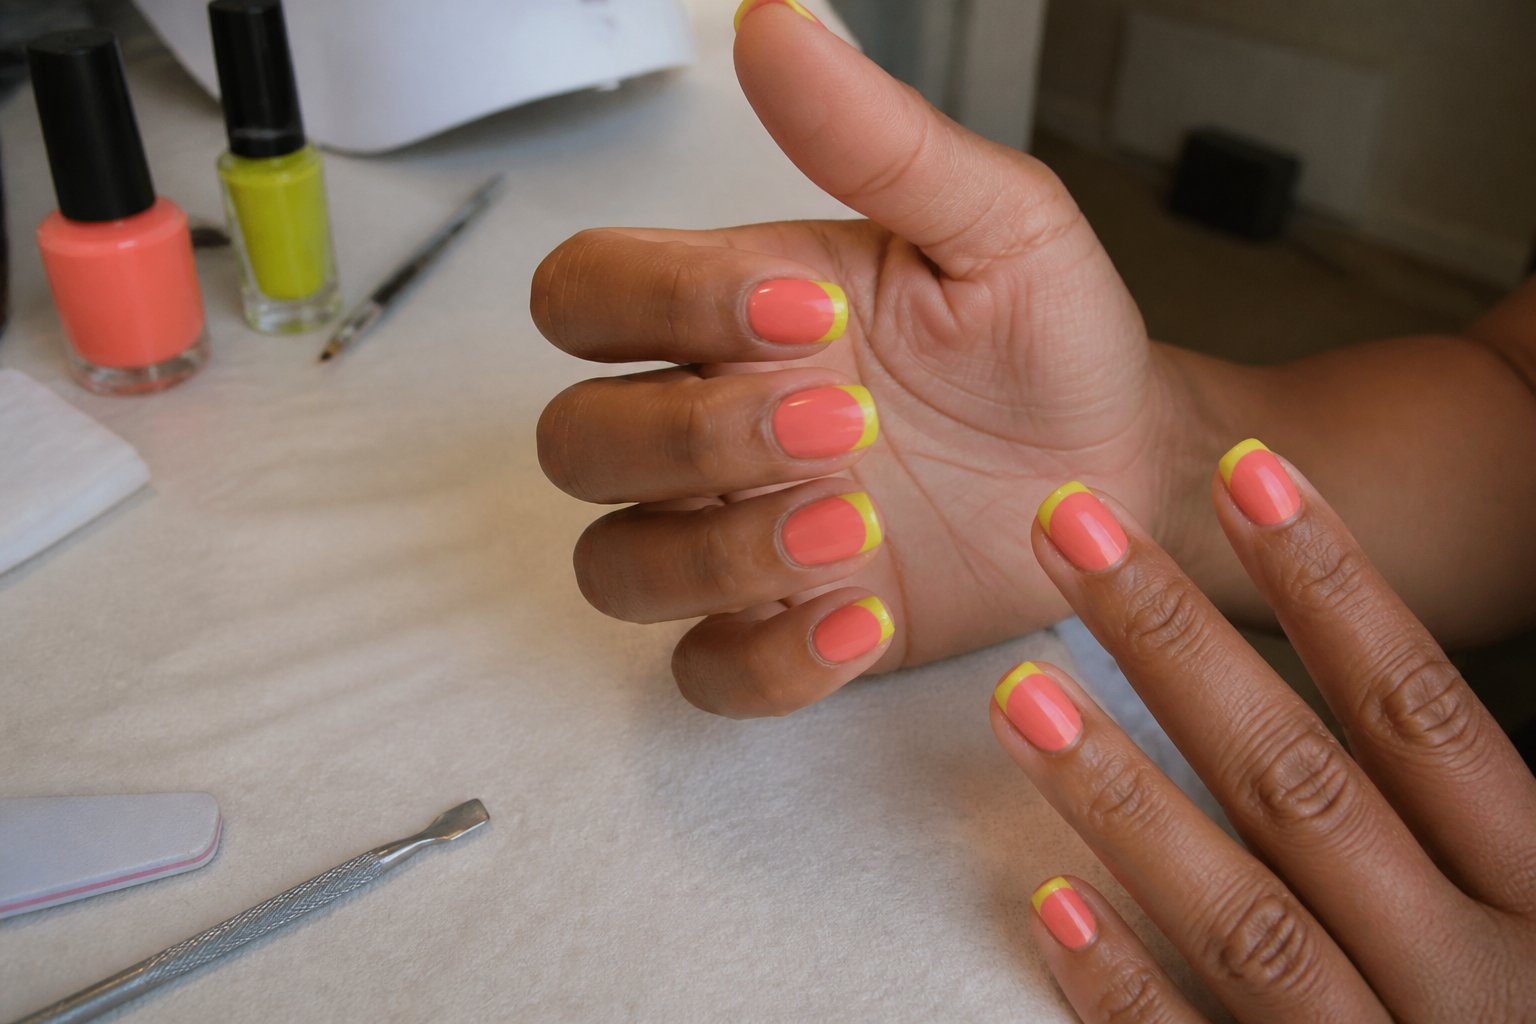
Set your summer mood with a warm coral base and neon French tips—this combo is a July staple. Start with thin, precise smile lines for a modern edge; thick tips can look dated fast.
Seal with a gel top coat for shine and long wear. For an extra pop, add a slim chrome line along the smile, but skip heavy glitter, which hides the neon’s vibrancy.
A common mistake is uneven tip lines—use guide stickers or steady your hand, and file into almond shapes for a fresh look. Try a tiny white dot on one accent nail to keep it balanced and chic.
2. Garnet Chrome Accent Nails: Luxe Summer Idea
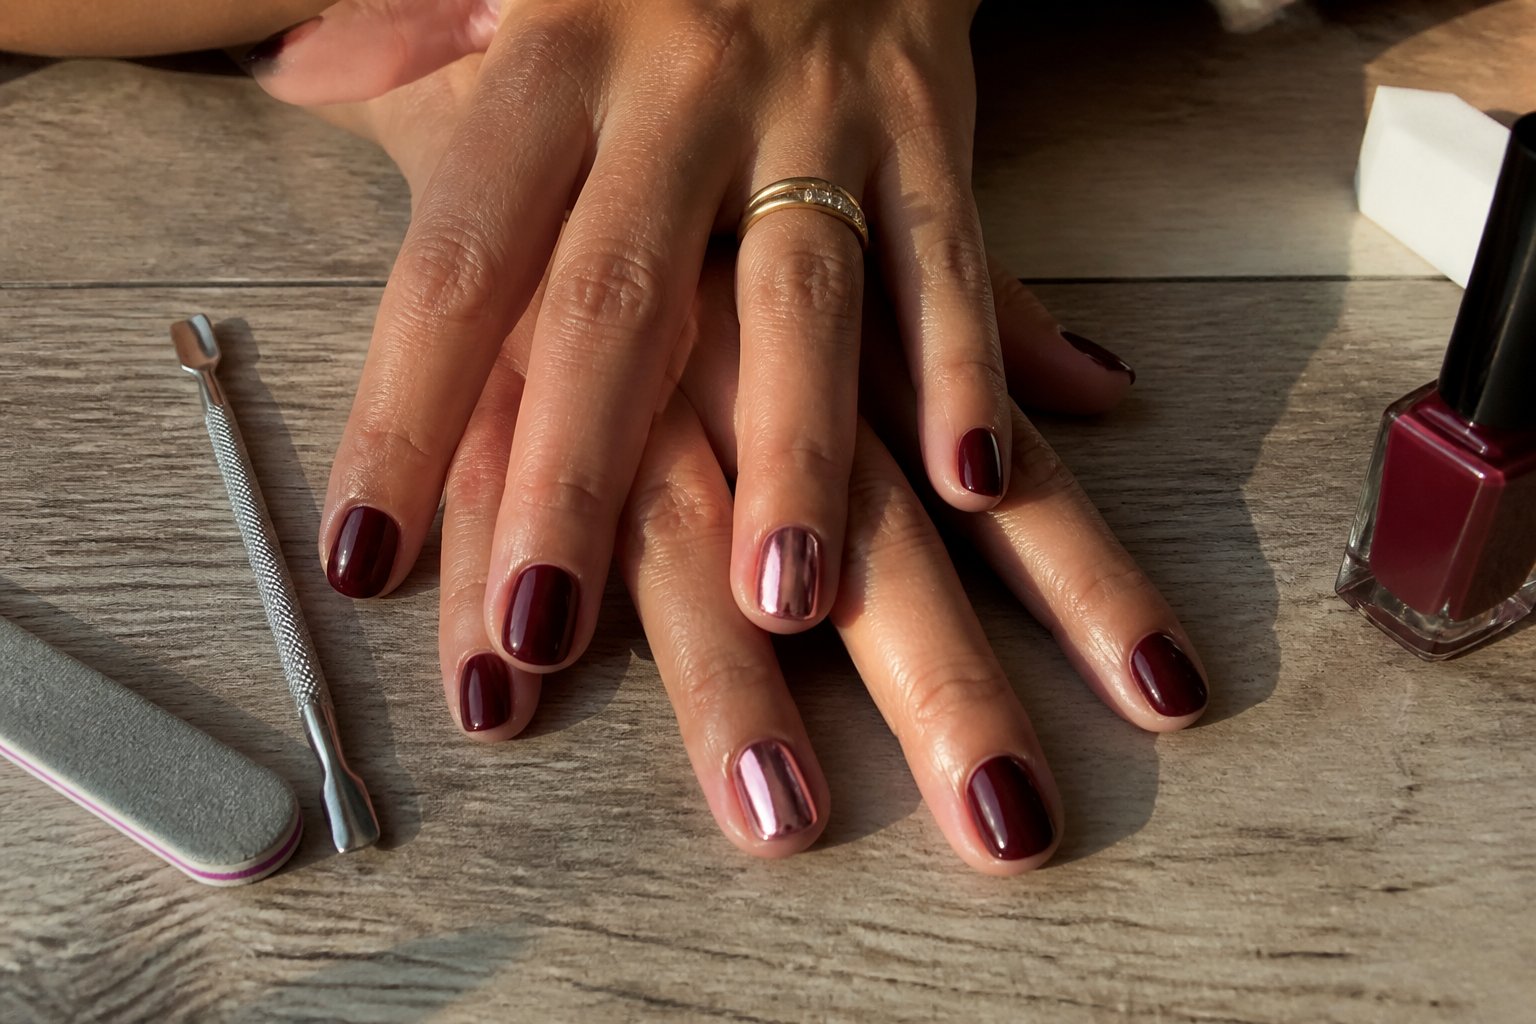
Go bold with a deep garnet base and chrome accents—this look channels jewel-toned luxury. Paint all nails garnet, then apply chrome powder to one or two for a mirror-like shine that catches the light.
Don’t overbuff the base; too much mattifying ruins chrome’s effect. Ask for an opaque, even base—chrome pops best over solid color.
Balance the richness with almond or short square shapes. If you’re doing this at home, avoid thin layers and be patient—rushed chrome often looks patchy.
3. Butter Yellow Chrome Mani: Fresh Summer Tutorial
Lighten up your summer with a butter yellow chrome mani—it’s both cheerful and modern. Paint most nails in creamy yellow, then add mirrored chrome to one or two accent nails for playful contrast.
Prep is key: buff and base coat to avoid streaks, then apply chrome powder over a tacky top coat for the smoothest finish. Use thin layers—heavy powder looks grainy and can dull quickly.
Seal with a top coat and cure again if shine fades. For a twist, add a tiny daisy to an accent nail—just bring a photo to your tech for the perfect shade match.
4. White Pearlescent 4th of July Nails: Subtle Patriotic Guide
Keep your July 4th look chic with pearlescent white nails and tiny red or blue accents. Paint two coats of sheer pearl, then add a navy star or slim red stripe for understated flair.
Avoid thick glitter—it chips fast and hides the pearl’s glow. One smooth topcoat seals the shine; don’t overwork it or you’ll lose the gloss.
Try a matte pearl on one nail for contrast, or experiment with negative space for a modern edge. These details make your patriotic nails feel fresh, not forced.
5. Tropical Palm & Pineapple Nail Art: Vacation-Ready Idea
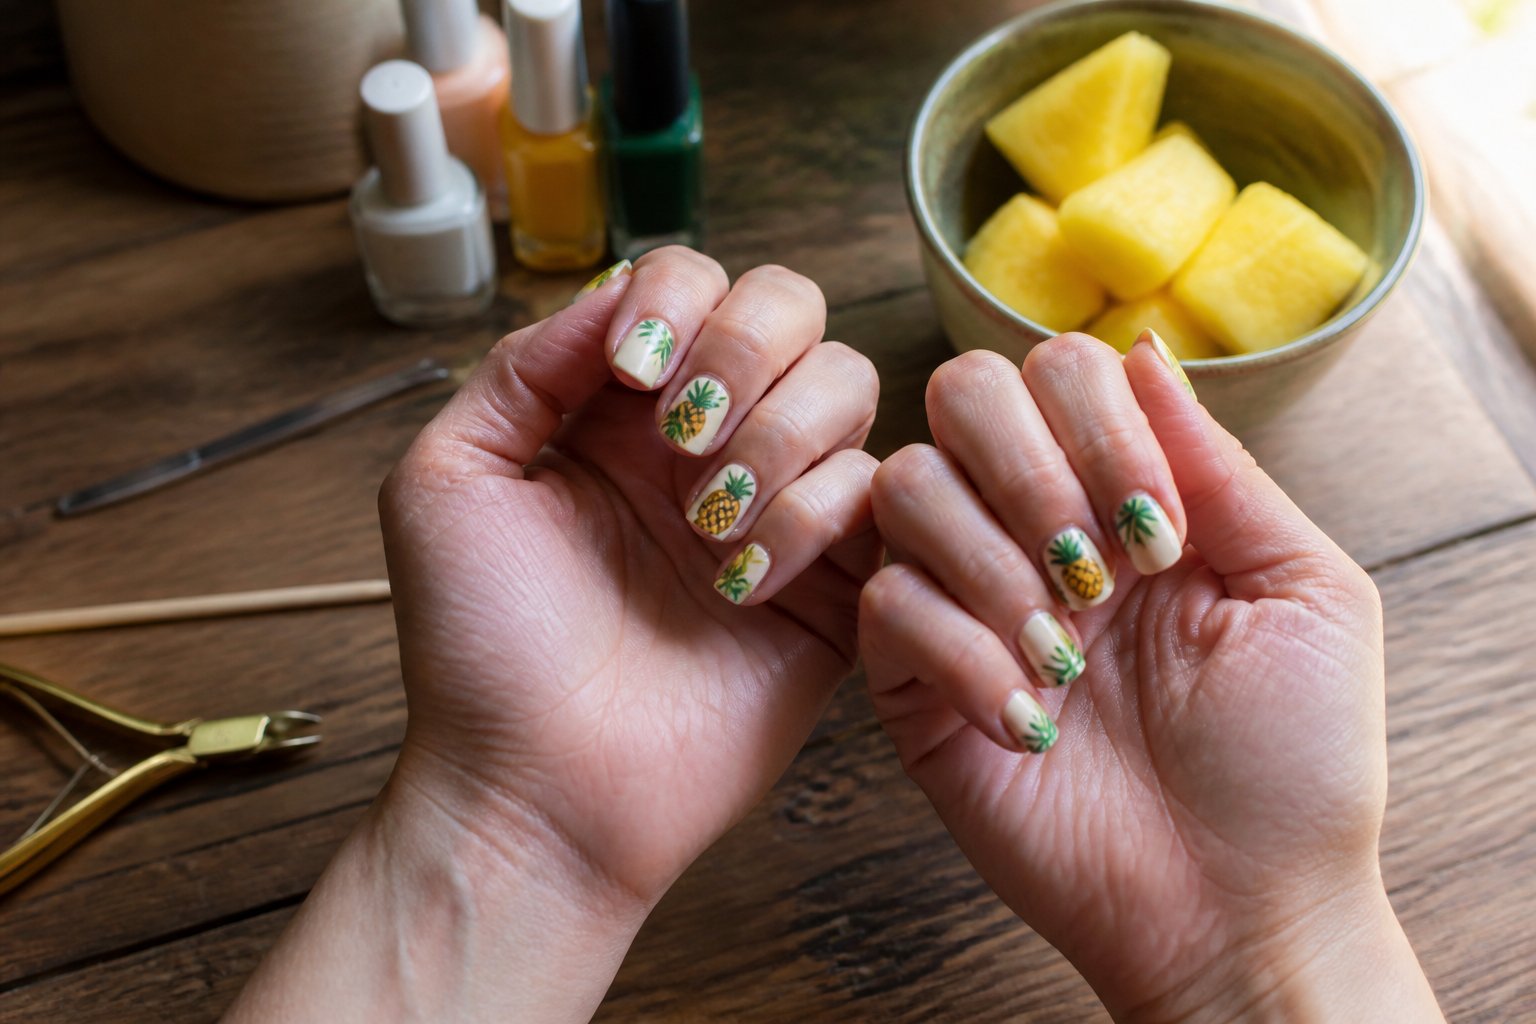
Channel vacation vibes with tiny pineapples and palm leaves over a nude or pastel base. Use small, confident brush strokes—thin black outlines make the fruit stand out, while gold glitter crowns add a luxe touch.
Don’t overload your nails with designs, especially if they’re short; pick one accent nail for pineapples and scatter palms for balance. Overcrowding is a common pitfall—less is more for a polished look.
If you’re new to nail art, sketch your design on a practice wheel first. Ready to bring tropical fun to your fingertips?
6. Fruity Sangria Gradient Nails: DIY Gradient Tutorial
Paint a sangria-inspired gradient for nails that look juicy and fun. Start with a light peach base, then use a makeup sponge to dab on berry, coral, and plum toward the tips for a fruit-salad effect.
Work quickly so colors blend before drying. Add a tiny white dot or leaf to one accent nail for extra charm—just keep it minimal.
Avoid oversaturating the sponge, which muddies colors, and never skip the clear base coat. Finish with a glossy top coat and carefully clean cuticles for a crisp, salon-quality result.
7. Pastel Ombre with Tiny Stars: Soft Gradient Guide
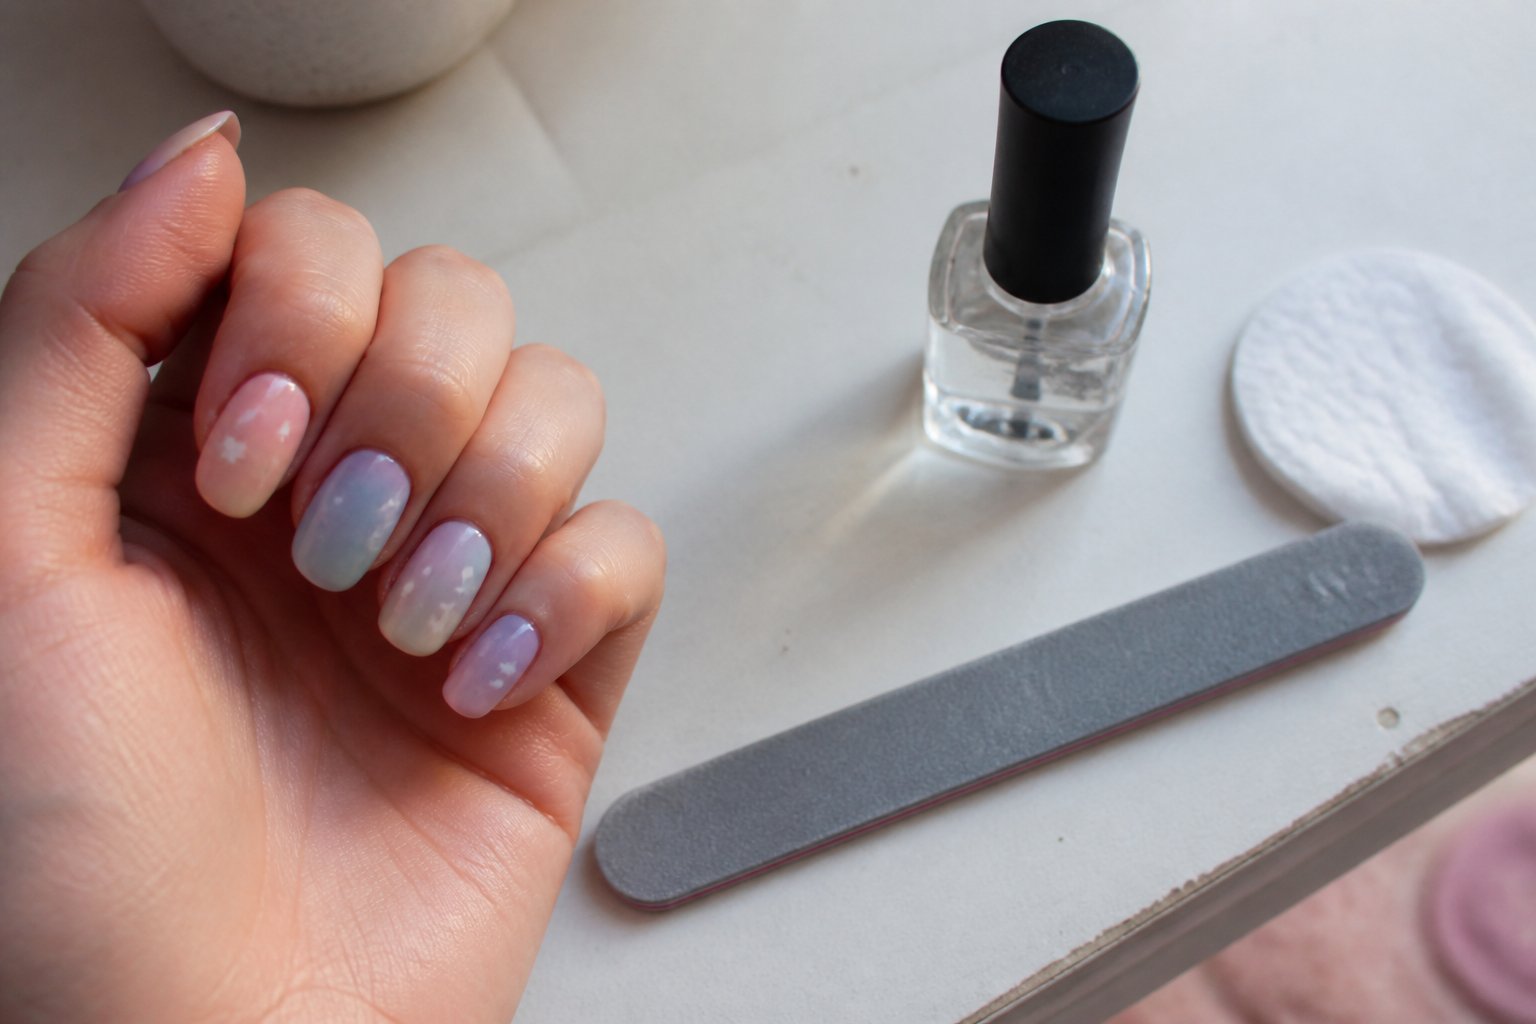
Create a dreamy pastel ombre with scattered tiny stars for subtle sparkle. Blend two or three soft shades while the polish is still tacky, using a small sponge for seamless transitions.
Add metallic stars with a fine brush or toothpick—cluster most near the tips for a natural, airy feel. Heavy glitter can overwhelm the ombre, so stick to pale metallics for the stars.
Test the look on one nail before committing to all ten. This design is a favorite for weddings, picnics, or any summer day that needs a little magic.
8. Matte Ocean Teal with Shell Accents: Beach Day Tutorial
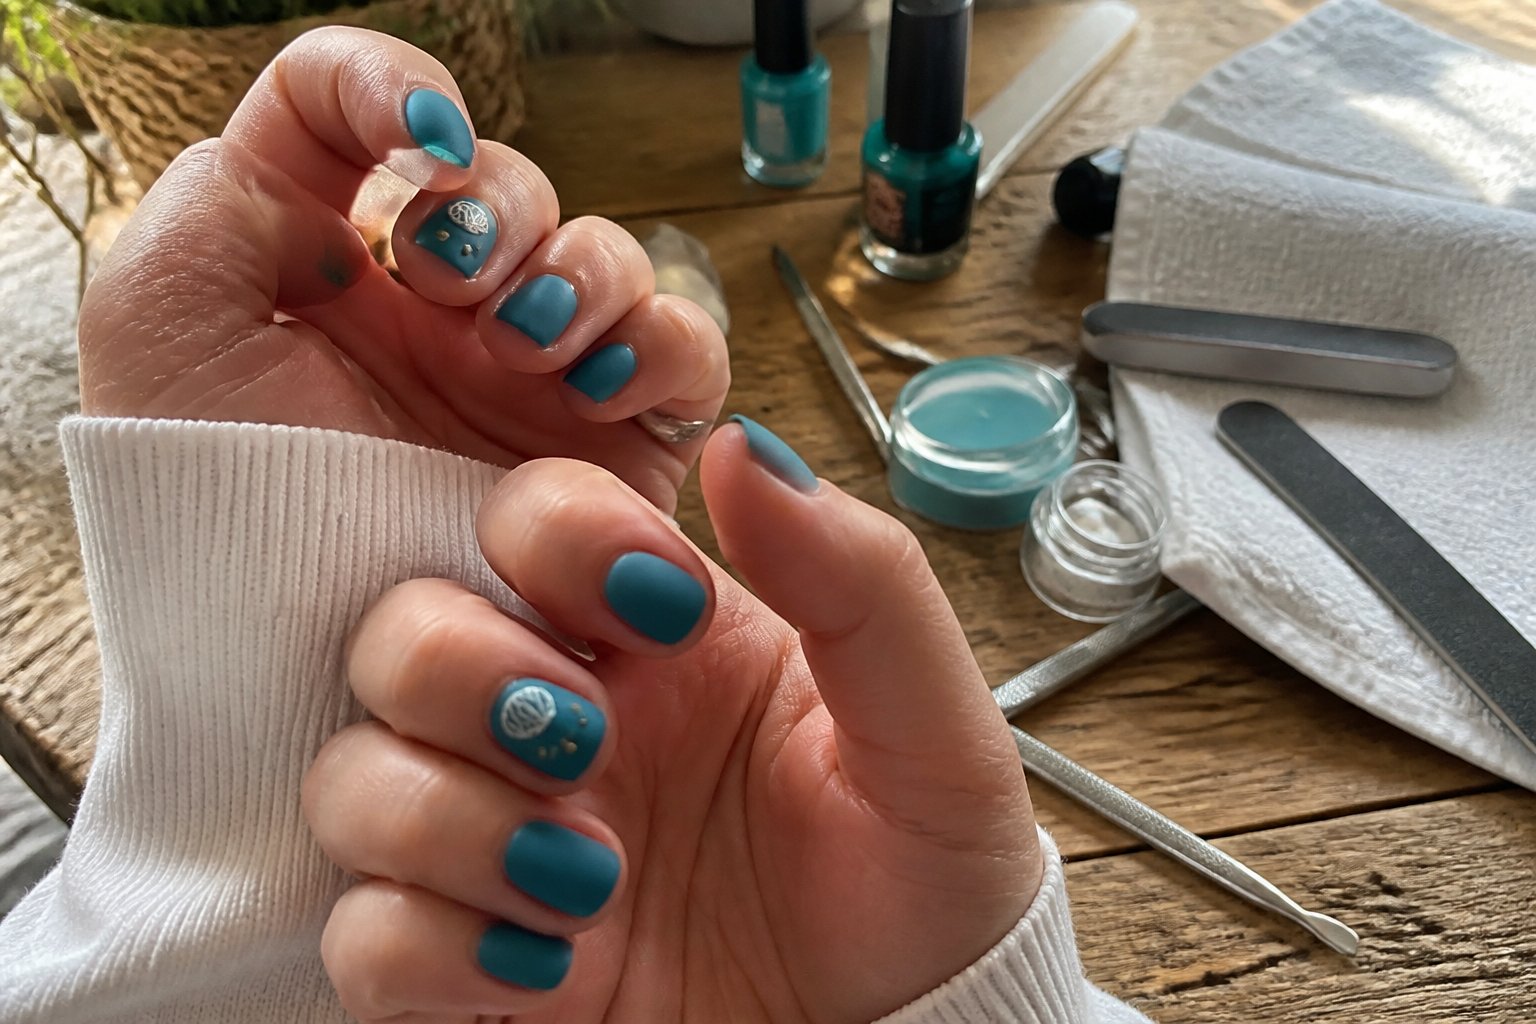
Make waves with matte ocean teal nails and delicate shell accents—a perfect nod to beach days. Apply two thin coats for rich, even color, lightly sanding the surface to help polish grip.
Place tiny shell decals or hand-paint shell lines on one or two nails for a balanced, wearable look. Too many 3D pieces can snag or chip, so keep accents minimal.
Always finish with a matte top coat—even over decals—to avoid unwanted shine. If you’re hitting the beach, seal shell edges with a thin layer of glossy resin on accent nails and let set fully before use.
9. Retro Neon Swirl Nails: Playful Freehand Guide
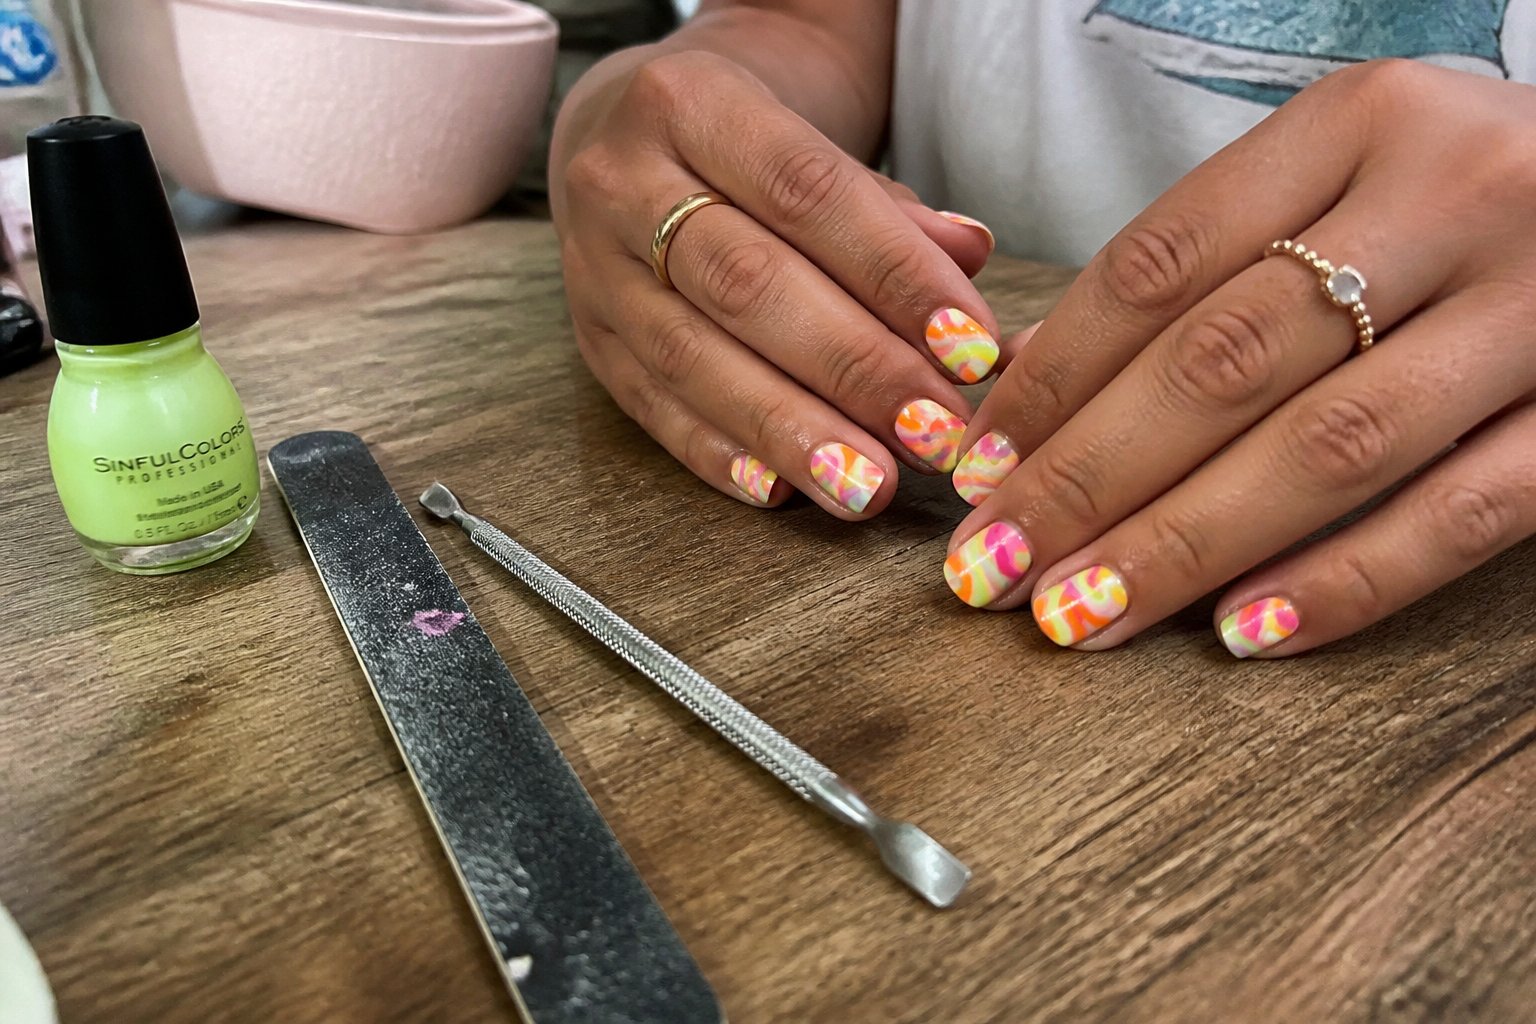
Turn heads with retro neon swirl nails in lime, hot pink, and electric orange—perfect for pool parties or summer nights. Use thin brushes or a dotting tool for smooth, flowing lines, keeping your touch light to avoid blotches.
Mix matte and glossy topcoats on alternating nails for extra dimension. If freehand swirls feel daunting, practice on a nail wheel first, then recreate your favorite patterns on your own nails.
Don’t be afraid to experiment—these bold swirls are all about fun and personality. Find more inspiration in this neon retro nails gallery (https://www.pinterest.com/ideas/neon-retro-nails/900731208427/), and show off your summer style with confidence.
Minimalist Negative Space Citrus Tips: Step-by-Step Tutorial
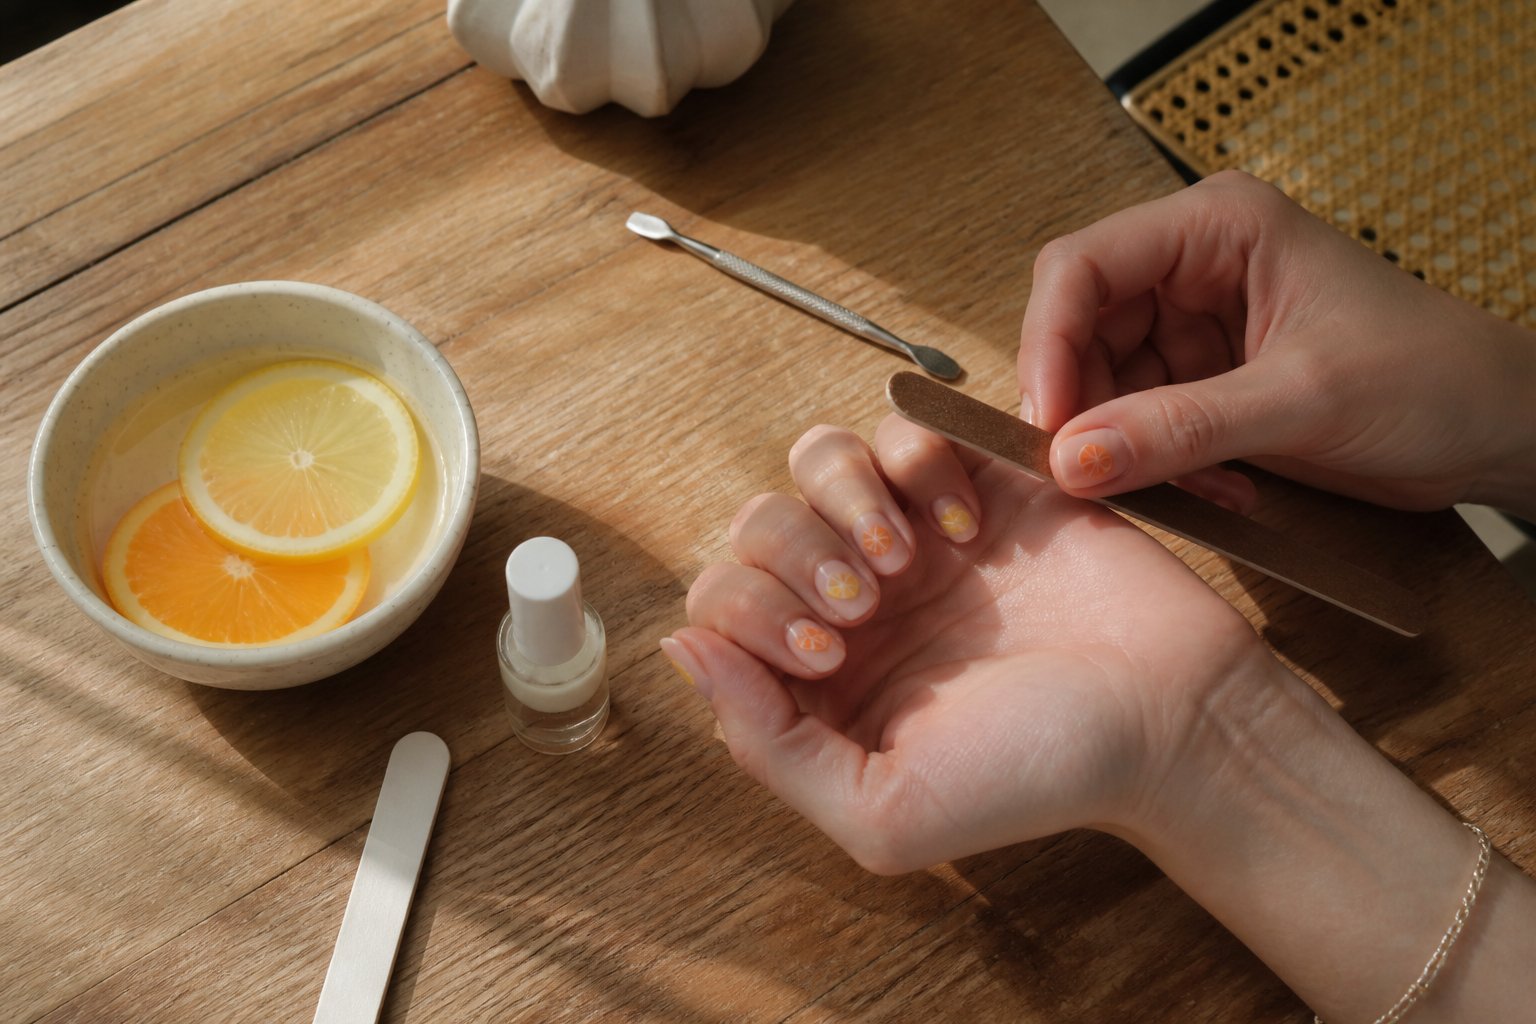
Ready to master a fresh, editorial nail look? Minimalist citrus tips use negative space and soft color for a subtle, modern vibe—perfect for summer or anytime you want your hands to stand out.
Start with short, clean nails and a sheer base coat to ensure crisp lines. Paint slim crescent tips in pale lemon or tangerine, leaving a thin arc of bare nail near the cuticle for that airy, professional finish.
Vary the arc width across your fingers for a more dynamic, fashion-forward effect. Always use a fine brush and two thin coats so color looks smooth, not bulky.
Avoid the common mistake of using thick brushes or heavy product, which can smother the negative space. For a twist, add a tiny white seed dot to one accent nail—this makes the look intentional and wearable, ready for both brunch and the boardroom.
Summer Nail Color Palettes: Pro Guide to Choosing & Pairing
Choosing the right summer nail shades isn’t just about trends—it’s about highlighting your skin tone, matching your wardrobe, and expressing your style in every gesture. Focus on colors that shine in sunlight and complement your favorite outfits for a look that feels curated all season.
Bright Summer Shades That Pop: Expert Ideas
Bright coral, tangerine, and watermelon pinks are your summer MVPs. These shades radiate energy in natural light and pair beautifully with breezy fabrics like linen or cotton.
To keep things modern, try a glossy coral base with tiny white dots or a neon French tip on two nails. If you prefer a softer look, pastel peaches, butter yellow, and mint are timeless—layer them across your manicure for a playful, editorial twist.
For statement moments, chrome greens or electric blues deliver boldness that photographs beautifully at the beach or pool. If you’re new to bold color, book a short set—short nails make it easy to experiment and switch up your look.
How to Coordinate Nails With Your Outfits: Editorial Guide
Build your manicure palette around three anchor colors from your summer wardrobe: neutrals like white or beige, a main color such as blue or coral, and a striking accent like neon or metallic.
Paint most nails in your main color, add the neutral to one or two fingers, and use the accent for small art or tips. For printed or busy outfits, keep nails simple—a single glossy shade or a refined French tip always works.
When wearing solid color dresses, choose nails that either complement for a soft effect or contrast for a bold statement. Tie your nails to accessories with a matching stripe or dot for a pulled-together finish.
One common mistake: trying to match every piece of clothing. Instead, echo just one outfit element on your nails for a look that’s stylish, not forced.
Warm vs. Cool Undertones: Find Your Flattering Nail Colors
Knowing your undertone is a game changer for nail color. Check your veins: blue or purple hints at cool undertones, while greenish veins point to warm.
Cool undertones glow with icy blues, lavender, and berry shades—these make your skin look clear and your nails polished. Warm undertones thrive with corals, peach, warm reds, and golden chrome for a sun-kissed effect.
If you’re neutral, try mixing a warm shade on short nails and a cool shade on longer nails to see what flatters most. Unsure? Pair a glossy topcoat with one matte accent nail—the subtle contrast often reveals your best palette.
Experiment with these tips and watch your nails elevate every summer outfit you wear.
Nail Health and Prep: Pro Tips for Lasting Manicures
Healthy nails are the foundation of every great manicure. With the right prep, you’ll reduce peeling, prevent breakage, and make your polish last—no matter how busy your summer gets.
Cuticle Care Essentials: Guide to Safe and Tidy Nails
Keep your cuticles neat without risking irritation or infection. Start with a water-based remover or nourishing oil (like jojoba or almond) to soften cuticles for up to a minute.
Gently push back with a wooden stick; never cut live skin—only trim dead, loosened cuticle. If you see redness or bleeding, stop and treat with antiseptic to avoid setbacks.
Daily oiling makes a huge difference: massage a drop of cuticle oil into each nail for flexibility and fewer hangnails. After showers, always pat nails dry and reapply oil.
For deep care, soak nails in warm salted water weekly, push cuticles, and seal with a barrier cream. Replace worn tools and avoid over-filing the nail fold—a common mistake that leads to splits and tears.
Strengthening Treatments: Step-by-Step for Resilient Nails
Stronger nails start with the right routine. Apply a biweekly protein treatment if you notice peeling or layering—choose a formula with keratin or calcium and follow instructions for best results.
Use a ridge-filling base coat to prevent snags and take breaks from gel or acrylic every 6–8 weeks to let your natural nails recover. If your nails are brittle, talk to your doctor about adding biotin or fish oil supplements—many see results in a few months.
Steer clear of alcohol-heavy polishes and limit acetone use, as both dry out the nail plate. For color changes, opt for a non-acetone remover to keep your nails flexible and healthy.
With these habits, your nails will look and feel their best—ready for any polish or design you dream up next. Treat your hands with care and let your confidence show in every handshake and wave.
Proper Application Techniques for Long-Lasting Polish
Intent: guide — apply polish so it lasts and won’t chip.
Every lasting manicure starts with a clean slate. Always wipe each nail with a lint-free pad soaked in rubbing alcohol or non-acetone remover to remove oils and residue.
Apply a thin base coat, especially if you’re using gel polish. This step anchors color and prevents staining.
When painting, use the three-stroke method: one brush down the center, then one on each side. Thin layers are your friend—two light coats always outperform a single heavy one and dry more evenly.
Seal the free edge by gently brushing polish across the nail tip after every layer. This simple habit helps prevent chips, especially if you use your hands a lot day-to-day.
Patience pays off—let each layer dry fully, around 60–90 seconds for lacquer. Rushing through this step is a common mistake and leads to smudges or dents.
Choose a quality glossy top coat and reapply every 3–4 days to refresh shine and protection. This keeps your manicure looking freshly done all week.
Steer clear of shortcuts like painting over a wet base, skipping edge sealing, or relying on quick-dry drops instead of proper drying time. If you’re headed for a beach day, layer on a UV-protective top coat to guard against fading.
Mastering these techniques takes practice, but your polish will stand up to real life. Try them out, and notice the difference in how long your color stays flawless.
About the Author — Lena Harper
Lena Harper is a fashion writer and content strategist at Fashion Pops, known for creating thoughtful, trend-aware articles that feel both stylish and relatable. With a strong background in fashion journalism, she specializes in turning seasonal trends, outfit ideas, and styling concepts into easy-to-follow inspiration for modern women.
Her writing focuses on practicality without losing creativity — helping readers build outfits that feel current, wearable, and confident. When she’s not working on new articles, Lena enjoys exploring street style trends, discovering unique fashion finds, and curating inspiration boards that shape upcoming content at Fashion Pops.