Easy Hairstyles for Long Hair That Take Less Than 10 Minutes: 10 Stunning Looks
Long hair can look polished without taking over your morning. When time feels short, you need simple styles that work with your texture and keep loose strands under control.
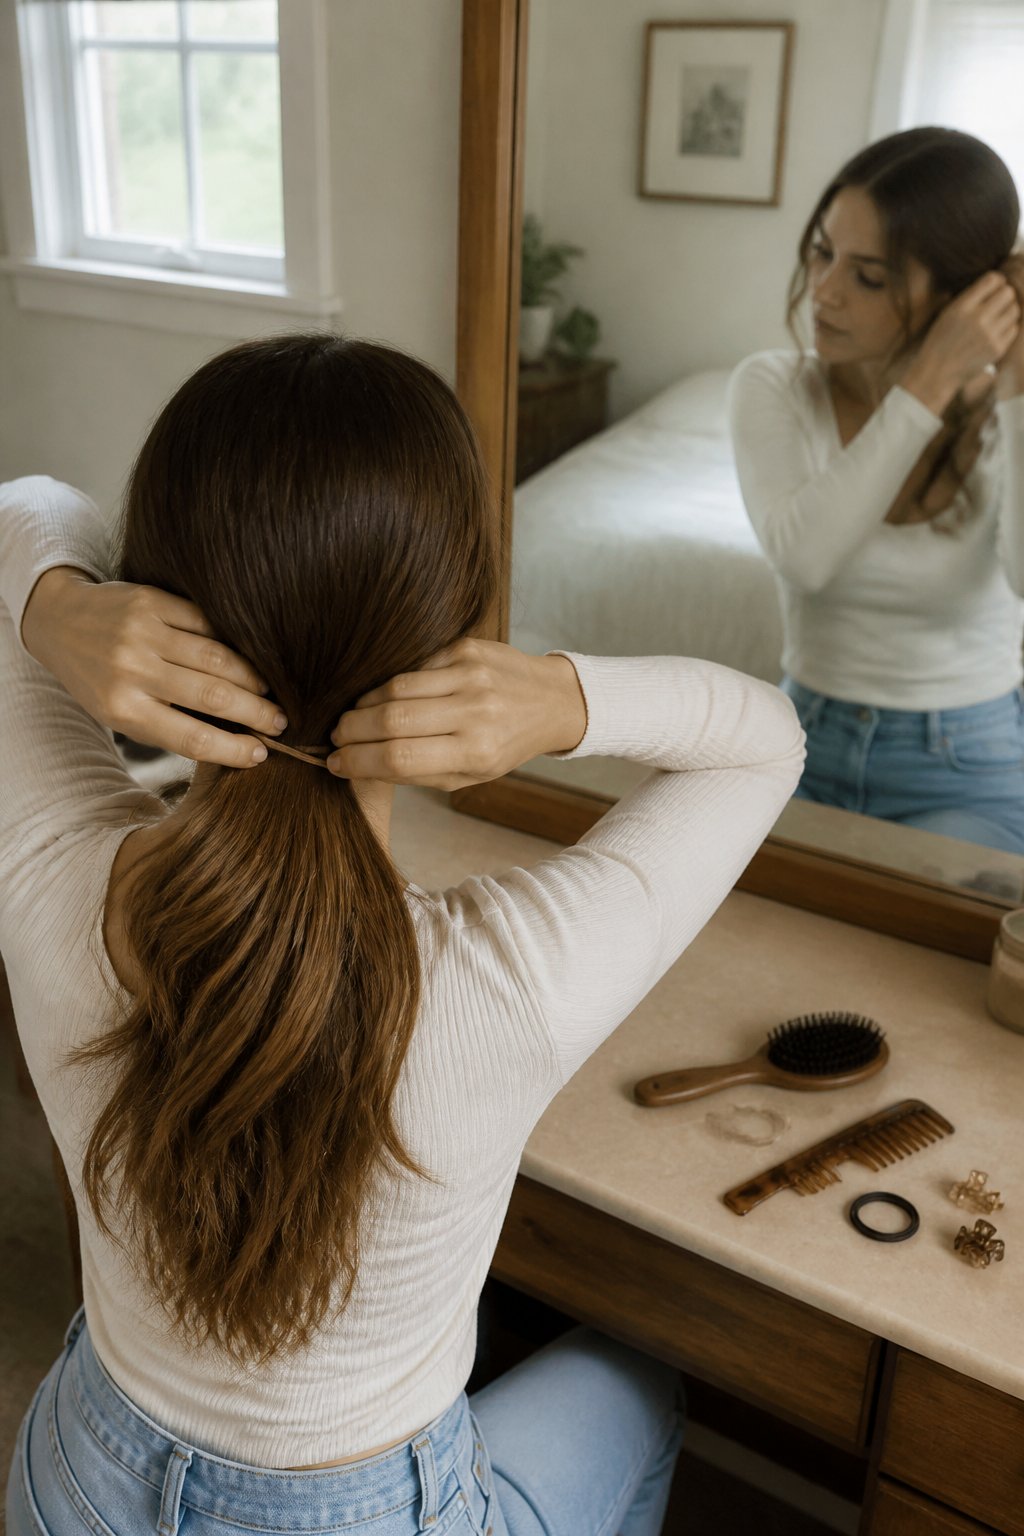
You can learn quick hairstyles for long hair that take less than 10 minutes, from sleek ponytails and twisted buns to braids, knots, and claw-clip styles. You’ll also find practical preparation tips and ways to help each look stay neat throughout the day.
1. Sleek high ponytail
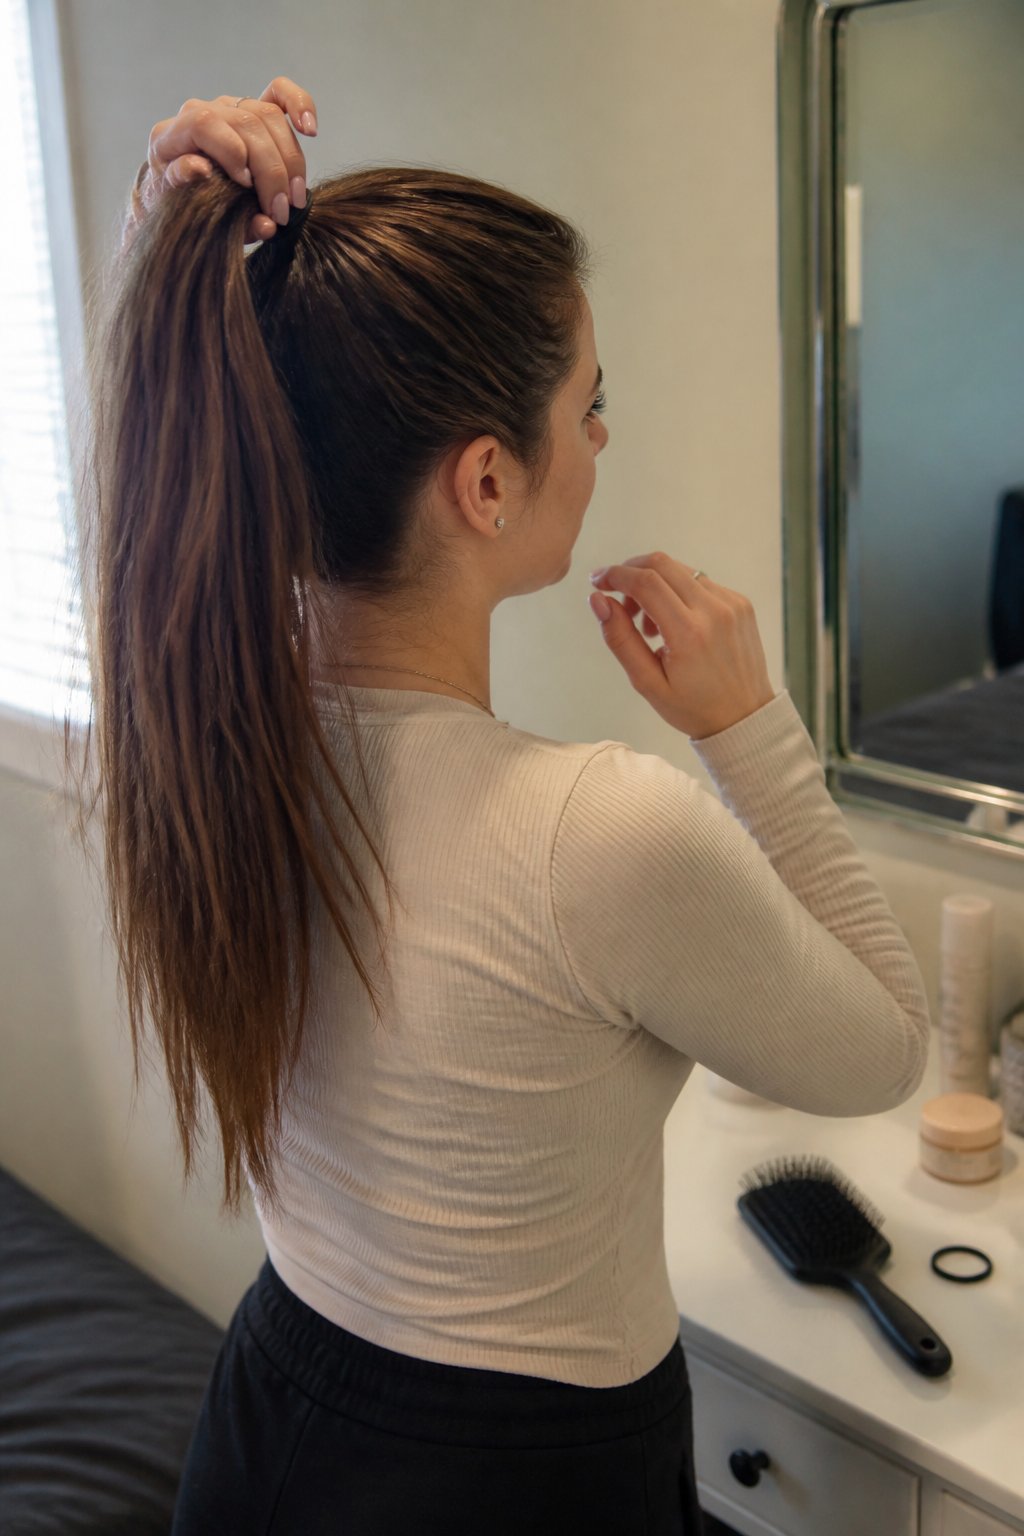
A sleek high ponytail gives you a polished style in less than 10 minutes. Start with dry hair, brush out tangles, and choose a center or side part. Gather your hair at the crown, then secure it tightly with a strong elastic.
Smooth the crown with a small amount of gel or styling cream. Use a clean toothbrush or edge brush to flatten flyaways without making your hair look greasy. For a neat finish, wrap a thin strand of hair around the elastic and pin it underneath.
If your ponytail keeps sagging, use two elastics or add a few bobby pins beneath the base for support. Avoid brushing too forcefully, especially when your hair is wet, because long hair can break more easily. Add a light mist of hairspray, then run your hands over the surface to keep the style smooth.
2. Low Twisted Bun for Long Hair
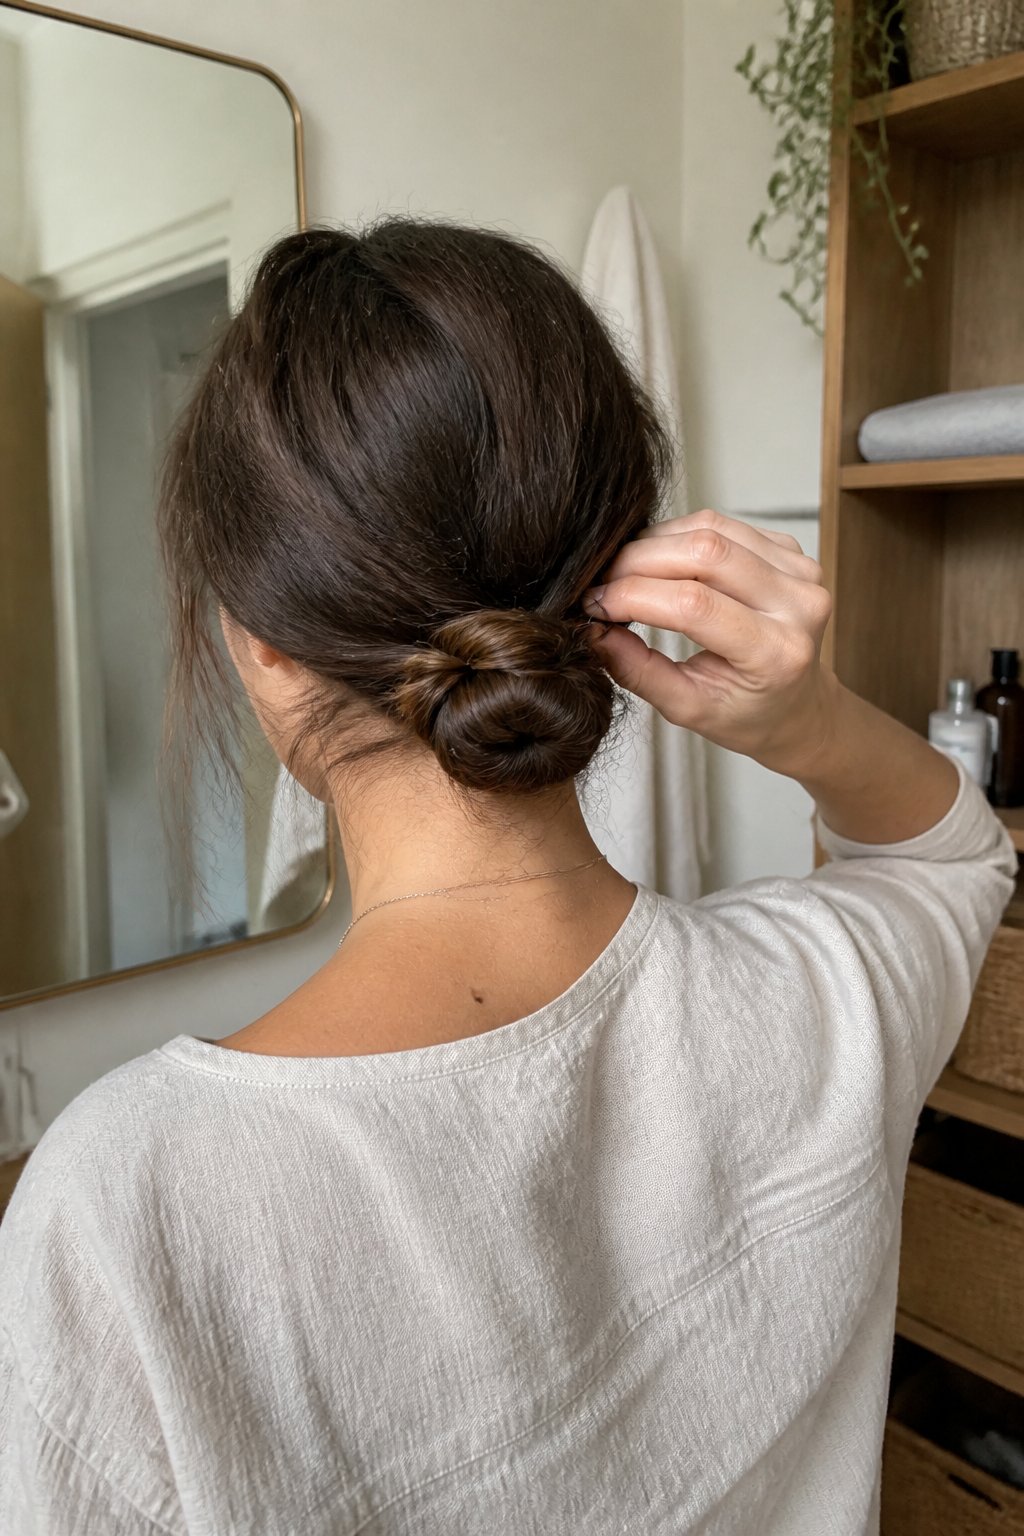
This quick tutorial creates a neat low twisted bun in under 10 minutes. Brush out tangles, gather your hair at the nape of your neck, and secure it into a low ponytail.
Split the ponytail into two sections and twist them together. Wrap the twist around its base, tuck in the ends, and secure the bun with bobby pins. Add a light mist of hairspray if you want extra hold.
For a softer style, leave a few strands around your face. Avoid twisting wet or tangled hair, since the bun may loosen or look uneven. Pin from several angles to keep long, heavy hair secure.
Try this polished style for work, a dinner, or a rushed morning.
3. Classic Three-Strand Braid for Long Hair
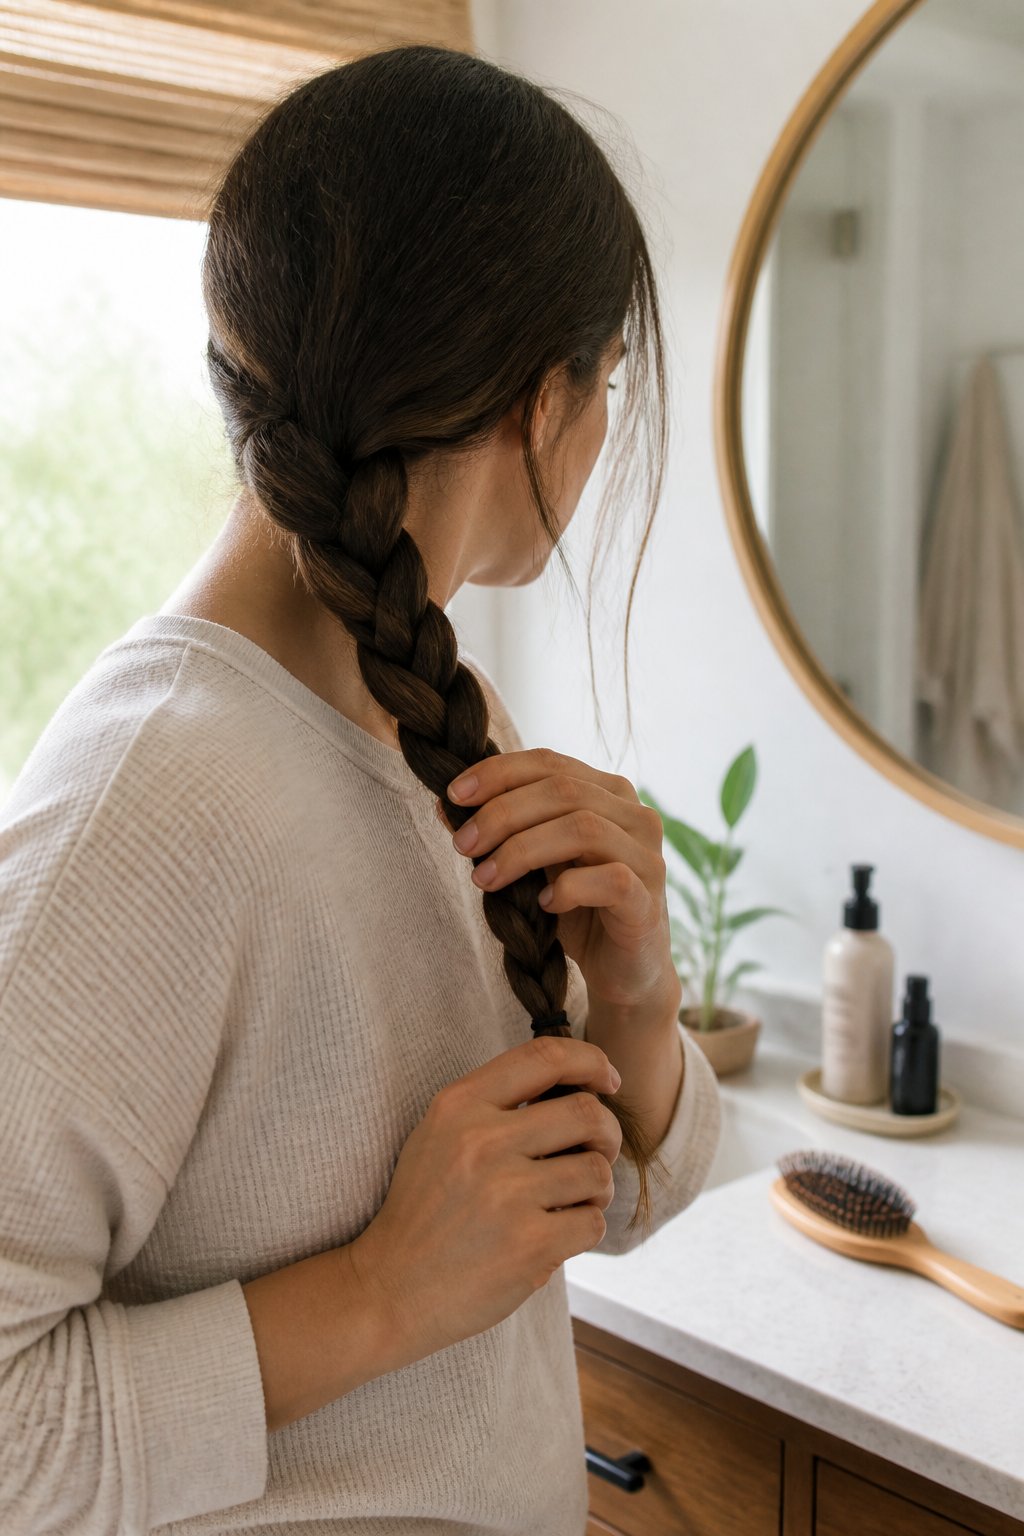
This quick tutorial gives you a neat, reliable style in under 10 minutes. Brush your hair to remove tangles, then gather it at the nape of your neck or over one shoulder.
Divide your hair into three even sections. Cross the right section over the middle, then cross the left section over the new middle section. Repeat these steps, keeping steady tension without pulling too tightly.
Secure the end with a hair tie. For a softer look, gently loosen the braid’s outer loops and leave a few face-framing strands loose.
If your hair slips from the sections, lightly mist it with water or texture spray before you begin. Keep your hands close to the braid while working to prevent uneven spacing, especially near the neck.
Try a side braid for casual days or make two braids for a simple, balanced style. Practice this basic technique, then wear it polished or relaxed depending on your plans.
4. Half-up top knot for long hair
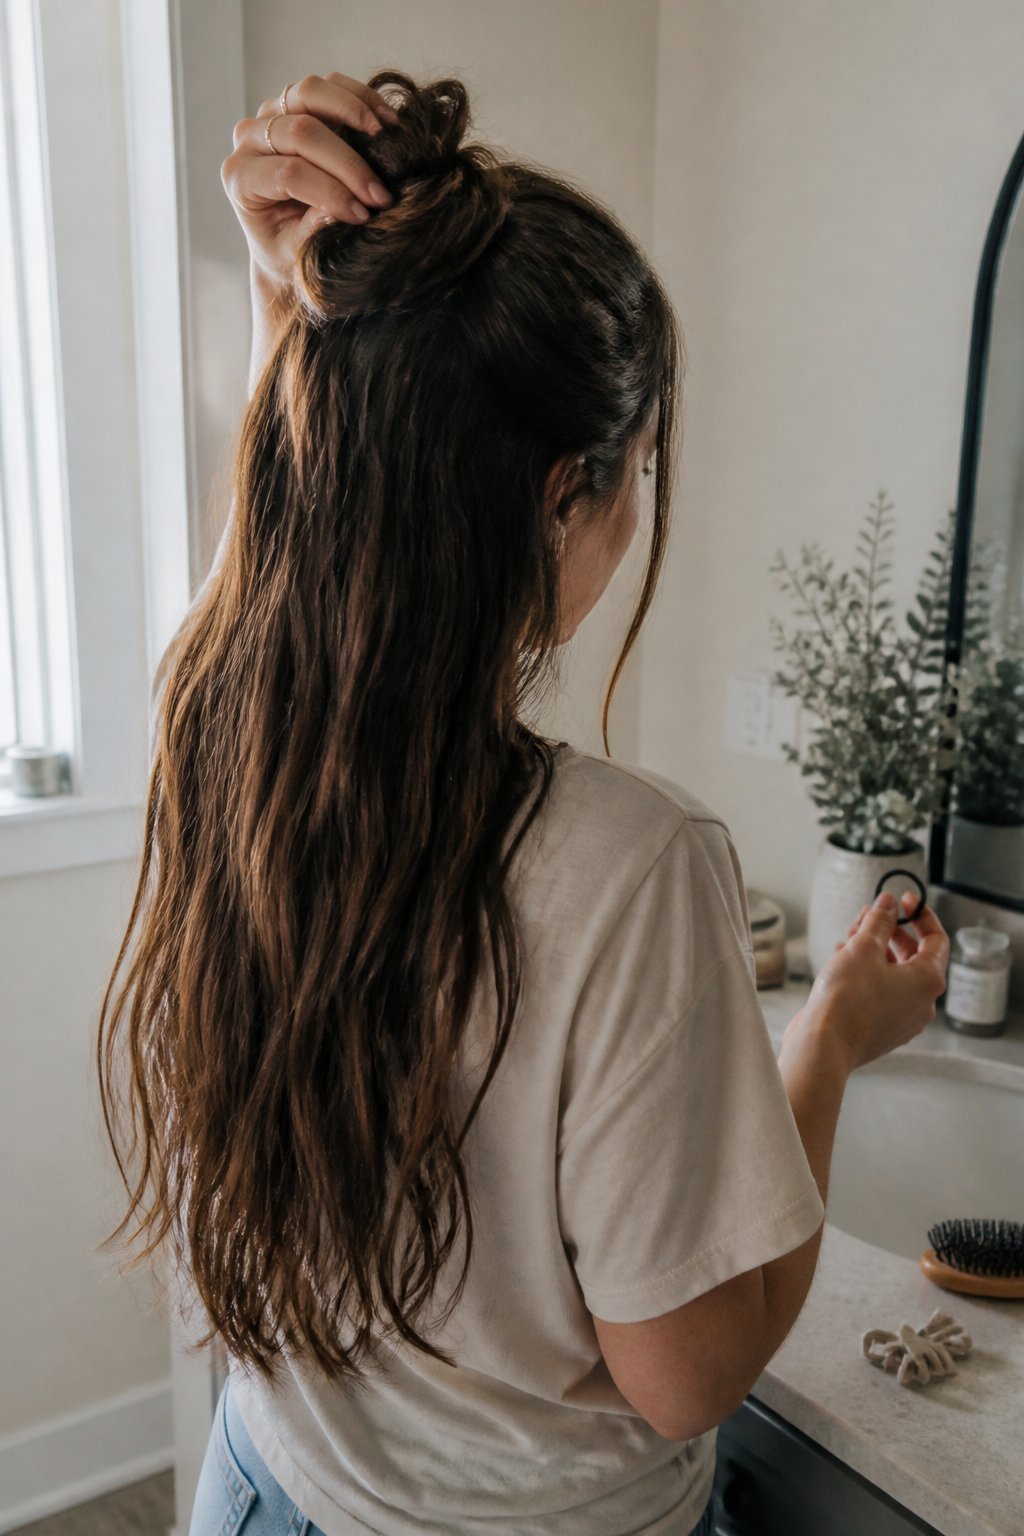
This quick tutorial keeps your hair away from your face while showing off its length. You can finish it in under 10 minutes with a hair tie, a few pins, and a brush.
Start by gathering the top half of your hair from ear to ear. Secure it at the crown, then twist the ponytail until it coils into a bun. Wrap the coil around its base and secure it with pins or another hair tie.
For extra height, gently tease the roots before tying the section. Leave a few face-framing strands loose for a softer look, or smooth the sides for a cleaner style. Avoid taking too much hair, which can make the knot feel heavy and pull at your scalp.
If your hair slips easily, add dry shampoo or light texturizing spray before styling. Finish by loosening the bun slightly so it looks full rather than tight.
5. Bubble Ponytail
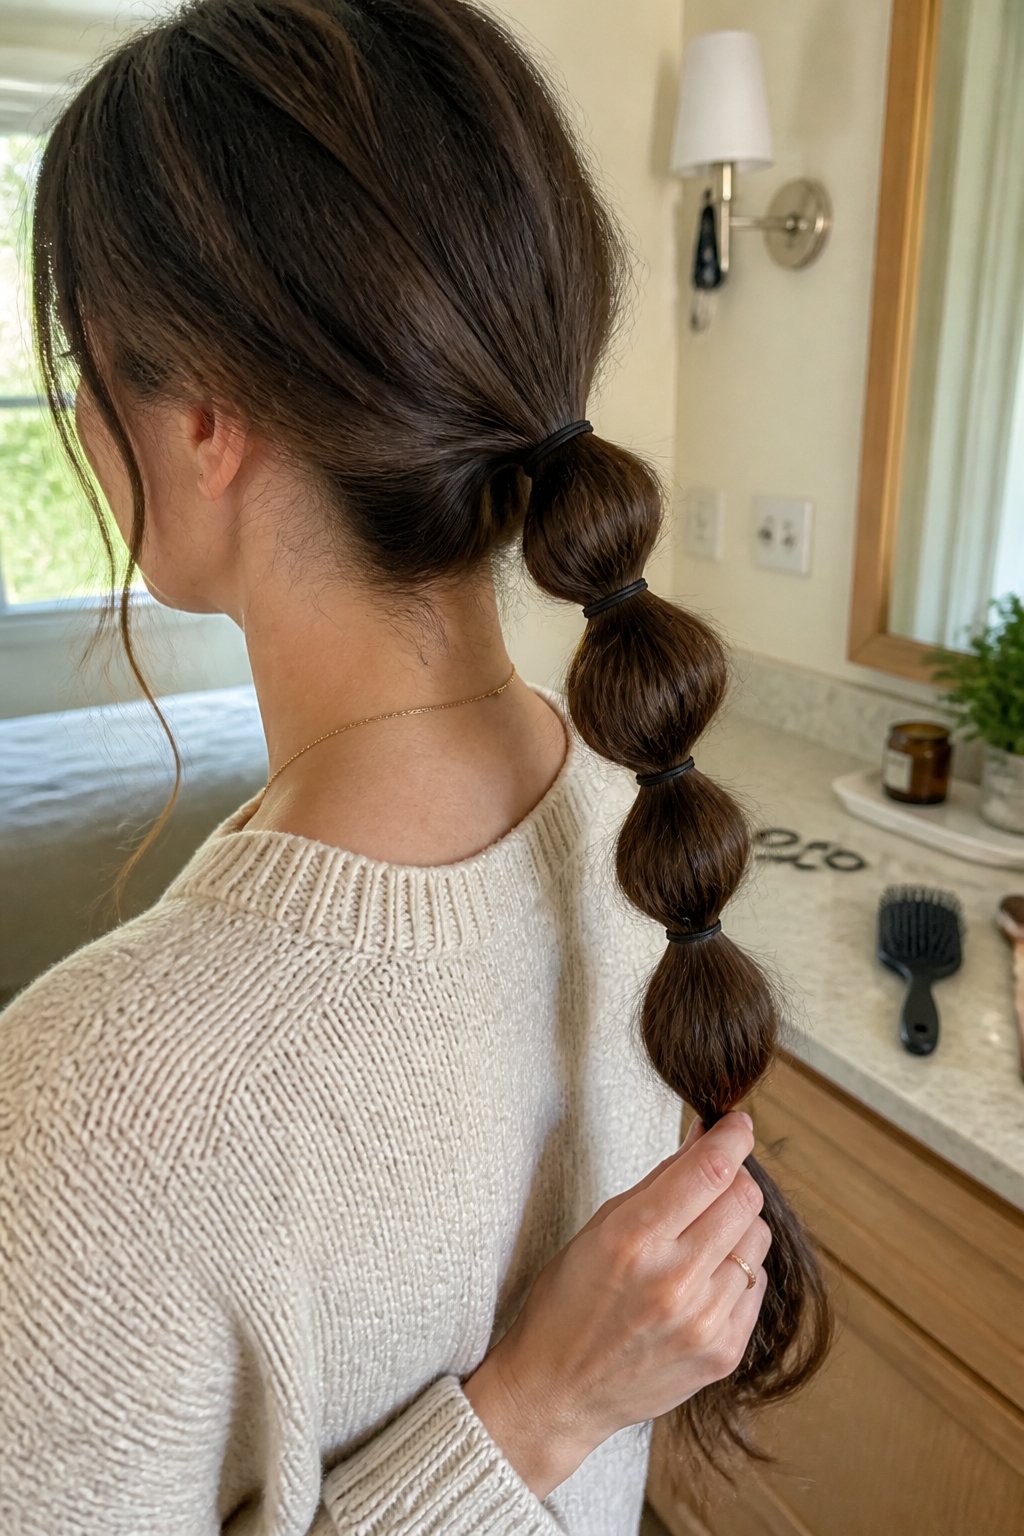
Create a polished bubble ponytail in under 10 minutes with a few small elastics. This easy hairstyle works best on long hair and suits busy mornings, casual outfits, or special events.
Brush your hair into a high or low ponytail, then secure it firmly. Wrap another elastic about two inches below the base. Gently pull the hair between the elastics to form a rounded “bubble,” then repeat down the length.
Keep the sections similar in size for a neat finish. For a softer look, loosen each bubble slightly and pull out a few face-framing strands. You can also wrap a small piece of hair around the top elastic to hide it.
Avoid placing the elastics too far apart, since the bubbles may lose their shape. Finish with light hairspray if your hair slips easily, then adjust each section until your ponytail looks even and full.
6. French braid
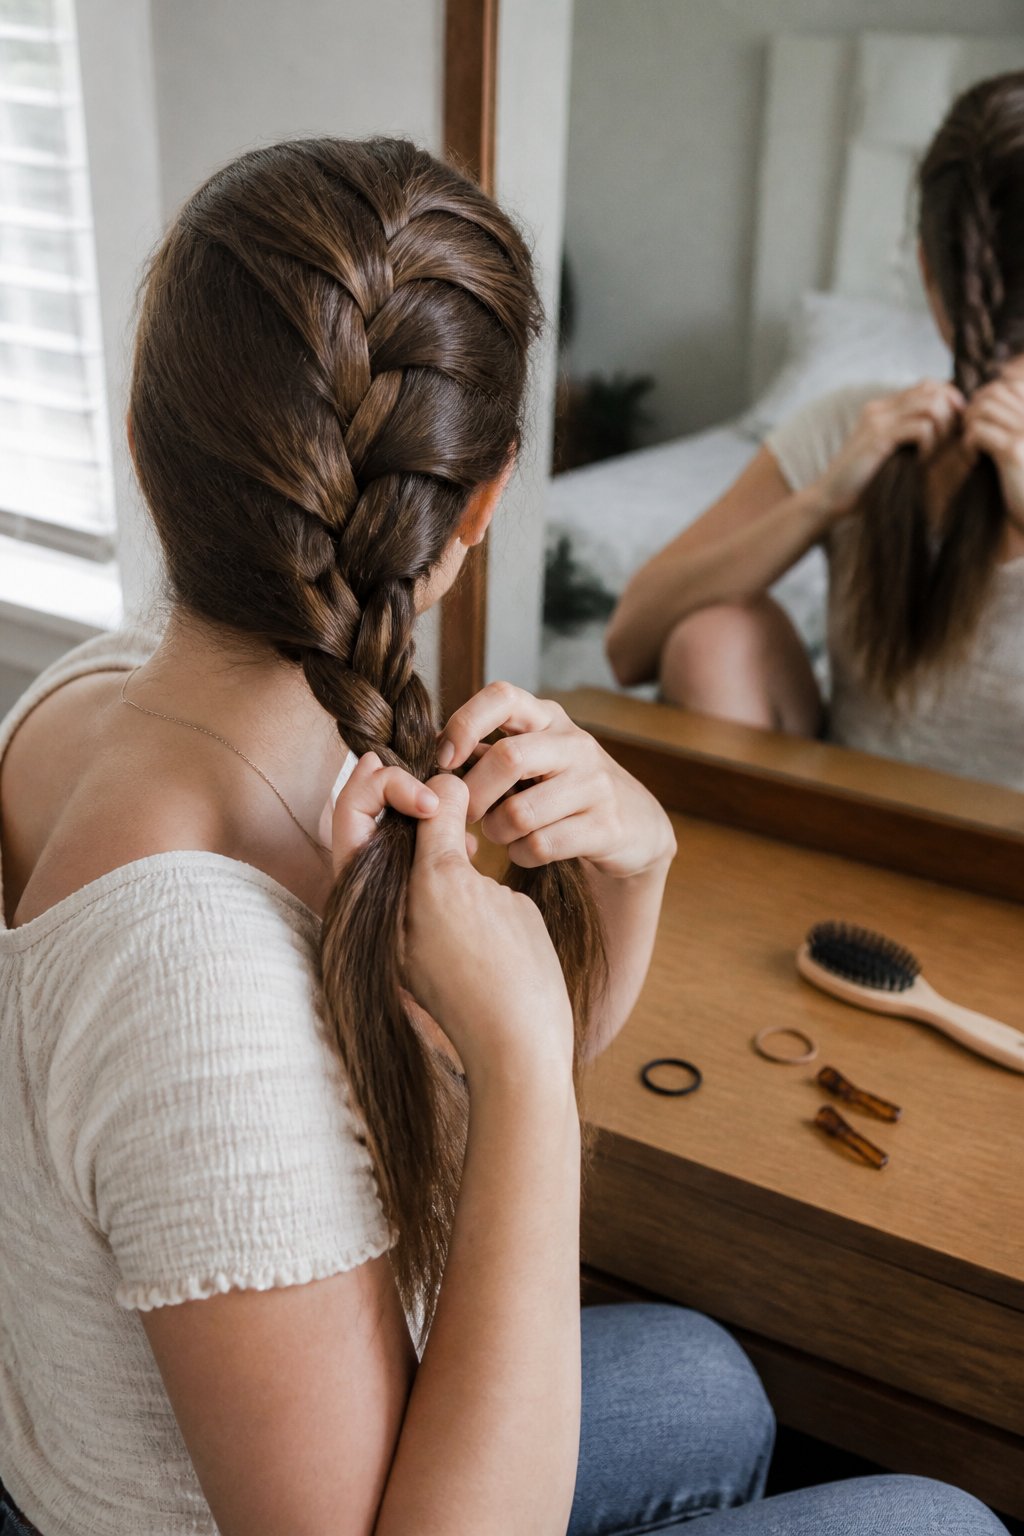
A French braid gives you a neat, secure style in less than 10 minutes once you know the basic pattern. Start with brushed hair and take a small section at the crown. Divide it into three equal strands.
Cross the right strand over the center, then cross the left strand over the new center. Before each cross, add a small piece of loose hair to the strand you move. Keep adding hair evenly as you work toward the nape, then finish with a regular three-strand braid and a small elastic.
For a softer look, loosen the braid gently by pulling the outer loops. Avoid taking sections that are too large, which can make the braid look uneven. If your hair slips, add dry shampoo or lightly mist it with water before you begin.
Keep the braid smooth for work or loosen it for a relaxed weekend style. Grab your brush and practice the crossing pattern until your hands remember the steps.
7. Dutch Braid for Long Hair in Under 10 Minutes
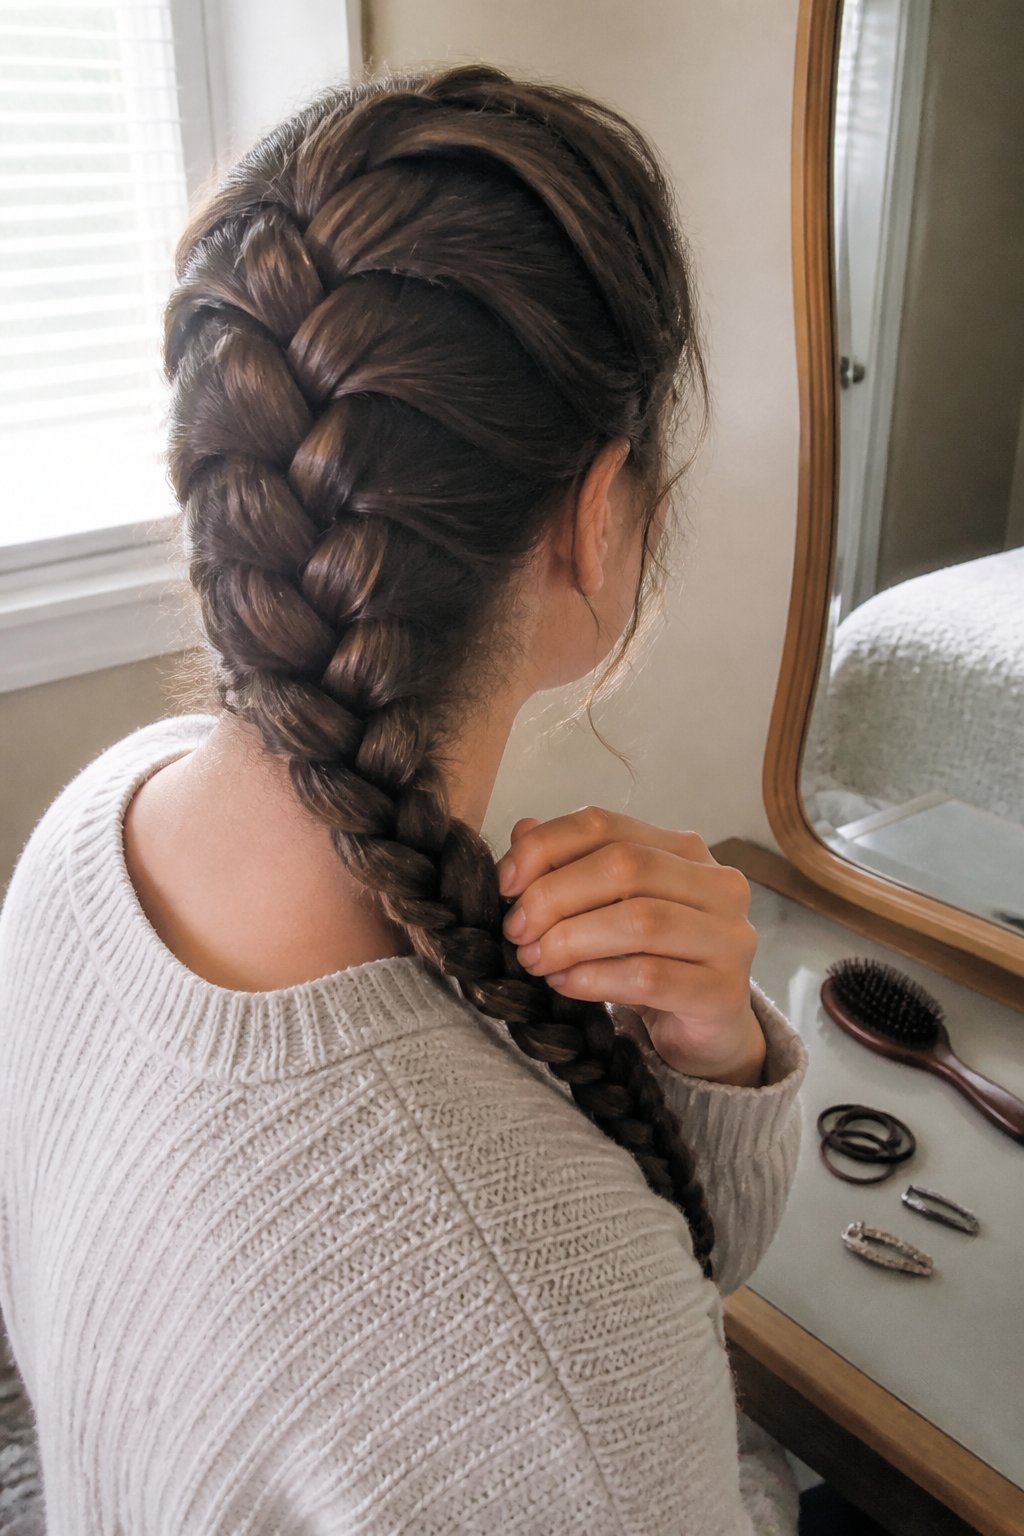
A Dutch braid gives you a neat, lifted style with little time or effort. Start with damp or lightly textured hair, then part it down the middle or to one side.
To braid, cross each outer section under the middle section instead of over it. Add a small piece of hair each time you cross a section under. Keep your hands close to your scalp for a clean braid, or gently loosen the edges afterward for a softer look.
You can make one braid along the side of your head, two pigtail braids, or a low ponytail with a Dutch braid at the front. Avoid adding sections that are too large, since they can make the braid uneven. Secure the end with a small elastic and smooth flyaways with a little styling cream.
Use this quick style for work, errands, or days when you want your long hair away from your face.
8. Claw-Clip Twist
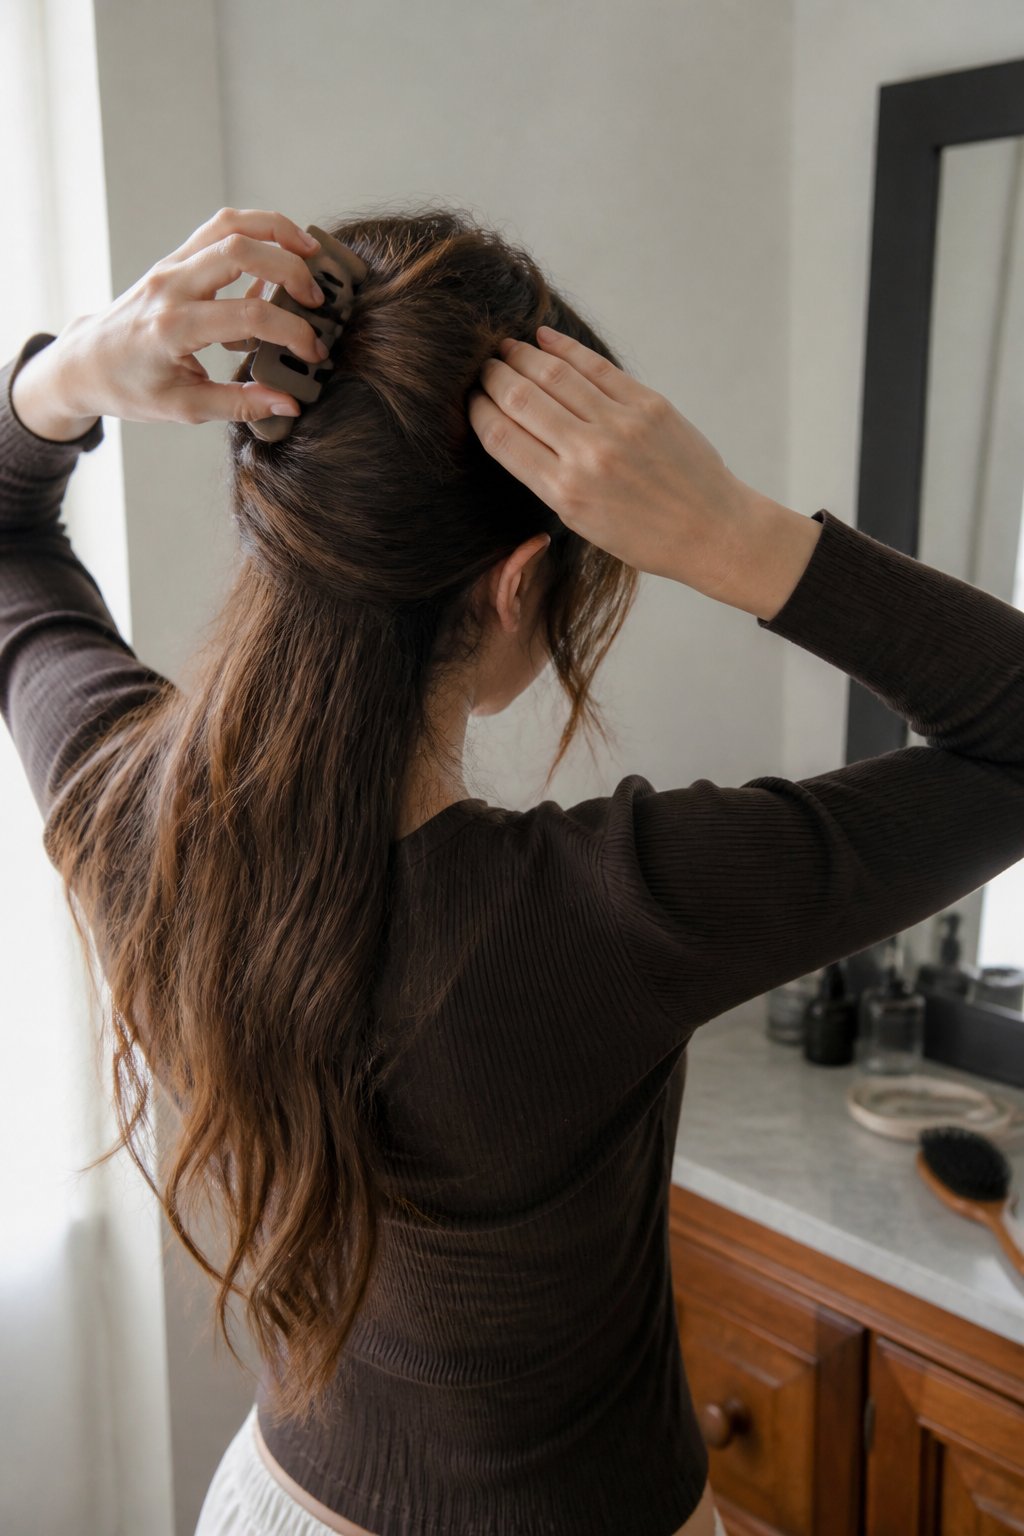
This quick claw-clip twist gives you a neat updo in less than 10 minutes. It works especially well on long, straight, or wavy hair.
Gather your hair at the nape of your neck as if you were making a low ponytail. Twist the length upward until the ends point toward the crown, then fold or tuck the ends under the twist. Place a large claw clip across the center to hold everything in place.
Leave a few face-framing strands loose for a softer look. For a polished finish, smooth the sides with a small amount of styling cream before clipping. If your hair slips out, use a clip with strong teeth or secure the twist with two crossed bobby pins first.
Avoid twisting too tightly, which can create tension and make the style look flat. Adjust the clip until it feels secure but comfortable.
9. Half-up rope twist
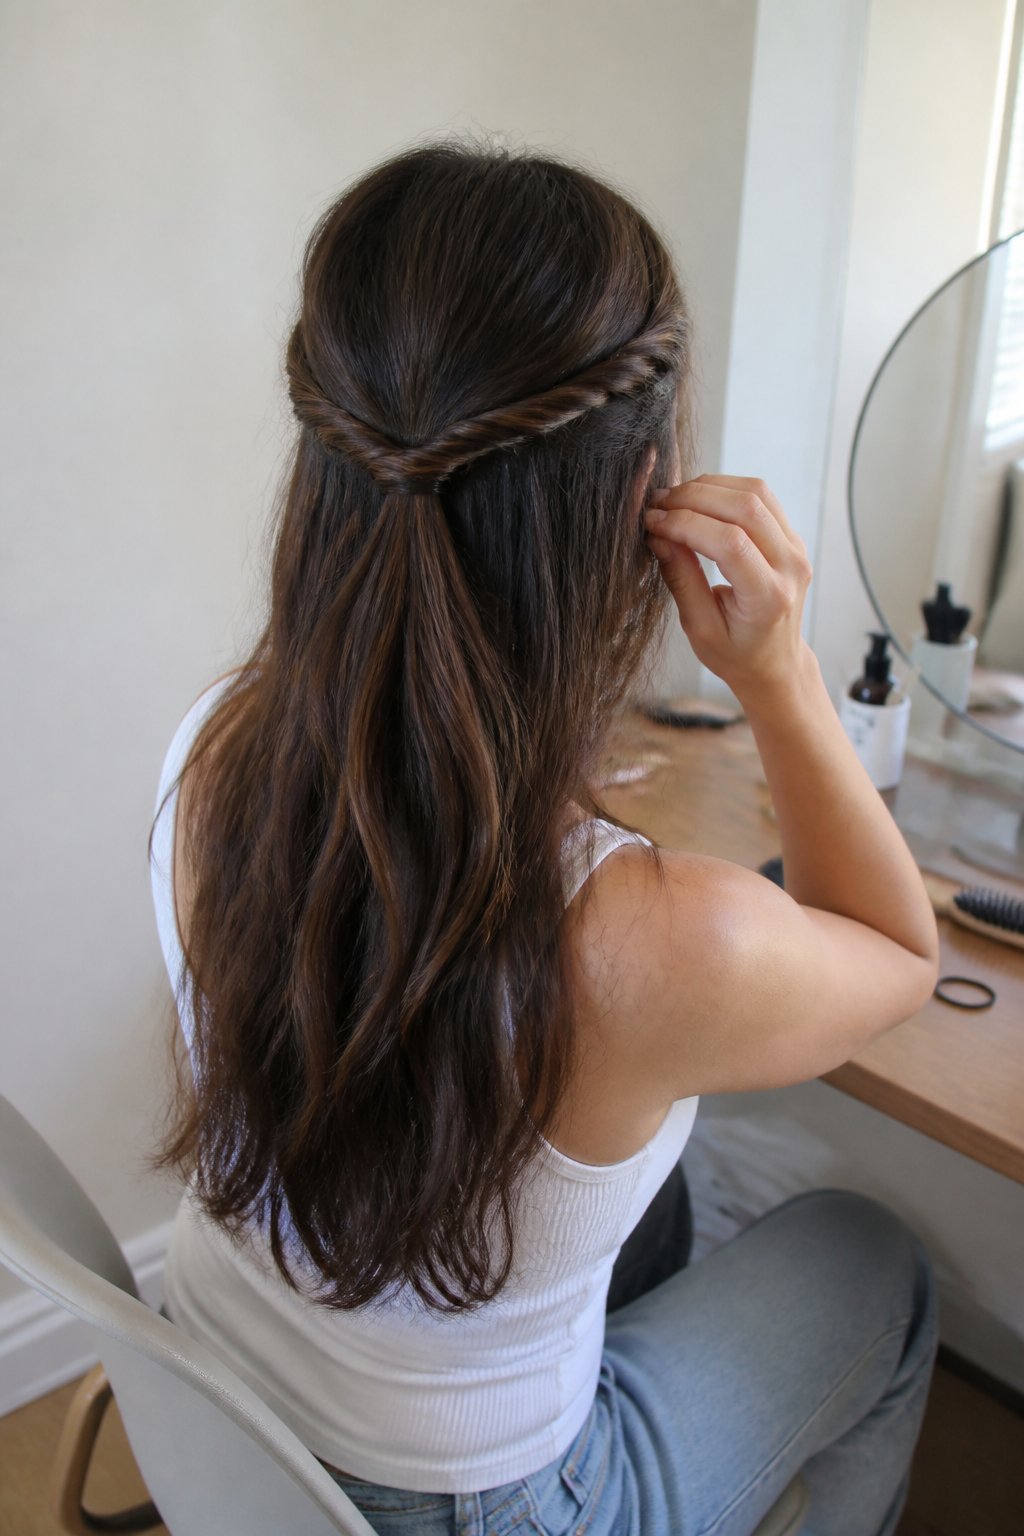
Create this easy half-up rope twist when you want your long hair secured without a full updo. Start with dry, brushed hair, then part two small sections near your temples.
Twist each section away from your face, adding a little hair as you move toward the back. Keep the twists firm but not tight, since loose tension gives the style a softer finish. Secure both twists together with a small clear elastic or a decorative clip.
Leave the lower length straight, or add quick waves with a curling iron for more texture. For extra hold, lightly spray the twists before securing them. Avoid taking sections that are too thick, which can make the style bulky and cause it to loosen.
Use bobby pins beneath the meeting point if your hair is very long or heavy. Finish by gently pulling the twists outward for added volume, then wear your half-up rope twist with confidence.
10. Messy braided bun
Create a messy braided bun in under 10 minutes by starting with slightly textured hair. Gather your hair into a high or low ponytail, leaving a few face-framing pieces loose if you prefer a softer look.
Divide the ponytail into three sections and braid it loosely. Secure the end with a small elastic, then wrap the braid around its base and pin it in place with bobby pins. Tuck the ends underneath the bun.
For more volume, gently pull the braid’s outer loops before wrapping it. Avoid braiding too tightly, which can make the bun look flat and cause discomfort. Add extra pins if your hair is long or heavy, then loosen a few strands for a relaxed finish.
Preparation Tips for Faster Styling
A few minutes of preparation can make quick hairstyles for long hair much easier. Smooth, manageable texture and an organized set of tools help you create polished ponytails, braids, buns, and half-up styles without stopping to search for supplies.
Start With the Right Hair Texture
Your hair does not need to look freshly washed for fast styling. Slightly textured hair often holds a ponytail, braid, or bun better than very clean, slippery strands. If your roots look oily, apply a small amount of dry shampoo, wait a minute, then brush it through. Avoid using too much, since buildup can make hair dull and difficult to control.
If your hair feels dry or frizzy, warm a tiny amount of smoothing cream between your hands and apply it from mid-length to the ends. Keep products away from the roots unless you need extra control there. Detangle gently with a wide-tooth comb, starting at the ends and moving upward.
For freshly washed hair, add texture with a few loose braids or a light styling spray. Let the hair dry fully before undoing the braids. This gives you soft bends without using a curling iron.
Keep Essential Tools Within Reach
Store your most-used tools together so you can begin styling immediately. Keep clear elastics, fabric hair ties, bobby pins, a brush, a comb, dry shampoo, and hairspray in one container near your mirror. Choose hair ties that match your hair color when you want them to stay hidden.
Use the right tool for each job. A brush smooths a ponytail, while a comb creates a clean part. Bobby pins hold best when you place them with the wavy side facing your scalp. For thick hair, use stronger elastics and longer pins instead of wrapping one small tie too tightly.
Prepare accessories before you start, especially for buns and half-up styles. Set out a claw clip, barrette, or headband so you can finish the look without interrupting your routine. Keep a small travel kit in your bag for quick fixes during the day.
How to Make Quick Styles Last Longer
A few small choices help your hairstyle stay neat for hours. Use light hold products, control flyaways, and protect your hair from moisture without making it stiff or greasy.
Use Lightweight Hold Products
Start with dry hair and apply only a small amount of product. A light hairspray, flexible styling cream, or dry-texture spray can help your ponytail, braid, or bun keep its shape while allowing natural movement.
Spray hairspray onto a brush or your fingertips instead of coating your whole head. Smooth the product over the surface, then secure loose sections with bobby pins. For braids, mist the hair lightly before you begin; this gives strands more grip and reduces slipping.
Avoid heavy gels and oily creams when you want volume. They can flatten long hair and make quick styles look weighed down. If your hair feels slippery, add dry shampoo at the roots before styling, even if your hair is clean. Let it sit for a minute, then brush it through.
Finish with a brief spray from about 10 inches away. This distance spreads the product evenly and helps prevent a hard, sticky finish.
Protect Hair From Humidity And Frizz
Humidity can loosen curls, puff up smooth styles, and create flyaways around your hairline. Before styling, apply a small amount of anti-frizz cream or leave-in conditioner to your mid-lengths and ends. Keep most products away from your roots so your hair does not lose lift.
For a ponytail or bun, smooth the top with a clean toothbrush or small edge brush. Use a tiny amount of styling cream to press down short hairs, then secure the style with pins that match your hair color.
Carry a few useful tools for quick repairs: two bobby pins, a small comb, and a travel-size hairspray. If rain or humidity is expected, choose a braid or low bun instead of loose waves. These styles hide minor frizz and need fewer touch-ups during the day.
About the Author — Lena Harper
Lena Harper is a fashion writer and content strategist at Fashion Pops, known for creating thoughtful, trend-aware articles that feel both stylish and relatable. With a strong background in fashion journalism, she specializes in turning seasonal trends, outfit ideas, and styling concepts into easy-to-follow inspiration for modern women.
Her writing focuses on practicality without losing creativity — helping readers build outfits that feel current, wearable, and confident. When she’s not working on new articles, Lena enjoys exploring street style trends, discovering unique fashion finds, and curating inspiration boards that shape upcoming content at Fashion Pops.