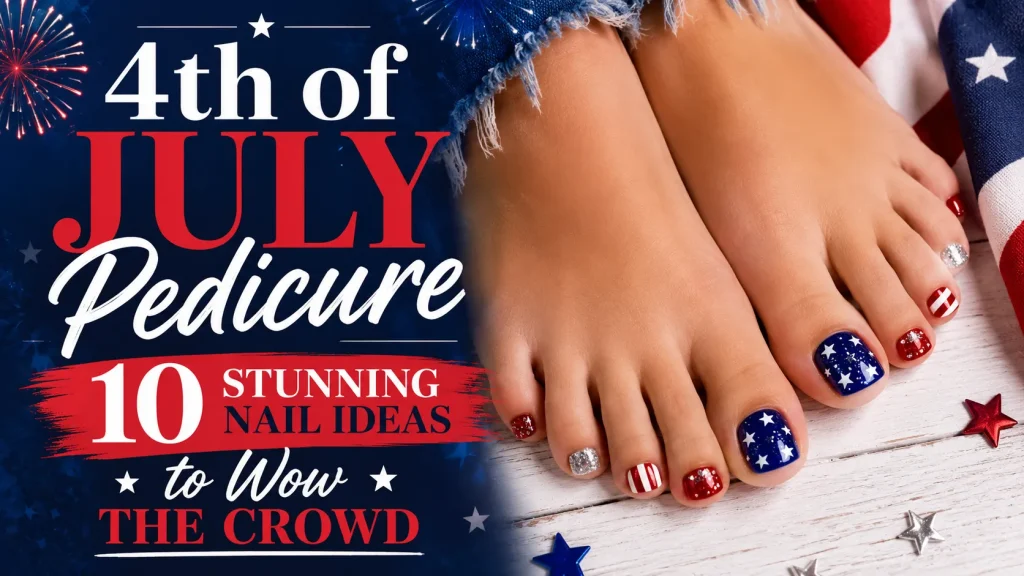
4th Of July Nails Simple: Effortless Patriotic Looks That Wow
You want festive nails that look polished without eating your whole day or budget. Whether you’re prepping for a backyard BBQ, a fireworks show, or a chill pool party, this article helps you pick simple 4th of July nails simple ideas that actually suit your style and skill level. You’ll learn easy designs, smart prep tips, and quick ways to make patriotic nails look chic instead of overdone.
Expect step-by-step how-tos, smart shortcuts, and common mistakes to avoid so your manicure lasts through sun, swims, and snacks. You’ll get clear ideas from classic red-white-blue French tips to subtle star accents and low-effort press-on options, all explained in plain language with practical tips on nail health and tools to keep on hand.
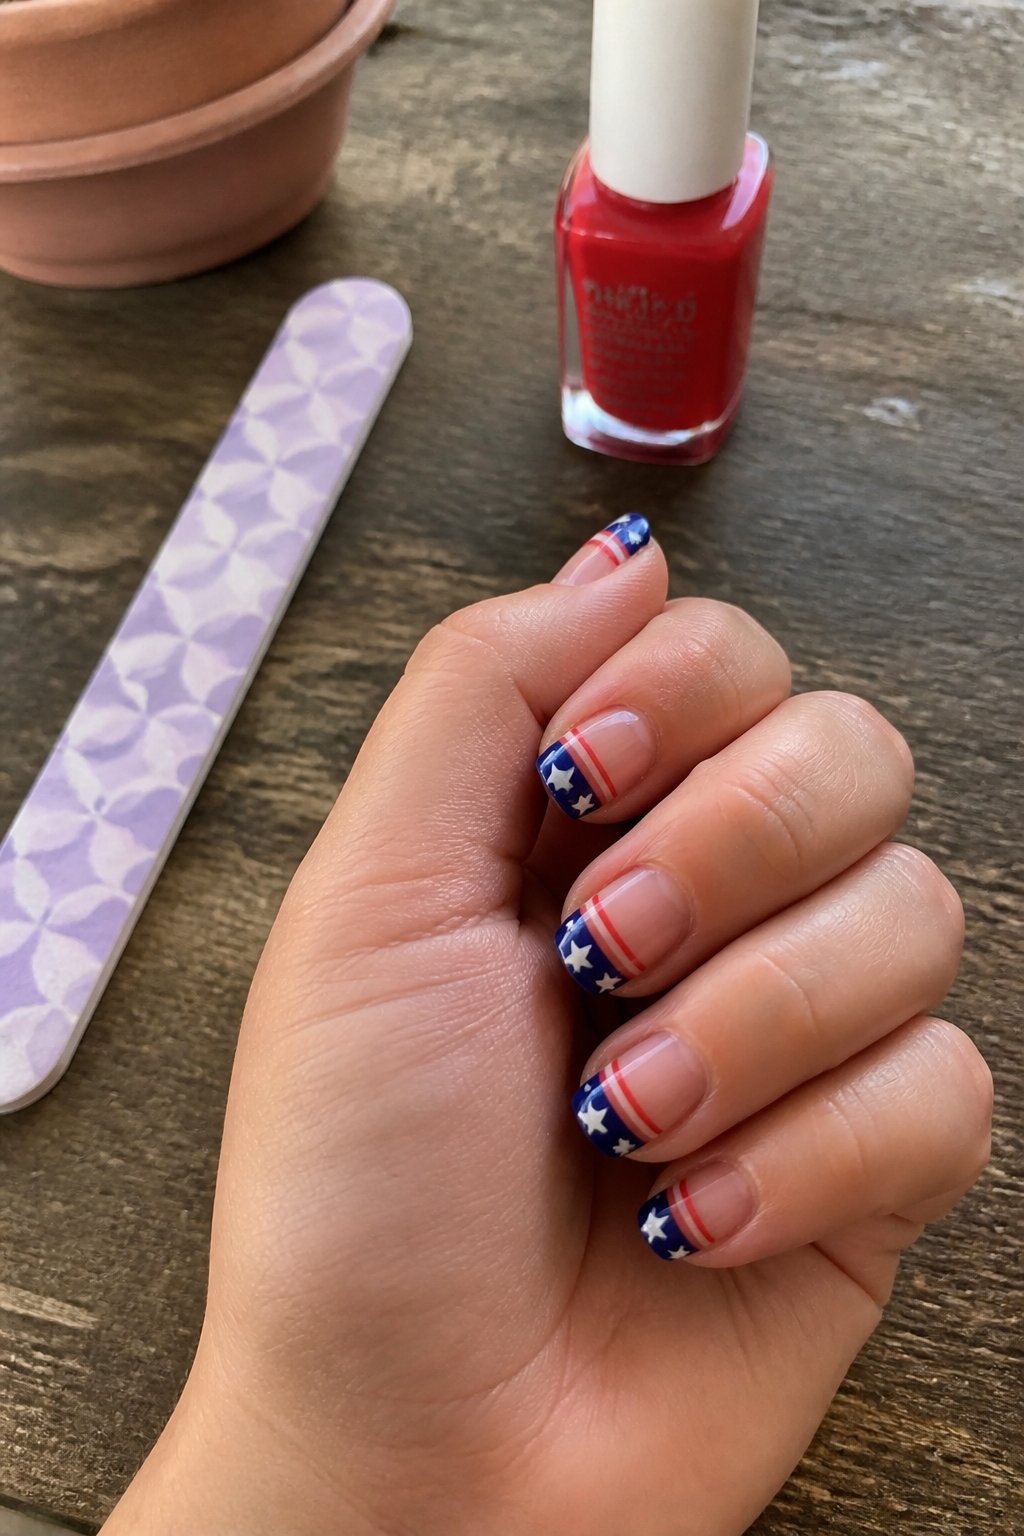
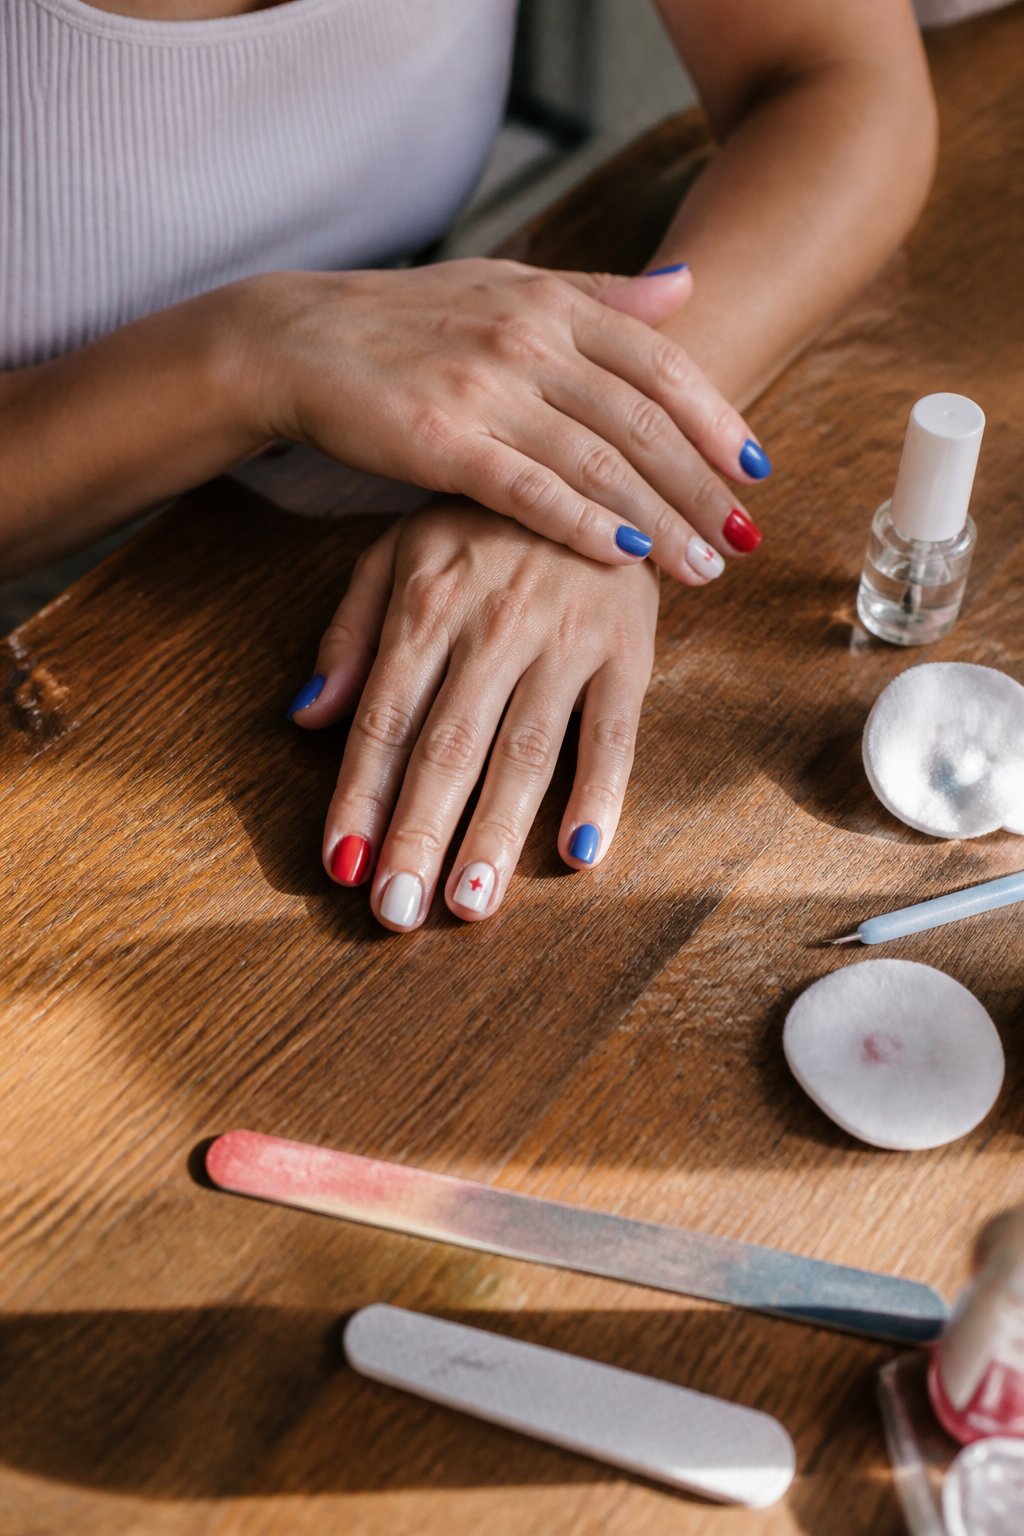
1. Classic Red White Blue French Tips
Tutorial: you’ll learn a timeless, simple French tip with a patriotic twist.
Start with a clean, neutral base. Paint sheer nude or soft pink, then add crisp white arcs at the tips. Keep a steady hand and use thin brushes or French tip guides to avoid jagged lines.
Add red and blue accents for flair. Try alternating red and blue on the ring and index fingers, or paint tiny stars on one accent nail. A dotting tool helps keep stars and dots neat.
Common mistakes to watch for: thick top coats that blur the white edge, and heavy brush strokes that create bumps. Let each layer dry and use thin coats for smooth lines.
If you want inspiration, check ideas for simple patriotic French tips that work on short nails and gels. Try one set and tweak colors until it feels right.
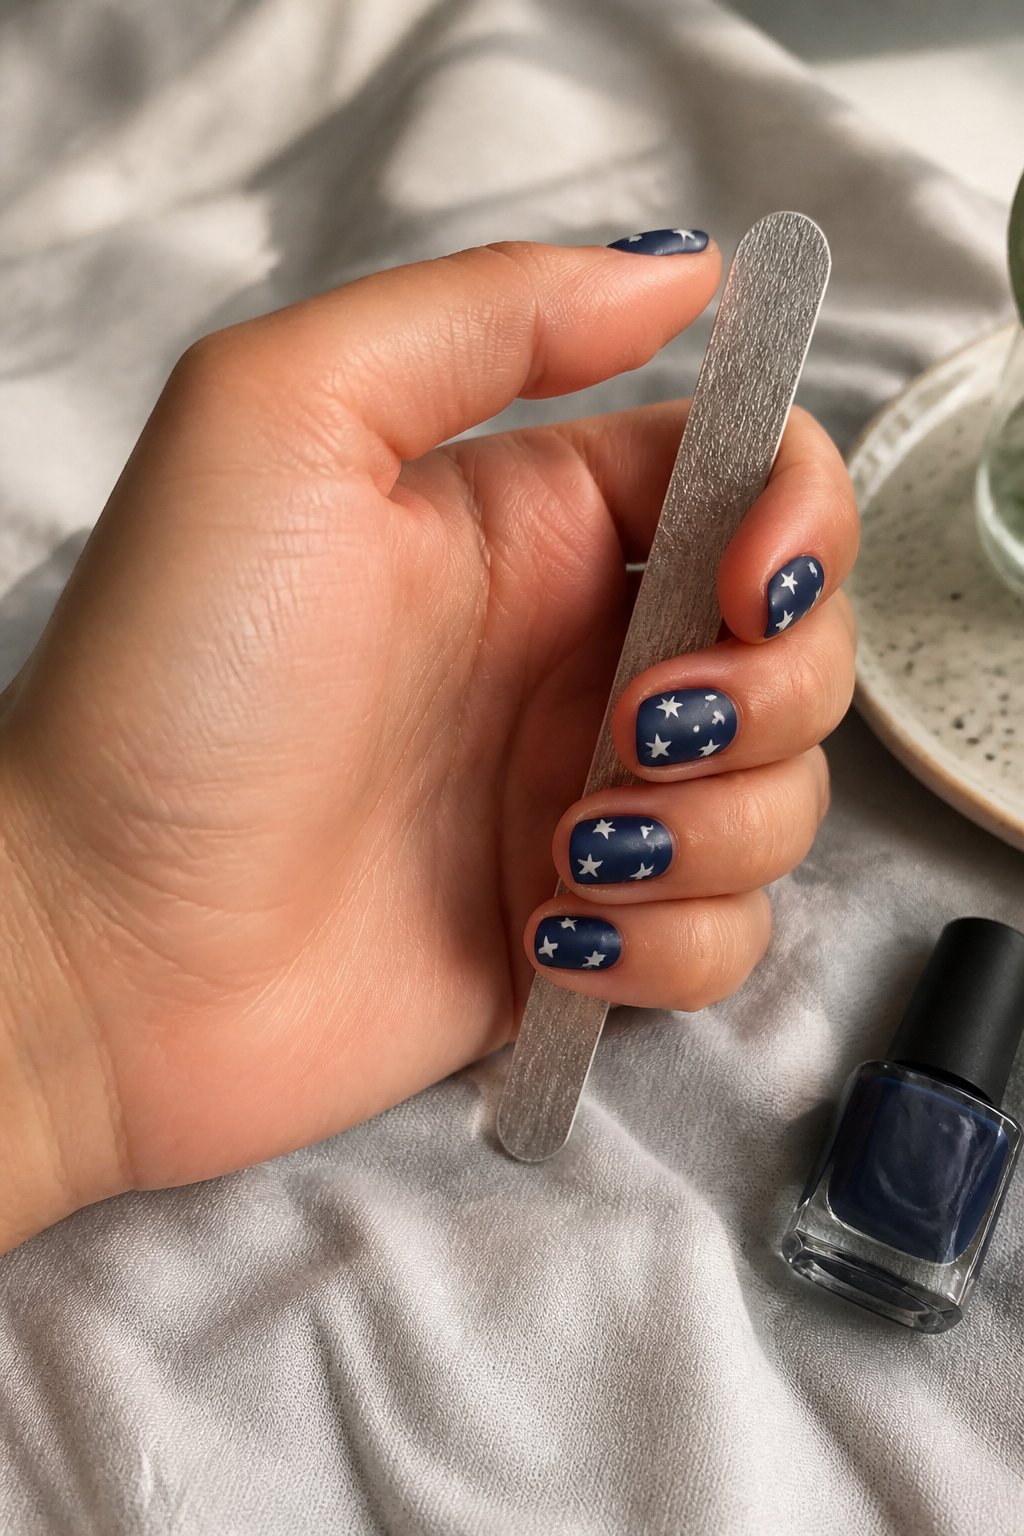
2. Matte Navy Base with Tiny White Stars
Intent: tutorial and idea.
Start with a smooth matte navy base to make small white stars pop. Use two thin coats of a matte formula or add a matte top coat over glossy polish for an even finish.
Place tiny stars on one or two accent nails to keep the look simple and wearable. Try a dotting tool or a fine brush; practice on a nail wheel first so your stars stay crisp.
Common mistake: crowding the nail with too many stars. Leave negative space for balance and a cleaner feel. If a star smudges, fix it with a small dab of navy and redo the star.
For a subtle twist, add a single micro-glitter near the cuticle of one finger. Try this for short or long nails, and wear it to barbecues or fireworks — then show it off.
3. Negative-Space Red Stripe Accent Nail
Intent: tutorial. Use this look when you want patriotic flair without full-on nail art.
Start with a clean, neutral base—sheer nude or soft pink works best. Paint a single thin red stripe down the center or along the side of one nail, leaving clear space around it. A striping brush or a steady toothpick helps keep the line crisp.
Try a diagonal stripe for a modern twist. Paint the stripe thicker at the tip and taper it toward the cuticle for a subtle gradient effect. Add a tiny white star near the tip if you want a small accent.
Common mistake: overloading with polish. Too many layers will hide the negative space and look heavy. Let each layer dry fully and seal with a glossy top coat. Try this on short or long nails—both look polished and festive.
4. Silver Star Foil on Sheer Pink
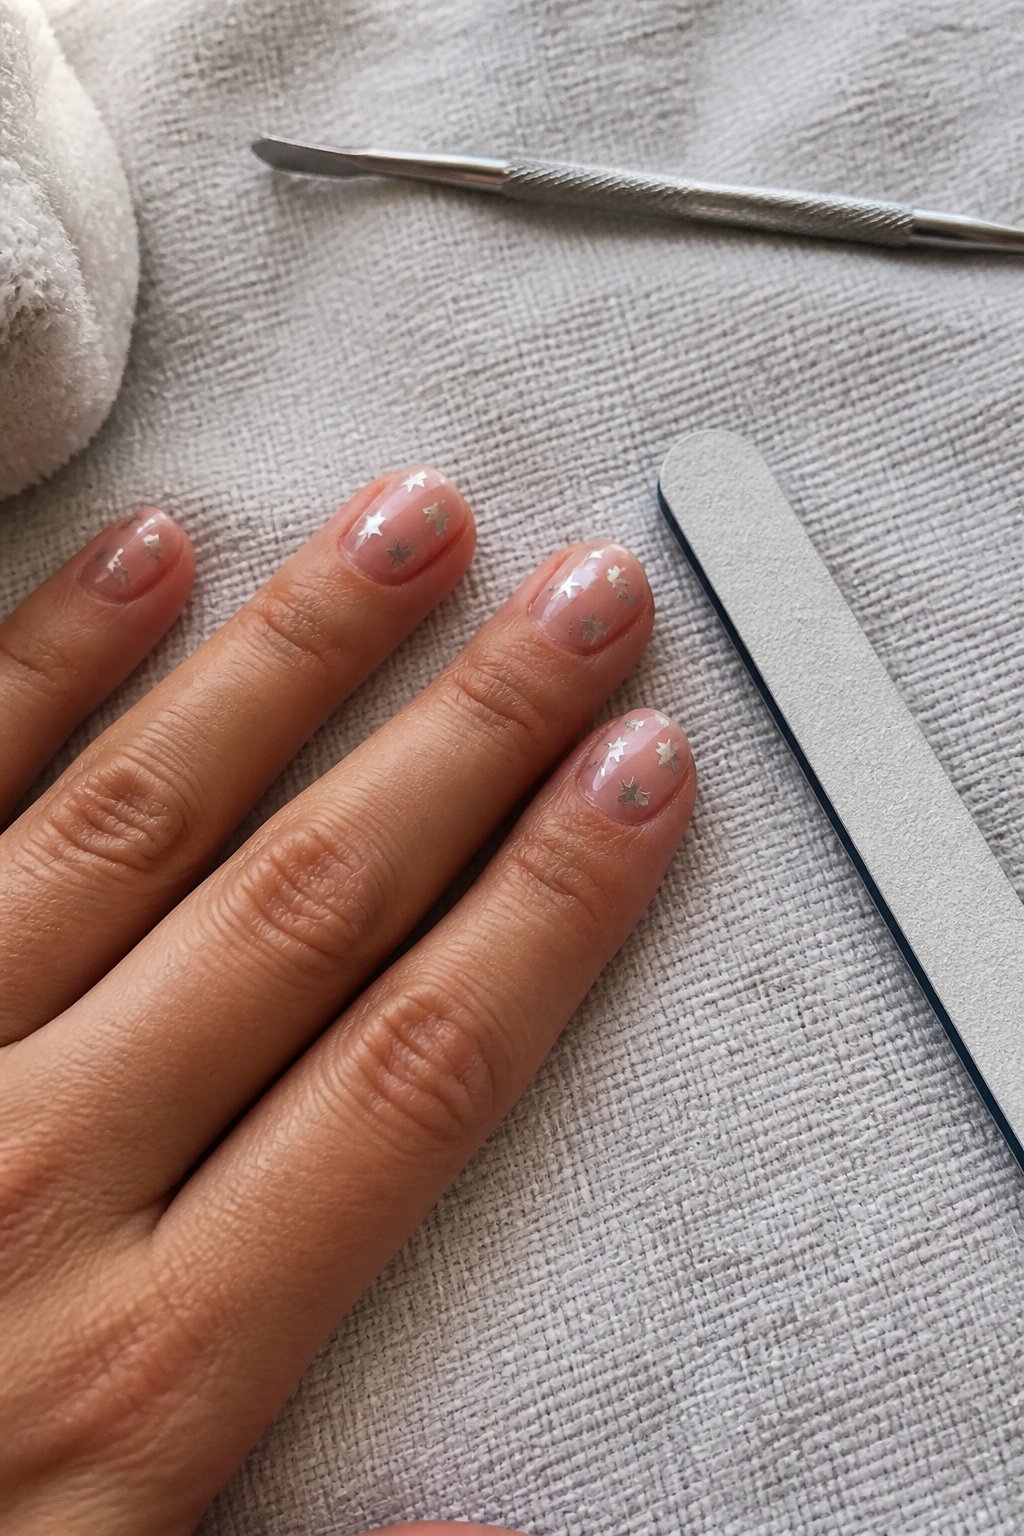
Intent: tutorial. Use a sheer pink base and add tiny silver star foil for a low-effort, polished patriotic look.
Start with two thin coats of sheer pink polish. Let each coat dry fully to avoid lifting the foil. Use tweezers or a dotting tool to place the foil stars—one at the base, tip, or off-center adds different moods.
Work nail by nail. Press the foil gently and seal with a glossy top coat to prevent edges from peeling. Watch for common mistakes: placing stars while the polish is too wet or using too much top coat, which can blur foil shine.
Try a scattering of stars on a single accent nail if you want subtlety. If you prefer bolder, cover two nails with stars and keep the rest plain. Give it a final wipe with alcohol before sealing to remove dust and oils.
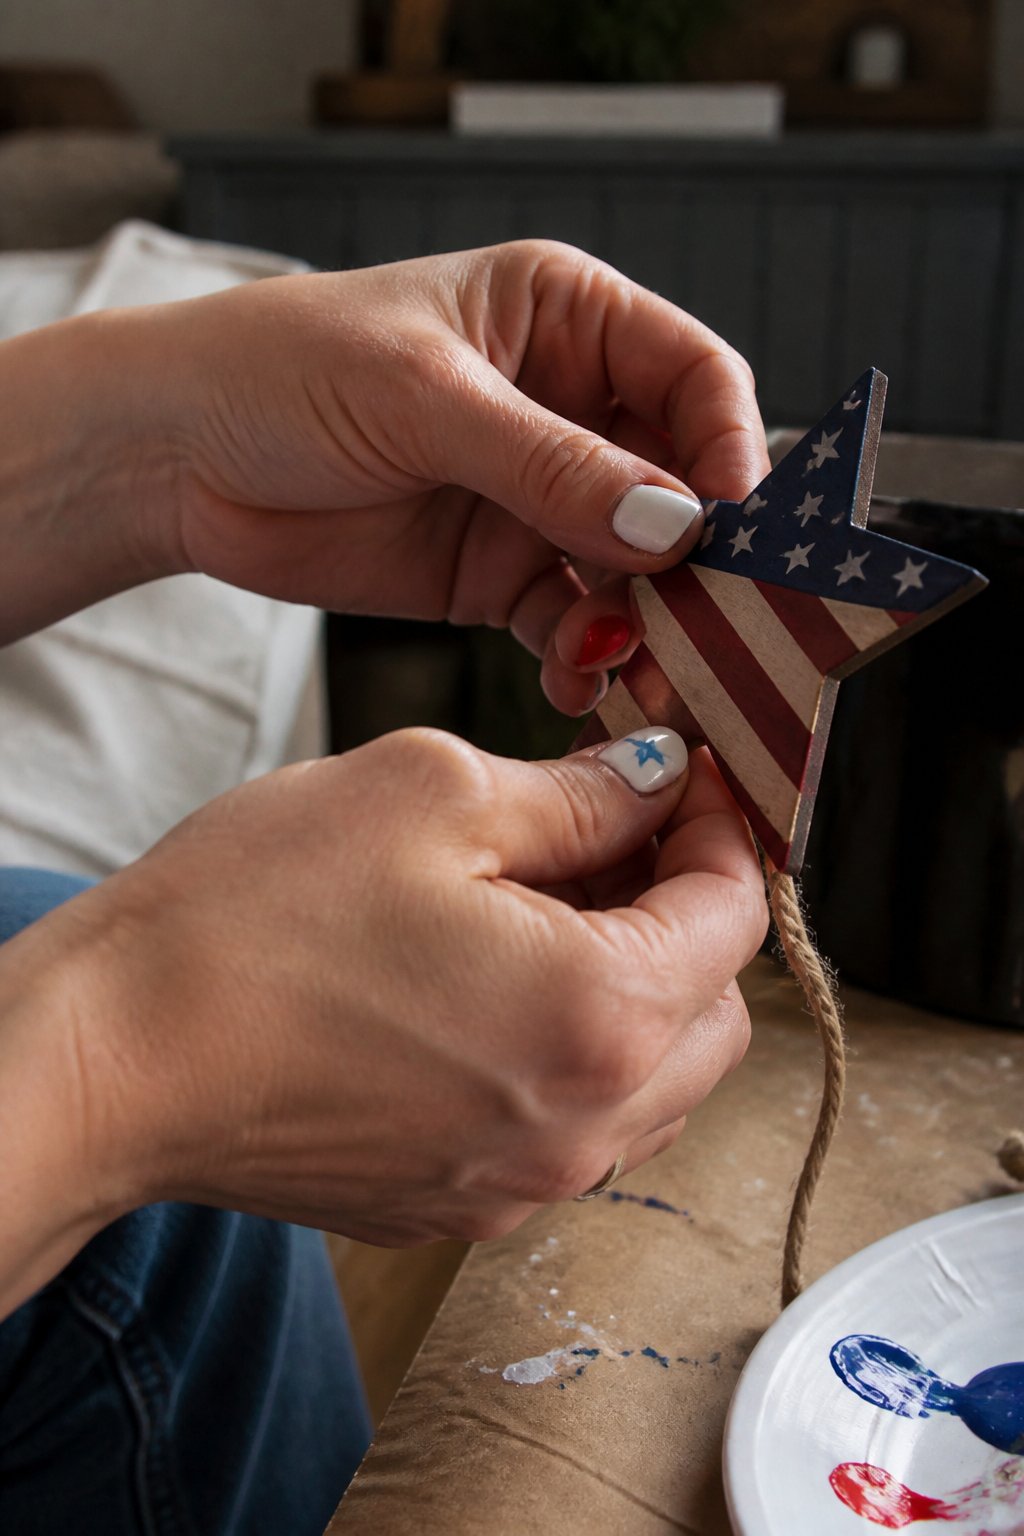
5. Nude Base with Mini Flag Accent

This is a tutorial for a low-effort, high-impact patriotic manicure you can do at home or ask your tech to recreate. Start with a clean nude base to keep the look chic and wearable for any event.
On one or two accent nails, paint a small American flag in the corner or near the cuticle. Use a thin brush or a toothpick for stars and stripes; practice on a nail wheel first to avoid smudges.
Common mistakes: applying thick layers that bubble and using non-contrasting nude shades that hide the flag. Let each color dry between steps and finish with a glossy top coat to protect tiny details.
If you want to simplify, swap tiny stars for white dots. Try it on your dominant hand last so you can steady the brush with your other hand.
6. Glittery Blue Ombre with White Tip
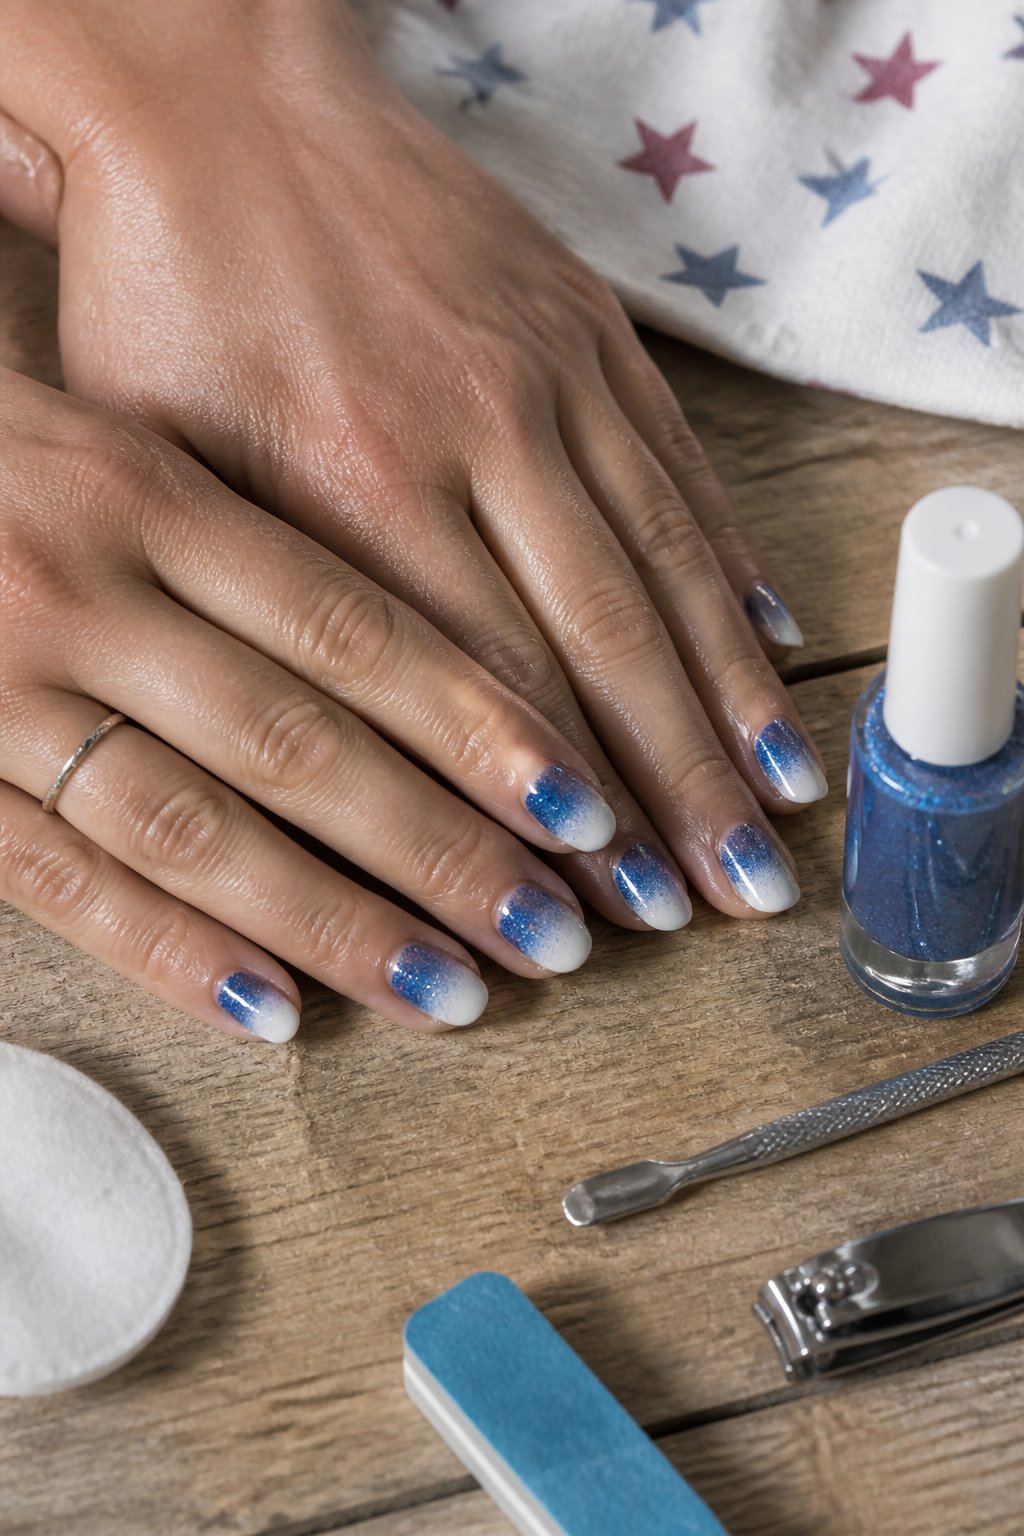
Tutorial: learn a clean ombre that balances sparkle and simplicity.
Start with a sheer navy at the cuticle and blend into a bright cobalt toward the middle. Add fine silver glitter over the blue to catch light without overwhelming the look.
For the white tip, use a thin brush and semi-opaque white polish. Keep the line soft, not a hard French edge; that makes the ombre read smoother and more modern.
Common mistake: overloading glitter at the tip — it can hide the white and make nails look busy. If you work with gels, cure between thin layers to avoid lifting.
Try this on short squares or almonds; the ombre looks chic either way. If you want inspo, check a roundup of festive ombre ideas for fresh twists on patriotic nails (https://colorfulfor.com/4th-of-july-nails/).
7. Cherry Red French with Blue Dot Accent

Intent: idea — a chic, low-effort patriotic manicure you can do at home or request at the salon.
Paint a clean cherry red French tip on each nail. Keep the crescent thin for a modern look; thicker tips read more casual. Add a single small blue dot near the cuticle on one or two accent nails for a subtle nod to the flag.
Use a dotting tool or the end of a bobby pin for neat dots. A steady hand and thin brush for the tips prevent messy edges. Common mistake: overloading the brush with polish — wipe excess first to keep lines crisp.
Seal with a glossy topcoat to protect the design and boost shine. If you want more sparkle, try a tiny silver glitter line between tip and nail bed. Try it on one hand first to refine your technique.
8. White Base with Red and Blue Polka Dots
Intent: tutorial. Use a clean white base to make red and blue dots pop for an easy patriotic look.
Start by painting two thin coats of a bright white polish. Let each coat dry fully to avoid smudging when you add dots.
Use a dotting tool, toothpick, or bobby pin to place red and blue dots in a scattered pattern. Vary dot sizes for a playful, professional feel; small dots between larger ones fill space nicely.
Common mistake: adding dots on tacky polish. Wait until the white is dry or the dots will smear. Seal with a glossy top coat and press lightly to keep dots round.
If a dot slips, use a tiny brush dipped in polish remover to fix the edge. Try one accent nail with stars or glitter to elevate the set.
9. Subtle Blue Aura Finish with Star Accent
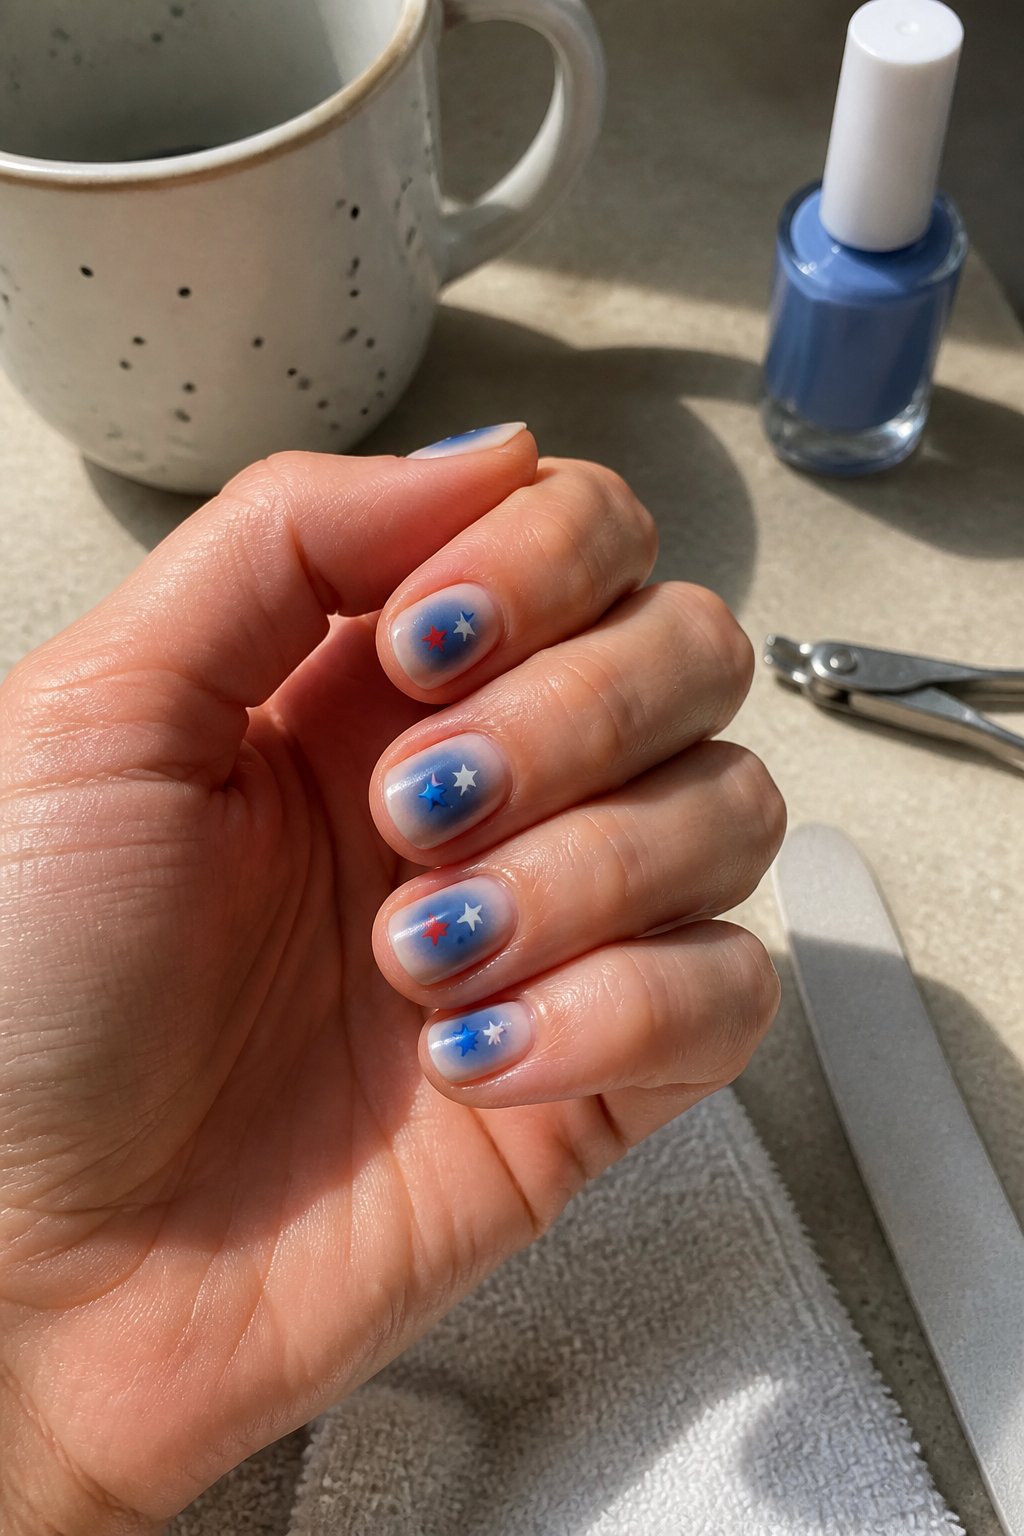
Intent: tutorial. Try a soft blue aura base for a modern, low-key 4th of July look. Apply a milky, sheer blue and buff it to a faint iridescent glow. This gives a wearable shine without bold stripes or heavy glitter.
Pick one nail for a tiny white star. Hand-paint the star with a fine brush or use a small star decal placed near the cuticle. Keep the star small so it reads as a deliberate accent, not a full flag.
Common mistake: overworking the aura layer until it becomes streaky. Use thin coats and a light chrome or iridescent powder for even depth. Seal with a glossy topcoat to protect the sheen.
For short nails, keep the star centered or off to the side for balance. Try this when you want patriotic flair that’s subtle and chic — give it a go at home or ask your tech to replicate it.
10. Clear Gel Nails with Red Star Confetti
Intent: tutorial and idea.
Choose a clear gel base to keep the look fresh and wearable. You get shine and strength while the red star confetti adds a festive pop without heavy color.
Apply two thin gel layers, cure each fully, then place confetti on the tacky layer with a dotting tool. Space stars unevenly for a natural, scattered feel; avoid crowding the cuticle area to prevent lifting.
Seal with a thick top coat and cure again to lock the stars flat. If a star edge lifts, press gently with a wood stick and add a tiny top-coat dab before curing.
Common mistake: using too much confetti at once. Start small and build. Try one accent nail packed with stars and leave others clear for a modern, easy-to-wear vibe.
11. Thin Red, White, and Blue Pinstripe Design
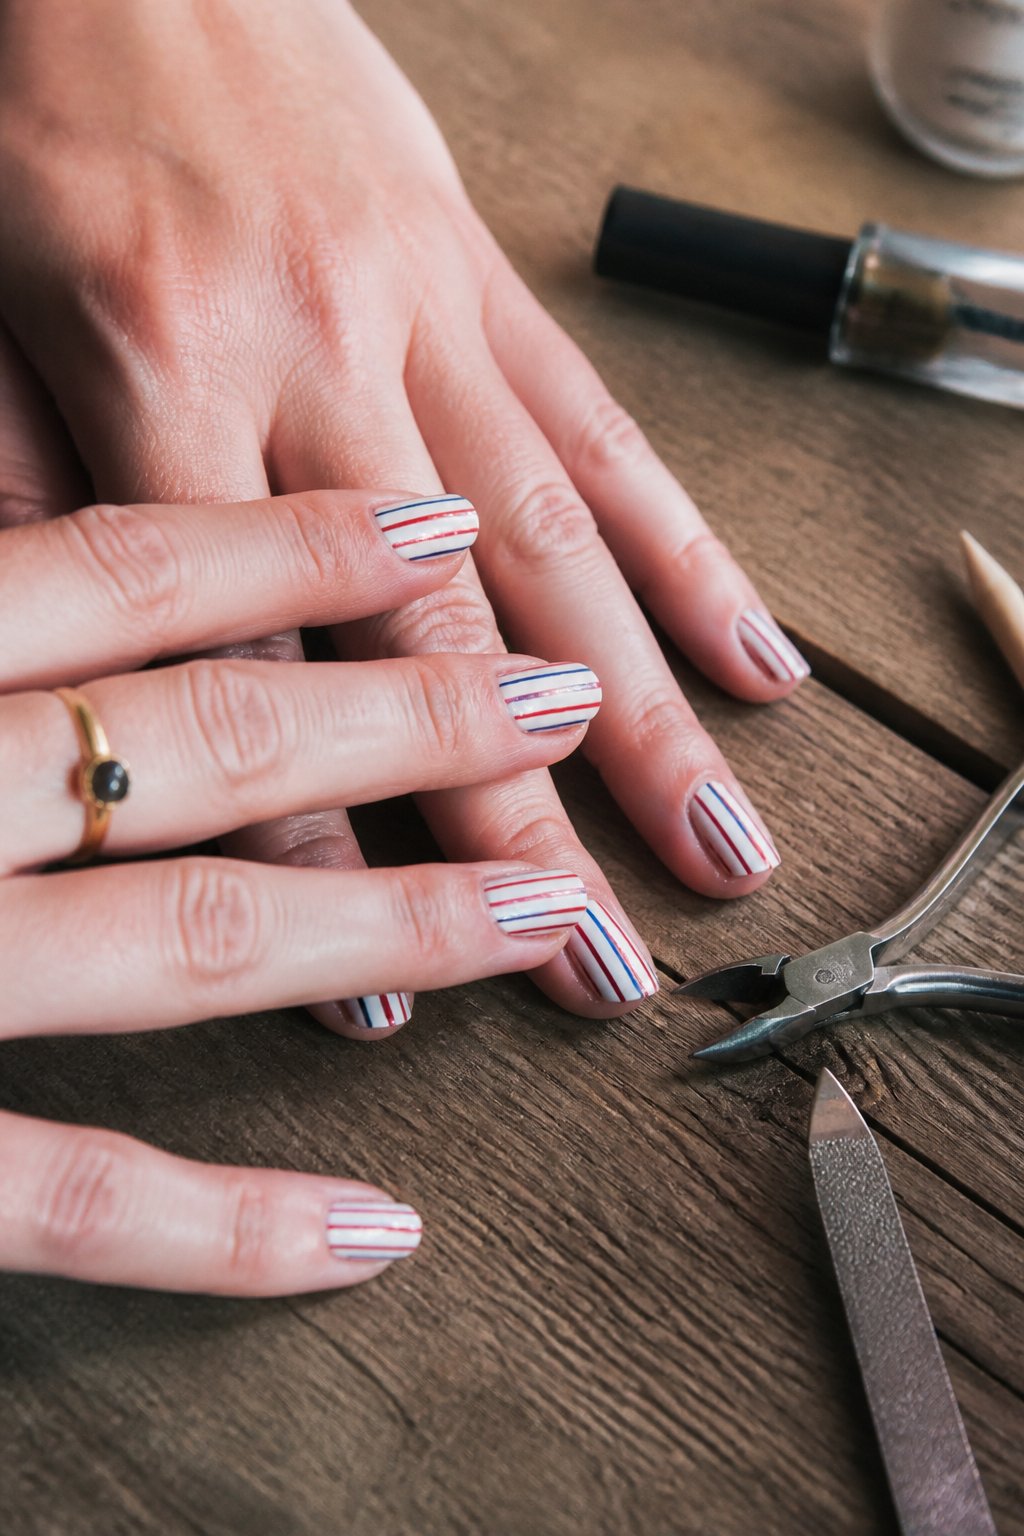
Intent: tutorial. Use thin pinstripes for a crisp, patriotic look that stays subtle.
Start with a clean base coat in either white or sheer pink. Paint thin stripes with a striping brush or a toothpick—red, then blue—spacing them evenly across the nail. Keep your wrist steady and work one nail at a time to avoid smudges.
Try an accent nail with metallic glitter behind the stripes for a tiny sparkle that still reads elegant. Common mistake: applying thick lines. Thin stripes look sharper and make short nails appear longer.
Seal with a glossy top coat and press the brush lightly to avoid dragging the stripes. If a stripe wobbles, wait for it to dry and correct with a thin dot of base color. Give this look a test hand before your event so you know your timing and technique.
12. Pearl White Base with Navy Crescent Moon
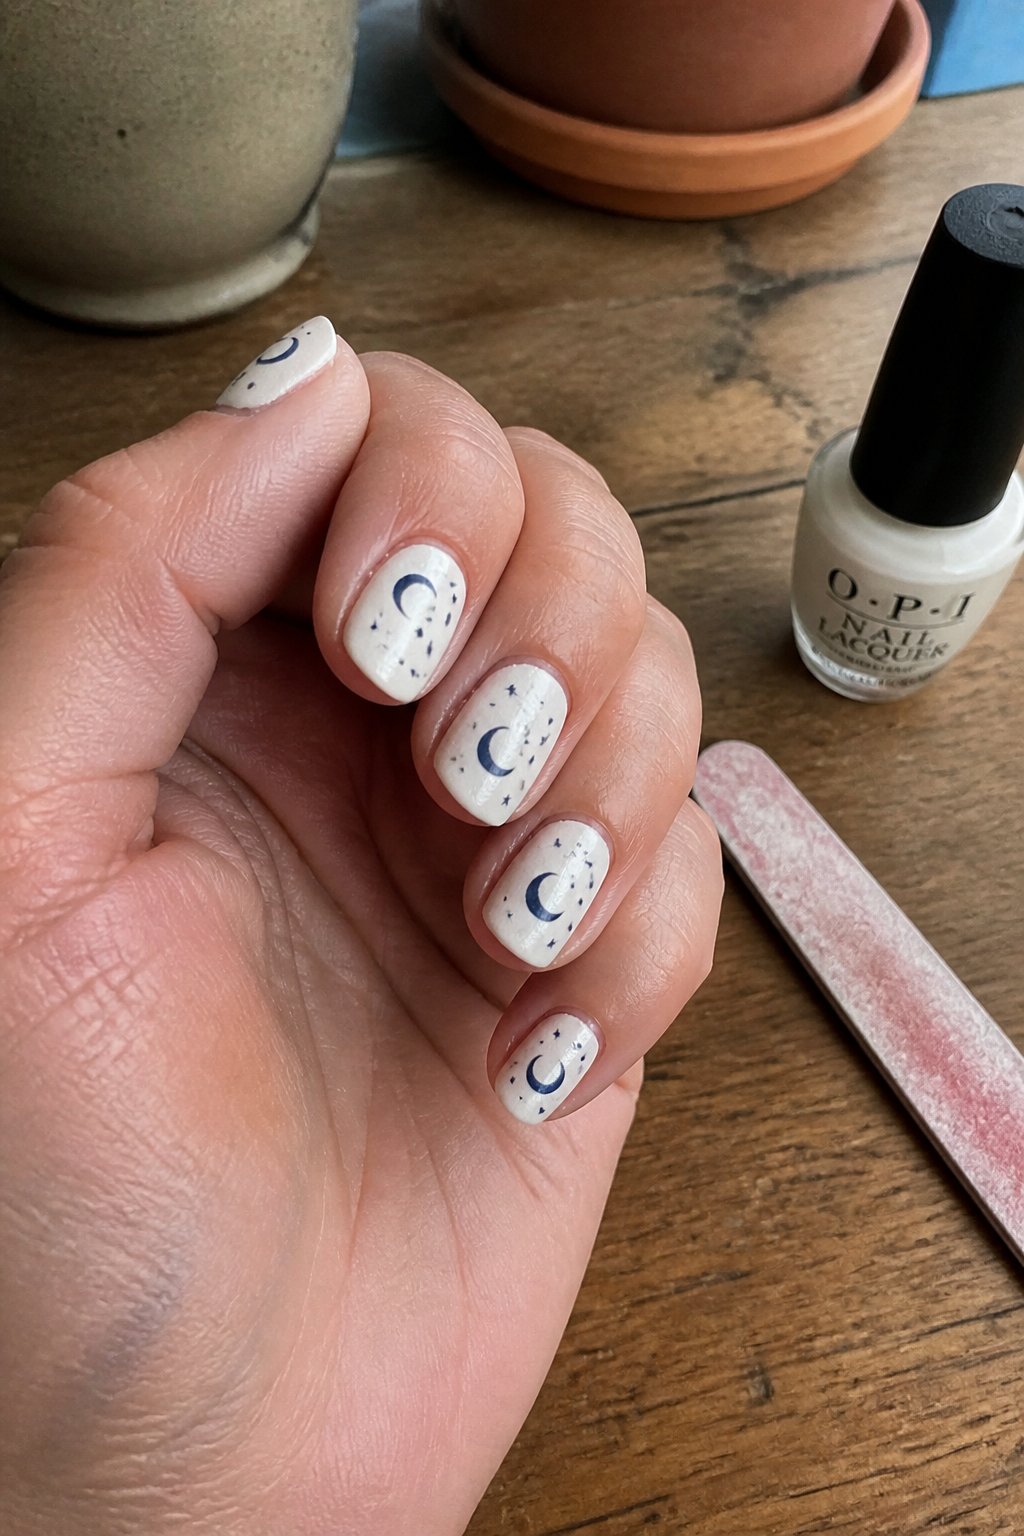
Tutorial: create a classy, low-effort patriotic look you can wear anywhere.
Start with a pearl white base for a clean, satin sheen. Apply two thin coats for full coverage and let each coat dry to avoid streaks.
Paint a small navy crescent at the cuticle area using a fine brush or a dotting tool dragged sideways. Keep the crescent narrow so it reads modern, not heavy.
Common mistake: making the crescent too large. That can look clumsy on short nails. If you slip, wipe the brush and redraw; thin layers are fixable.
Finish with a glossy topcoat to boost shine and seal edges. For a subtle twist, add one tiny silver dot on the accent nail to echo fireworks. Try it—your nails will read polished and festive without overdoing it.
13. Short Square Navy with Tiny Rhinestone Stars
This idea is a guide to a low-maintenance patriotic look you can wear all day. Paint short square nails in a deep navy, then add tiny rhinestone stars near the cuticle or on an accent nail for sparkle without bulk.
Start by applying two thin coats of navy polish for full coverage and let each dry. Use a dotting tool or toothpick to place small rhinestones; press gently and seal with a fast-dry top coat so stones stay put.
Common mistakes include using too-large gems or skipping the top coat, which makes stones fall off. For a quick option, try press-on sets with pre-placed stars for similar style and less effort.
14. Sheer Pink with Single Blue Star Stamp
Intent: tutorial.
Choose a sheer pink base for a soft, wearable patriotic look that still reads festive. Apply two thin coats for even coverage; let each dry to avoid streaks.
Use a tiny blue star stamp on one accent nail to keep the design simple and chic. Center the star near the cuticle or tip depending on your hand; centering near the cuticle looks more polished.
Common mistake: overloading the stamp with polish. Wipe excess off the stamper so the star prints crisp and not blobbed. Seal with a glossy topcoat to protect the art and add shine.
If you want a twist, add a micro dot of white at the star’s center for depth. Try this for short or long nails—it reads classy on both.
15. Red Chrome Tip on Natural Almond Shape
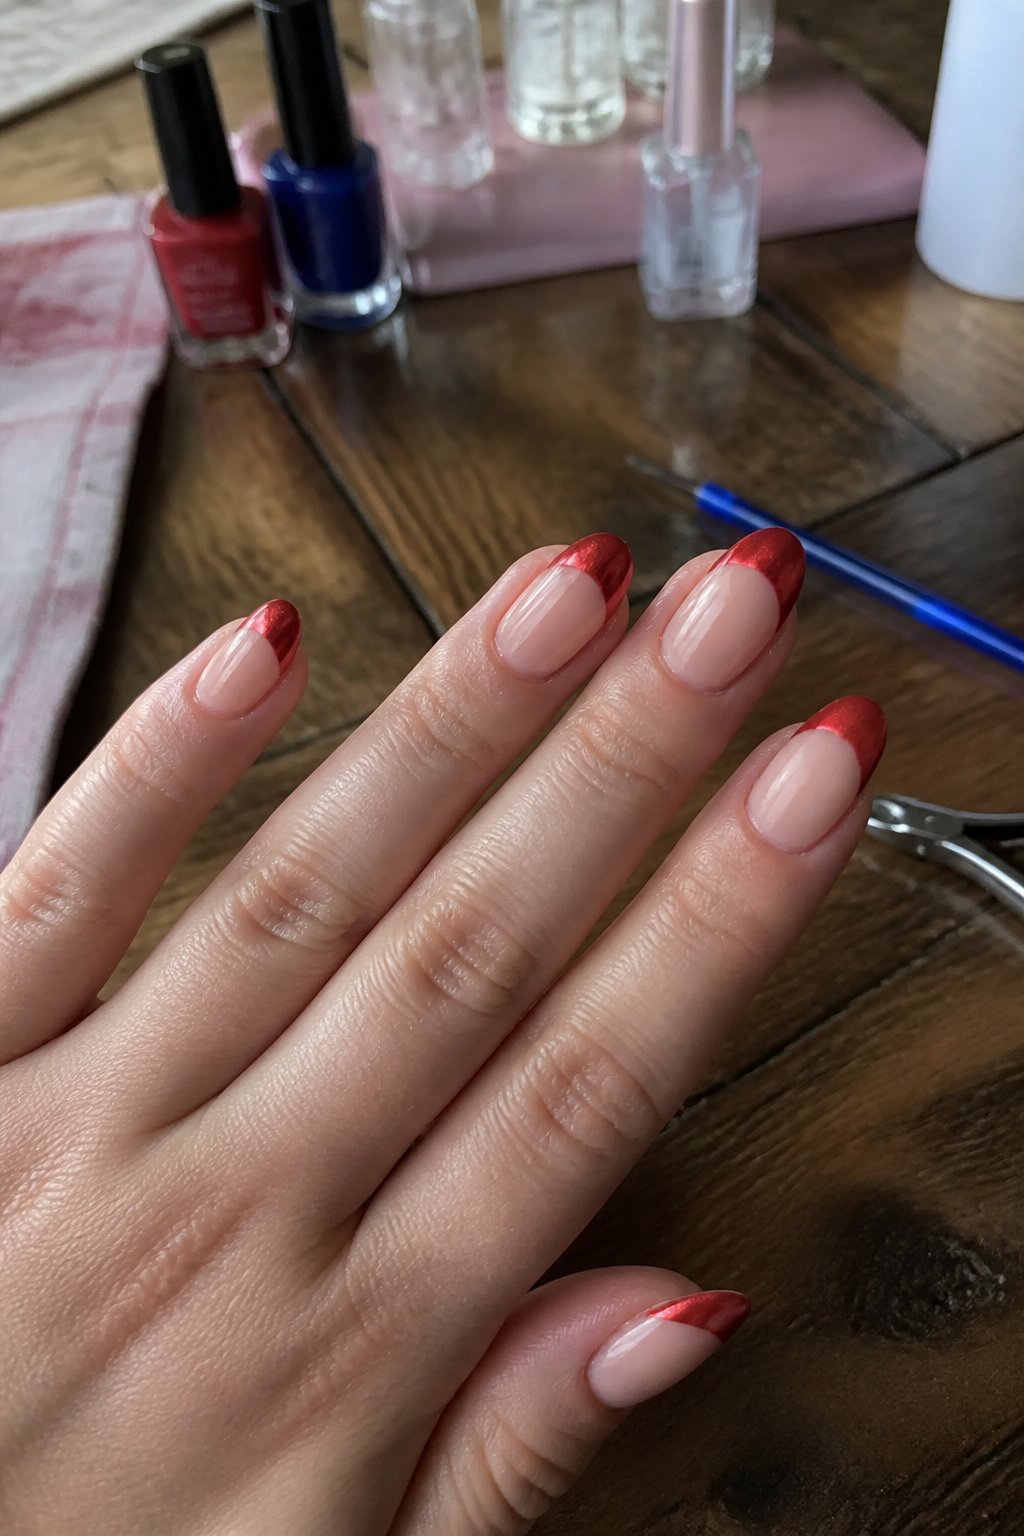
Intent: tutorial. Try a red chrome tip for a polished, modern Fourth of July look that stays subtle on natural almond nails.
Start by prepping nails smooth and buffed. Apply a sheer nude base to keep the natural almond shape visible and balanced.
Use a thin brush to paint a clean red chrome tip across the free edge. For a softer look, fade the chrome inward slightly with a small sponge. Common mistake: heavy chrome makes tips bulky—use thin layers and cure between coats.
Finish with a high-gloss top coat to lock shine and protect chrome. If you wear gloves often, add a second thin top coat after a day to prevent chips.
Try tiny star decals on one accent nail to nod to the holiday without overdoing it. Practice on a spare tip first, then recreate on your nails.
The Appeal of Minimalistic Nail Art
Minimalistic nail art keeps your manicure clean, wearable, and stylish without extra fuss. It focuses on one or two small details, easy upkeep, and looks polished for work, parties, or fireworks nights.
Benefits of Simple Designs
You save time and money with simple designs that use fewer colors and tools. A single-color base with one accent nail or a tiny star takes about 20–35 minutes and requires only basic polish or a dotting tool.
Simple looks chip less because there are fewer layers and less top-coat texture to catch on things. That means your manicure can last longer between touch-ups.
Common mistakes include using thick coats or skipping a base coat; those make even simple styles peel fast. Try thin, even strokes and cure or dry nails fully.
Example: paint all nails navy, then add one white star on the ring finger. It’s quick, patriotic, and still feels deliberate. Keep spare polish and a small brush for tiny fixes at events.
Choosing a Color Palette
Pick two main colors for balance: a dominant neutral (white, nude, or navy) and one accent (red, glitter, or metallic). Neutrals let small details pop without clashing with outfits or sunscreen stains.
Use contrast to make stars or stripes readable at a glance. High contrast — like bright red on navy or white on red — works best in daylight and photos.
Test colors on a single nail or a swatch strip before committing. Some reds lean orange; some whites look creamy. Match your palette to your plans: matte navy for daytime barbecues, glossy red with a glitter accent for evening fireworks.
Preparation and Nail Health
Get your nails clean, dry, and free of oils. Proper prep and regular care prevent chips and keep simple 4th of July designs looking crisp longer.
Essential Pre-Application Steps
Intent: tutorial — Follow these steps to build a long-lasting base for polish or gel.
- Remove old polish with an acetone or non-acetone remover, depending on your nail strength. Acetone removes product faster; use it sparingly if your nails are dry.
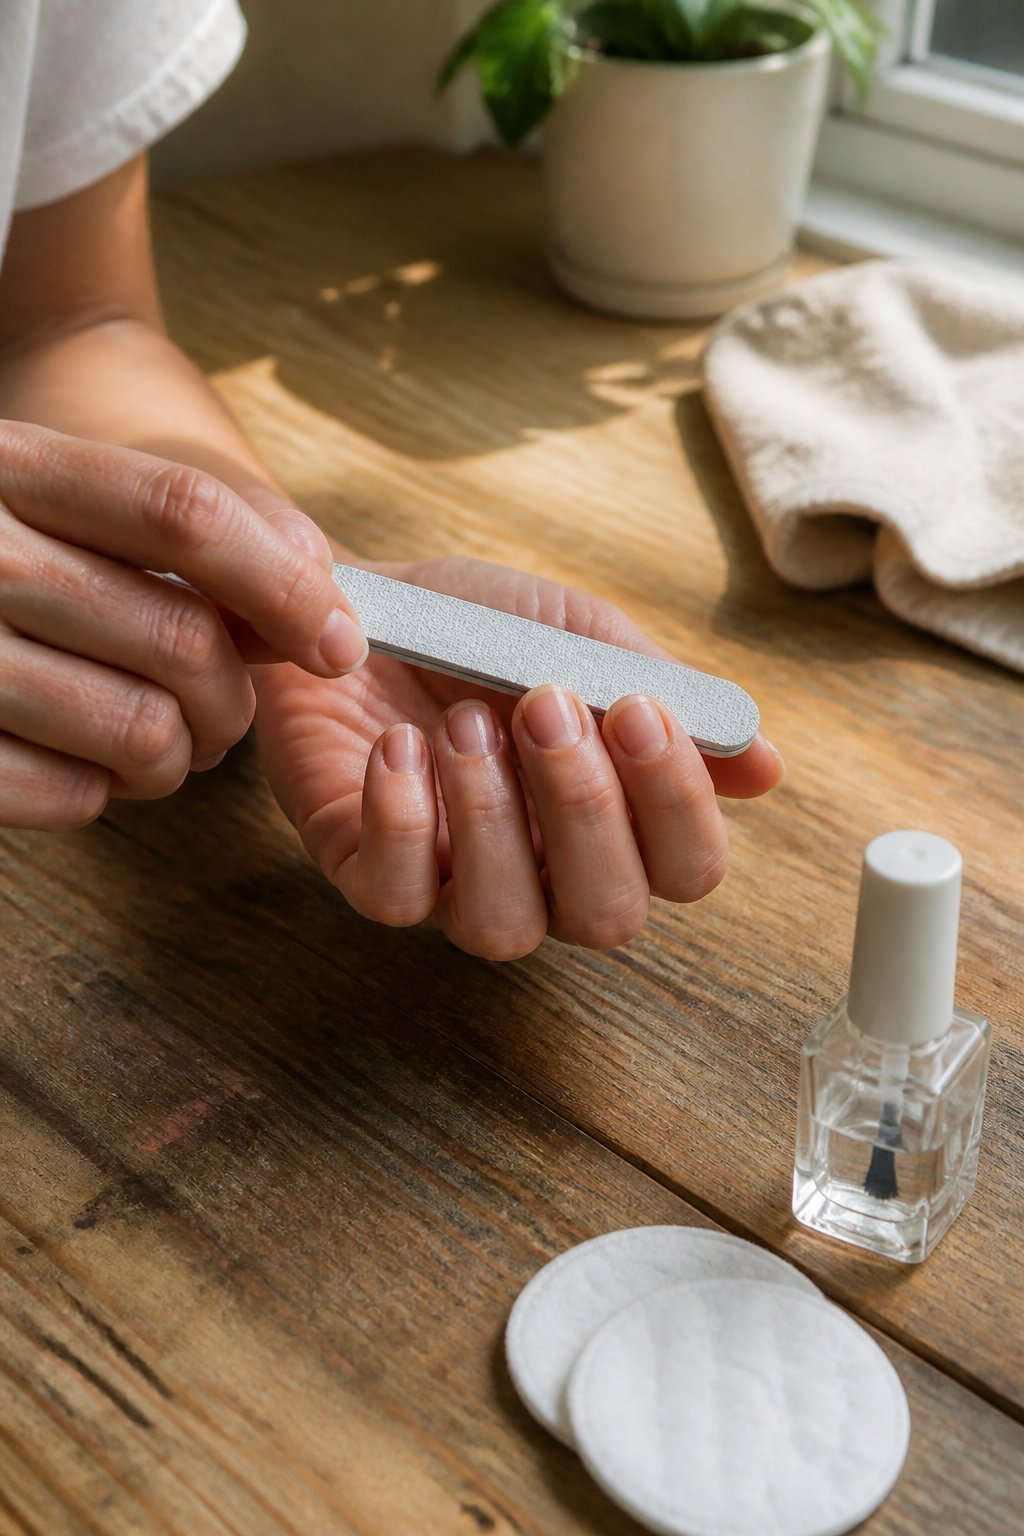
- Trim and file to your chosen shape. File in one direction to avoid splitting. For short square nails, use a 180-grit file; for longer shapes, a 100–180 grit combo works well.
- Push cuticles back gently with an orange stick after a 1–2 minute soak. Never cut healthy cuticles; that raises infection risk.
- Clean the nail plate with a lint-free pad and nail dehydrator or rubbing alcohol. This removes oils that cause polish to lift.
- Apply a strong base coat and cure if using gel. For regular polish, a bonding base coat helps adhesion.
Common mistake: skipping the dehydrator step. It costs minutes but doubles wear time.
Nail Care Tips for Lasting Results
Intent: guide — Keep nails strong and your manicure fresh between touch-ups.
Moisturize cuticles daily with cuticle oil or a light cream. Healthy cuticles reduce peeling and snagging around the polish edge.
Avoid hot water long soaks right after polishing; heat softens polish films. Wear gloves for chores that use detergents or solvents.
If you chip one nail, do a quick top coat touch-up instead of redoing the whole hand. For gel, gently buff the lift, clean with alcohol, and reapply a thin gel top coat before curing.
Supplements like biotin can help brittle nails, but check with your provider first. Track one habit: apply oil nightly for two weeks and note visible strength gains.
Try one of these prep tips today to make your patriotic manicure last through the weekend.
About the Author — Lena Harper
Lena Harper is a fashion writer and content strategist at Fashion Pops, known for creating thoughtful, trend-aware articles that feel both stylish and relatable. With a strong background in fashion journalism, she specializes in turning seasonal trends, outfit ideas, and styling concepts into easy-to-follow inspiration for modern women.
Her writing focuses on practicality without losing creativity — helping readers build outfits that feel current, wearable, and confident. When she’s not working on new articles, Lena enjoys exploring street style trends, discovering unique fashion finds, and curating inspiration boards that shape upcoming content at Fashion Pops.